




 本文介绍了如何在Ubuntu18.04上配置Jupyter Notebook以实现远程登录访问。首先,需要生成notebook配置文件,然后通过命令或Python程序设置密码,最后更新配置文件并重启服务,允许远程IP访问。
1.首先需要生成一个 notebook 配置文件
注意请先使用安装jupyter的用户登陆系统,比如我使用的是root安装,所以此时的“~”目录是“/root”
一般配置文件 ~/.jupyter/jupyter_notebook_config.py 需要自行创建。使用下列命令生成配置文件:
普通用户:
jupyter notebook --generate-config
root用户:
jupyter notebook --generate-config --allow-config
2.生成密码
生成密码有两种方式:命令生成或者python程序生成,前者的优先级更高,也就是说如果两种都设置了密码,那么jupyter会使用前者的密码,忽略后者,这个牵涉到后面配置文件
- 方法1
jupyter notebook password
 #出现下列文字,输入密码即可
 Enter password:
Verify password:
- 方法2
from notebook.auth import passwd
passwd()
#出现下列文字,输入密码即可
Enter password:
Verify password:
以方法1为例,继续配置:
配置完密码后输出:
[NotebookPasswordApp] Wrote hashed password to
***/.jupyter/jupyter_notebook_config.json
进入文件查看并复制生成的字符串
vim ***/.jupyter/jupyter_notebook_config.json
字符串形式:
sha1:67c9e60bb8b6:9ffede0825894254b2e042ea597d771089e11aed
3.配置文件
打开配置文件
vim ~/.jupyter/jupyter_notebook_config.py
直接添加以下代码即可(也可以找到对应的代码取消注释并修改):
c.NotebookApp.ip='*'  # 允许所有ip访问
c.NotebookApp.password = u'sha1:xxxxxxxxxxxxxx'
c.NotebookApp.open_browser = False
c.NotebookApp.port = 8888  # 访问端口
c.NotebookApp.notebook_dir = '/jupyter' # 指定目录
重启jupyter服务
jupyter notebook
如果报错说IP地址无法映射之类的错误,可以输入命令
jupyter notebook --ip=<服务器IP>
root用户需要输入
jupyter notebook --ip=<服务器IP> --allow-root
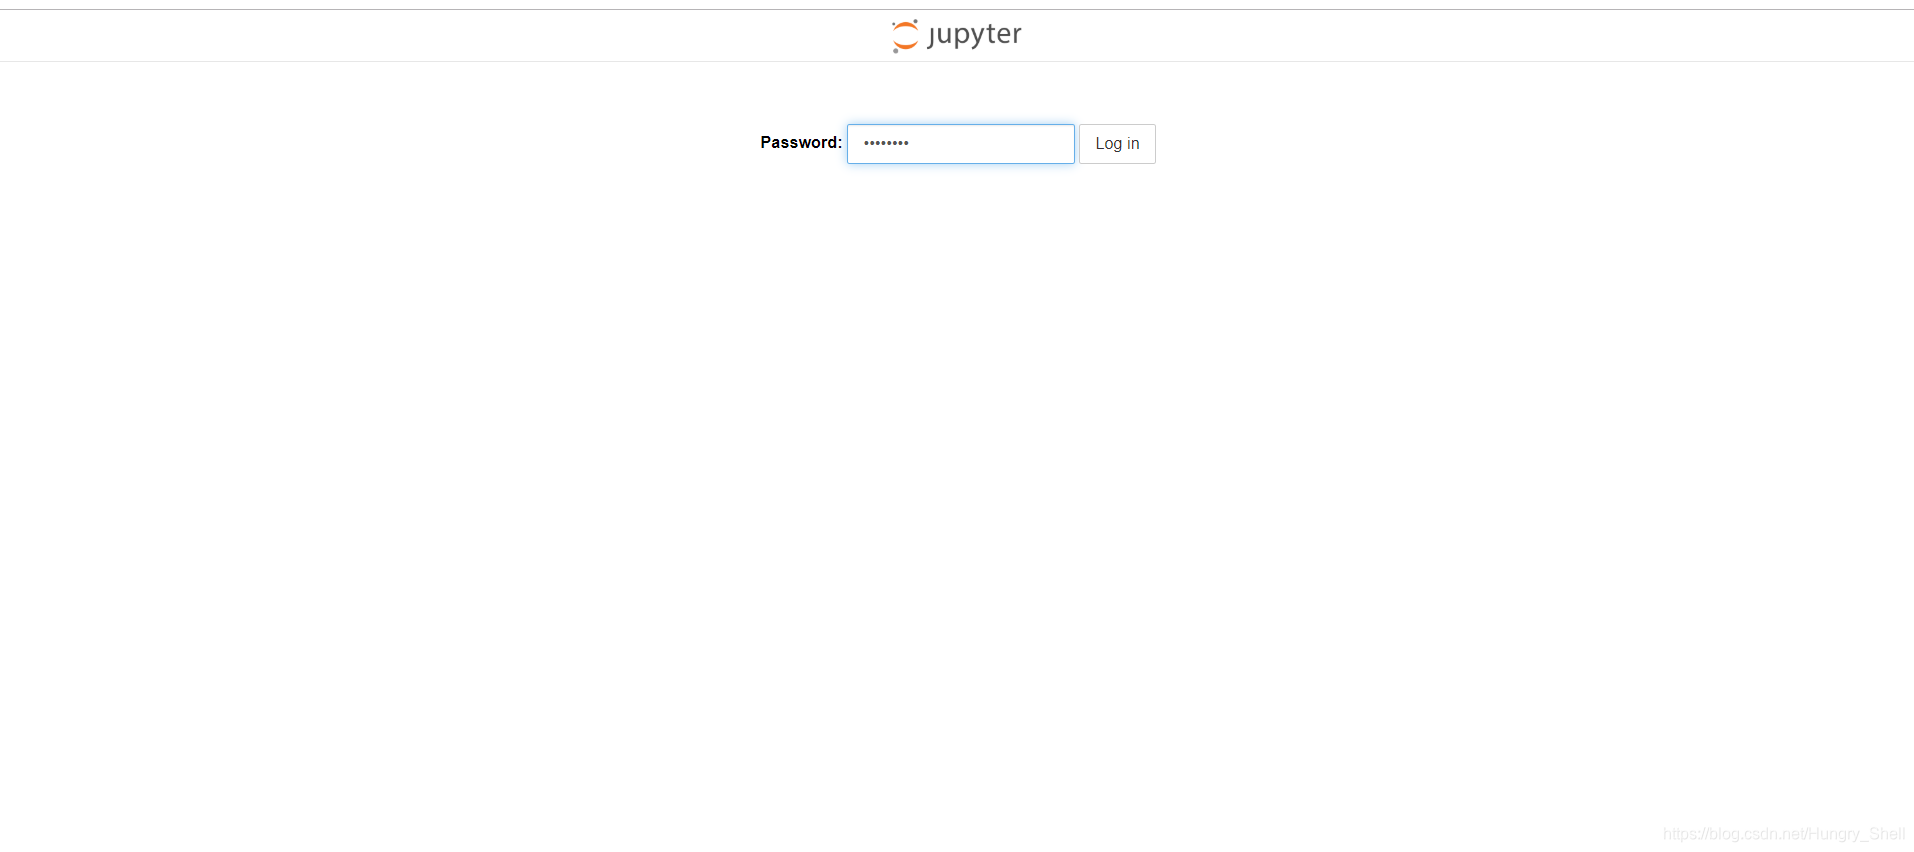
完成,附效果图





 扫一扫
扫一扫


 4万+
4万+

 被折叠的 条评论
为什么被折叠?
被折叠的 条评论
为什么被折叠?
 到【灌水乐园】发言





