Strands AgentsとBedrock AgentCoreでブラウザを自動操作するAIエージェントをつくったよ!

こんにちは、すずきです!
開発メンバーの記事更新が途絶えたので9月も勝手に代打してます!!みんな!!!忙しいと思うけどもっとがんばって!!!!
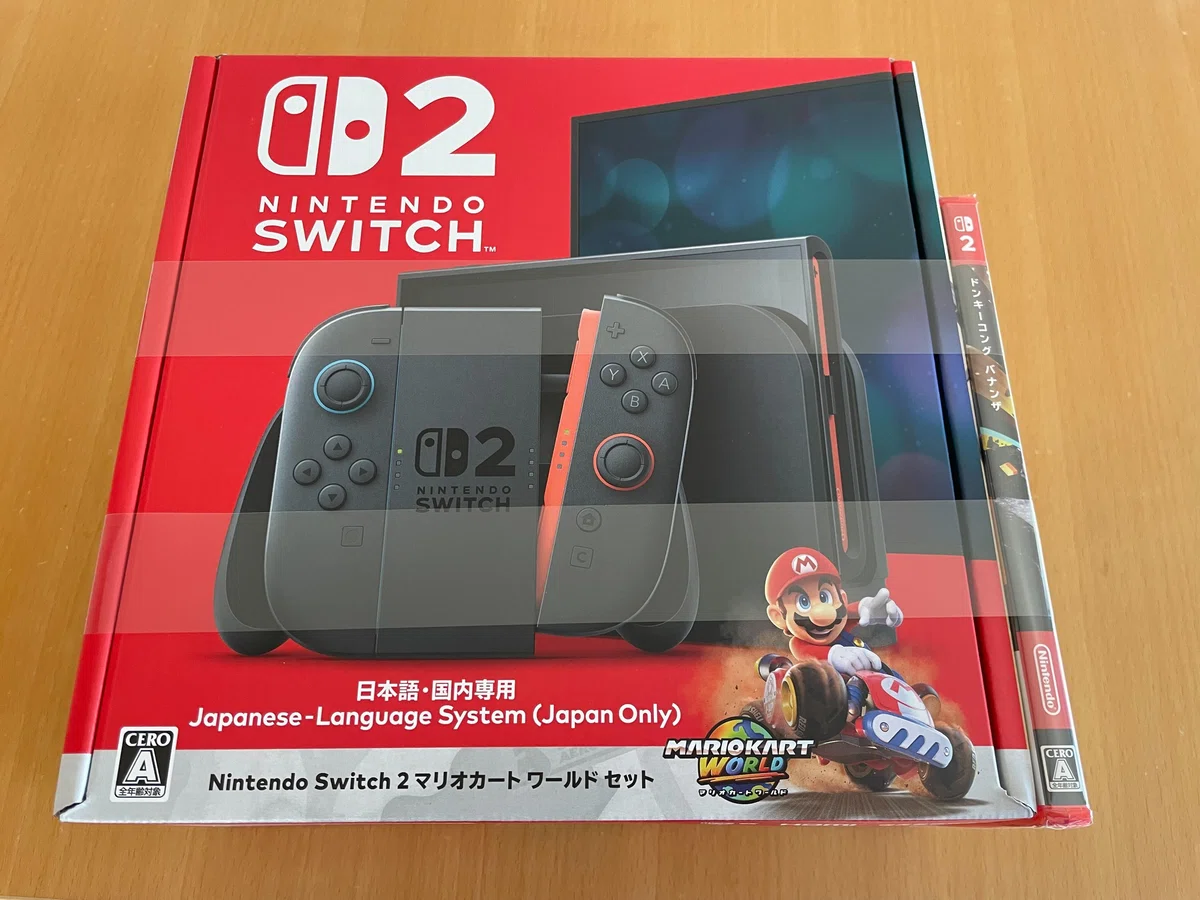
関係ないですがようやくバナンザ手に入れました!
今年の夏は、会社と家の両方で大トラブルに見舞われて新しい技術に触れる時間も気力もなかったのですが、9月中旬からようやく余裕が出てきたので、7月から話題になっていたBedrock AgentCoreを触ってみることにしました。
AgentCoreはAIエージェントの本番運用を見据えたサービス群です。実行基盤のAgentCore Runtimeはデプロイがめっちゃ簡単とのことで、リリース直後から話題になっていました。
せっかくなので、エージェント用のブラウザであるAgentCore Browserも組み合わせて、ブラウザ操作の自動化も試してみることにしました。
今回つくったもの
Strands AgentsでつくったエージェントをAgentCore Runtimeにデプロイし、Browser UseからAgentCore Browserを操作する構成をつくりました。
"How can I create a lifecycle policy for an S3 bucket?(S3バケットのライフサイクルポリシーはどうやってつくるの?)"といったAWSに関する質問に対して、公式ドキュメントのサイトを辿って要点を抽出し、回答を生成するのを目標にしました。
前提条件
Python 3.11以上
AWSアカウントと認証情報の設定
リージョン:us-west-2
残念ながら東京リージョンap-northeast-1ではAgentCoreが使えず
Claude Sonnet 4の基盤モデルアクセスを有効化
今回はus.anthropic.claude-sonnet-4-20250514-v1:0を使用
コード解説
実装の要点だけ説明します。
ファイル構成
今回はブラウザ操作ツール一つだけなので、シンプルな構成にしました。
src/
├── agents/
│   └── main_agent.py      # メインエージェント
├── runtime/
│   └── agentcore_app.py   # AgentCore Runtimeとの連携部分
└── tools/
    └── browser_tool.py    # ブラウザの操作処理
メインエージェントの実装
Strands Agentsでエージェントを構築しています。
モデルはClaude Sonnet 4で、ブラウザ操作用のツールとしてbrowse_url_toolを使います。
def create_agent():
    """AWS文書検索エージェントの作成"""
    # Bedrockモデルの初期化
    model = BedrockModel(
        model_id='us.anthropic.claude-sonnet-4-20250514-v1:0',
        params={
            "max_tokens": 2048,
            "temperature": 0.3,
            "top_p": 0.8
        },
        region='us-west-2',
        read_timeout=600,
    )

    agent = Agent(
        name="aws_docs_agent",
        model=model,
        tools=[browse_url_tool],
        system_prompt=SYSTEM_PROMPT
    )

    return agent
AgentCore Runtimeとの連携
AgentCore Runtimeへの組み込みはかなりシンプルです。
@app.entrypointデコレーターを使うだけで、外部からのリクエストを受け付けるエンドポイントが作れます。
app = BedrockAgentCoreApp()

@app.entrypoint
async def invoke(payload: Dict[str, Any], context) -> Dict[str, Any]:
    """リクエストを受け付けるメインの入り口"""
    try:
        prompt = payload.get("prompt", "")
        agent = create_agent()
        result = agent(prompt)

        return {
            "result": str(result),
            "status": "success"
        }
    except Exception as e:
        return {
            "error": f"Error: {str(e)}",
            "status": "error"
        }
ブラウザ操作の実装
ここが今回の肝となる部分です。AgentCore BrowserとBrowser Useを連携させる処理を実装しました。
まずAgentCore Browserのセッションを開始
Chrome DevTools Protocol(CDP)のWebSocket URLを取得
そのURLを使ってBrowser Useのセッションを作成
認証情報をちゃんと設定
async def execute_browser_task(instruction: str, starting_url: str = "https://docs.aws.amazon.com") -> str:
      client = BrowserClient(region=region)

      try:
          # AgentCore Browserを起動
          client.start()
          ws_url, headers = client.generate_ws_headers()  # WebSocket URLと認証ヘッダーを取得

          # Browser Use用の設定を作成
          browser_profile = BrowserProfile(
              headers=headers,  # 認証ヘッダーはここに設定
              timeout=180000,
          )

          browser_session = BrowserSession(
              cdp_url=ws_url,
              browser_profile=browser_profile,
              keep_alive=True  # 複数操作のためセッションを維持
          )

          await browser_session.start()

          # Browser Useエージェントがブラウザを操作
          browser_use_agent = BrowserUseAgent(
              task=instruction,
              llm=bedrock_chat,
              browser_session=browser_session,
          )

          result = await browser_use_agent.run()
          return result

      finally:
          if browser_session:
              await browser_session.close()
          client.stop()
注意
browser-useのバージョンを指定しないと、WebSocket 403エラーで落ちました。requirements.txtには必ずバージョンを指定してください。
browser-use<0.3.3AgentCore Runtimeへのデプロイ手順
まずは仮想環境を作っていきます。
python -m venv venv
source venv/bin/activate
次にデプロイの初期設定をします。このコマンドを実行すると、AgentCore Runtimeに必要なIAMロールやECRリポジトリなどが自動的に作成されます。
agentcore configure --entrypoint src/runtime/agentcore_app.py --region us-west-2agentcore configureで自動作成されるIAMロール(AmazonBedrockAgentCoreSDKRuntime-us-west-2-~)には、AgentCore
Browserを使うための権限が含まれていないので、手動で以下のポリシーを追加する必要があります。
{
  "Version": "2012-10-17",
  "Statement": [
    {
      "Sid": "BrowserAccess",
      "Effect": "Allow",
      "Action": [
        "bedrock-agentcore:StartBrowserSession",
        "bedrock-agentcore:StopBrowserSession",
        "bedrock-agentcore:ConnectBrowserAutomationStream",
        "bedrock-agentcore:ConnectBrowserLiveViewStream",
        "bedrock-agentcore:ListBrowserSessions",
        "bedrock-agentcore:GetBrowserSession",
        "bedrock-agentcore:ListBrowsers",
        "bedrock-agentcore:GetBrowser"
      ],
      "Resource": "*"
    }
  ]
}
準備ができたのでデプロイします。このコマンド一つで、CodeBuildがコンテナイメージのビルドからECRへのプッシュまで全部やってくれます。今回の構成だとデプロイまで1分くらいでした。
agentcore launchもし修正して再デプロイしたい場合は、このオプションを付けると既存のリソースとの競合を自動で解決してくれます。
agentcore launch --auto-update-on-conflict実行結果
デプロイ完了後にローカル環境から動作確認してみました。
agentcore invoke '{"prompt": "How can I create a lifecycle policy for an S3 bucket?"}'10分くらいかかってレスポンスが返ってきました(長い)。
Response:
{"result": "Based on my research of the official AWS documentation, here's a comprehensive guide on how to create an S3 bucket lifecycle policy:\n\n## How to Create an S3 Bucket
Lifecycle Policy\n\nS3 lifecycle policies help you automatically manage your objects throughout their lifecycle, transitioning them between different storage classes and eventually
expiring them to optimize costs. Here are the different methods to create them:\n\n### **1. Using AWS CLI**\n\nThe most direct programmatic approach:\n\n**Basic
Command:**\n```bash\naws s3api put-bucket-lifecycle-configuration --bucket YOUR-BUCKET-NAME --lifecycle-configuration file://lifecycle.json\n```\n\n**Example JSON Configuration
File (lifecycle.json):**\n```json\n{\n  \"Rules\": [\n    {\n      \"ID\": \"ExampleRule\",\n      \"Status\": \"Enabled\",\n      \"Filter\": {\n        \"Prefix\":
\"documents/\"\n      },\n      \"Transitions\": [\n        {\n          \"Days\": 30,\n          \"StorageClass\": \"STANDARD_IA\"\n        },\n        {\n          \"Days\":
90,\n          \"StorageClass\": \"GLACIER\"\n        }\n      ],\n      \"Expiration\": {\n        \"Days\": 365\n      }\n    }\n  ]\n}\n```\n\n**Additional CLI Commands:**\n-
**View existing policy:** `aws s3api get-bucket-lifecycle-configuration --bucket YOUR-BUCKET-NAME`\n- **Delete policy:** `aws s3api delete-bucket-lifecycle --bucket
YOUR-BUCKET-NAME`\n\n### **2. Using AWS Management Console**\n1. Navigate to the S3 console\n2. Select your bucket\n3. Go to the \"Management\" tab\n4. Click \"Create lifecycle
rule\"\n5. Configure your rule settings (filters, transitions, expiration)\n6. Review and create the rule\n\n### **3. Using REST API**\nThe API operations available:\n-
**PutBucketLifecycleConfiguration**\n- **GetBucketLifecycleConfiguration** \n- **DeleteBucketLifecycle**\n\n### **4. Using AWS SDKs**\nAvailable for Java, .NET, Ruby, Python, and
other languages with complete lifecycle management capabilities.\n\n## **Key Configuration Elements**\n\n### **Basic XML Structure:**\n```xml\n<LifecycleConfiguration>\n  <Rule>\n
<ID>Unique-Rule-Name</ID>\n    <Filter>\n      <Prefix>folder/</Prefix>\n    </Filter>\n    <Status>Enabled</Status>\n    <Transition>\n      <Days>365</Days>\n
<StorageClass>GLACIER</StorageClass>\n    </Transition>\n    <Expiration>\n      <Days>3650</Days>\n    </Expiration>\n  </Rule>\n</LifecycleConfiguration>\n```\n\n### **Available
Storage Classes (in transition order):**\n- **STANDARD** → **STANDARD_IA** → **GLACIER** → **DEEP_ARCHIVE**\n\n### **Filter Options:**\n- **Prefix**: Target objects with specific
key prefixes\n- **Tags**: Apply rules based on object tags\n- **Size**: Filter by object size (ObjectSizeGreaterThan/LessThan)\n- **Combinations**: Use `<And>` to combine multiple
filters\n\n## **Important Best Practices**\n\n1. **Configuration Replacement**: S3 replaces the entire lifecycle configuration when you add a new one. To update, retrieve existing
config first, modify it, then reapply.\n\n2. **Propagation Delay**: Expect a few minutes delay before new configurations take full effect.\n\n3. **Small Objects**: Objects smaller
than 128KB are prevented from transitioning by default (use size filters to override).\n\n4. **Testing**: Always verify your configuration after applying by checking rule counts
and testing with sample objects.\n\n5. **Cost Optimization**: Design rules to tier down storage classes over object lifetime to minimize costs.\n\n6. **Versioning Support**: Use
`NoncurrentVersionTransition` and `NoncurrentVersionExpiration` for versioning-enabled buckets.\n\n## **Common Use Cases**\n\n- **Log Archival**: Move application logs to cheaper
storage after 30 days, archive after 90 days\n- **Backup Management**: Transition backups to Glacier, expire after retention period\n- **Document Management**: Move old documents
through storage tiers based on access patterns\n- **Cleanup**: Remove incomplete multipart uploads and expired delete markers\n\nFor detailed examples, configuration samples, and
troubleshooting guidance, refer to the AWS S3 User Guide on lifecycle configuration.\n\n**Documentation Links:**\n- [S3 Lifecycle Configuration
Examples](https://docs.aws.amazon.com/AmazonS3/latest/userguide/lifecycle-configuration-examples.html)\n- [Setting S3 Lifecycle
Configuration](https://docs.aws.amazon.com/AmazonS3/latest/userguide/how-to-set-lifecycle-configuration-intro.html)\n", "status": "success"}
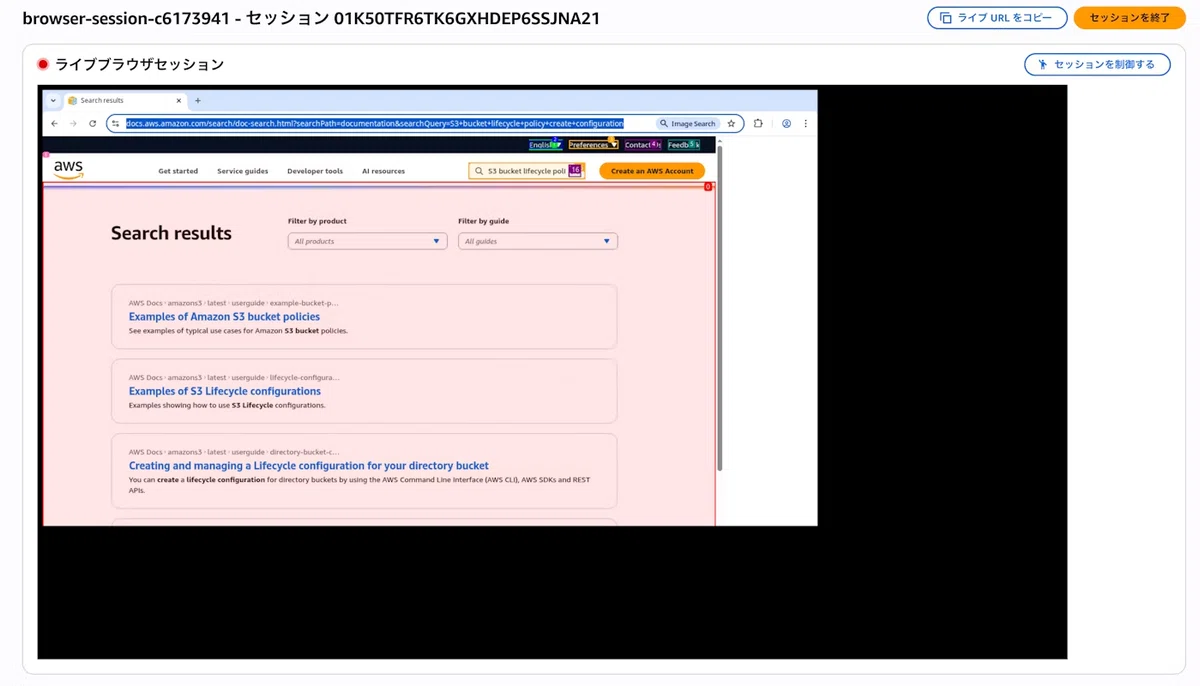
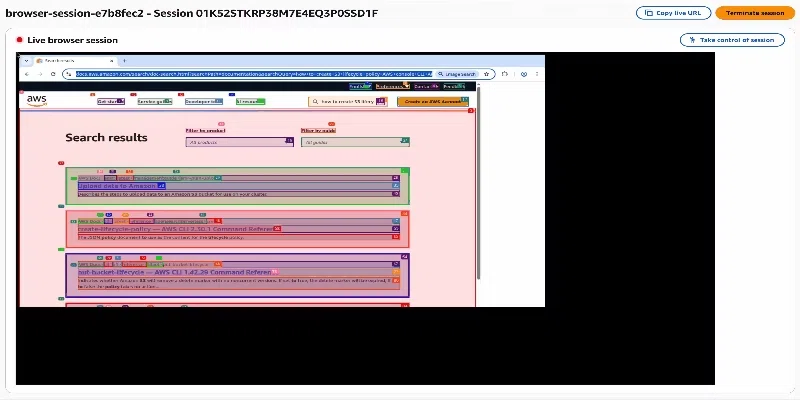
AgentCore Browser Toolのコンソール画面から、ブラウザ操作のLive viewも確認できました。