
The ActionListener interface is one of the most commonly used event-handling interfaces in Java AWT. It belongs to the java.awt.event package and is used to respond to user actions such as clicking buttons, selecting menu items, or interacting with other GUI components.
- Used for handling button clicks, menu selections, and similar actions.
- Contains a single abstract method, making it a functional interface.
- Works with lambda expressions (Java 8+) and anonymous classes.
Method of ActionListener
public void actionPerformed(ActionEvent e)
Syntax of an ActionListener
Implement the ActionListener Interface
public class Example implements ActionListener
Register the Listener with a Component
button.addActionListener(this);
Override the actionPerformed() Method
@Override
public void actionPerformed(ActionEvent e) {
// Event handling code
}
Examples of AWT ActionListener
Given below are some examples that will help you to understand the workings of the ActionListener interface easily.
Example 1: Java Program to implement AWT ActionListener
import java.awt.*;
import java.awt.event.*;

// Driver Class
public class Main {
      // main function
    public static void main(String[] args){

        // Create a frame
        Frame f = new Frame("AWT ActionListener Example");

          // Set the size
        f.setSize(400, 200);

          // Set the layout
        f.setLayout(null);

          // Make the frame visible
        f.setVisible(true);

          // Set the background color of the frame
        f.setBackground(Color.LIGHT_GRAY);

        // Create a button
        Button b = new Button("Click Me");

          // Set the positions
        b.setBounds(160, 100, 80, 40);

          // Add button to the frame
        f.add(b);

          // Set the background color of the button
        b.setBackground(Color.GREEN);

        // Create a text field
        TextField tf = new TextField();

          // Set the positions
        tf.setBounds(50, 50, 300, 30);

          // Add text field to the frame
        f.add(tf);

        // Create a label
        Label lb = new Label();

          // Set the positions
        lb.setBounds(100, 150, 300, 30);

          // Add label to the frame
        f.add(lb);

        // Add an action listener to the button
        b.addActionListener(new ActionListener() {

            // Override the actionPerformed() method
            public void actionPerformed(ActionEvent e){

                  // Update the text of the label
                lb.setText("Hey " + tf.getText() + "! "
                           + "Welcome to GeeksforGeeks!");
            }

        });
    }
}
Run the code using the following commands:
javac Main.java
java Main
Output:
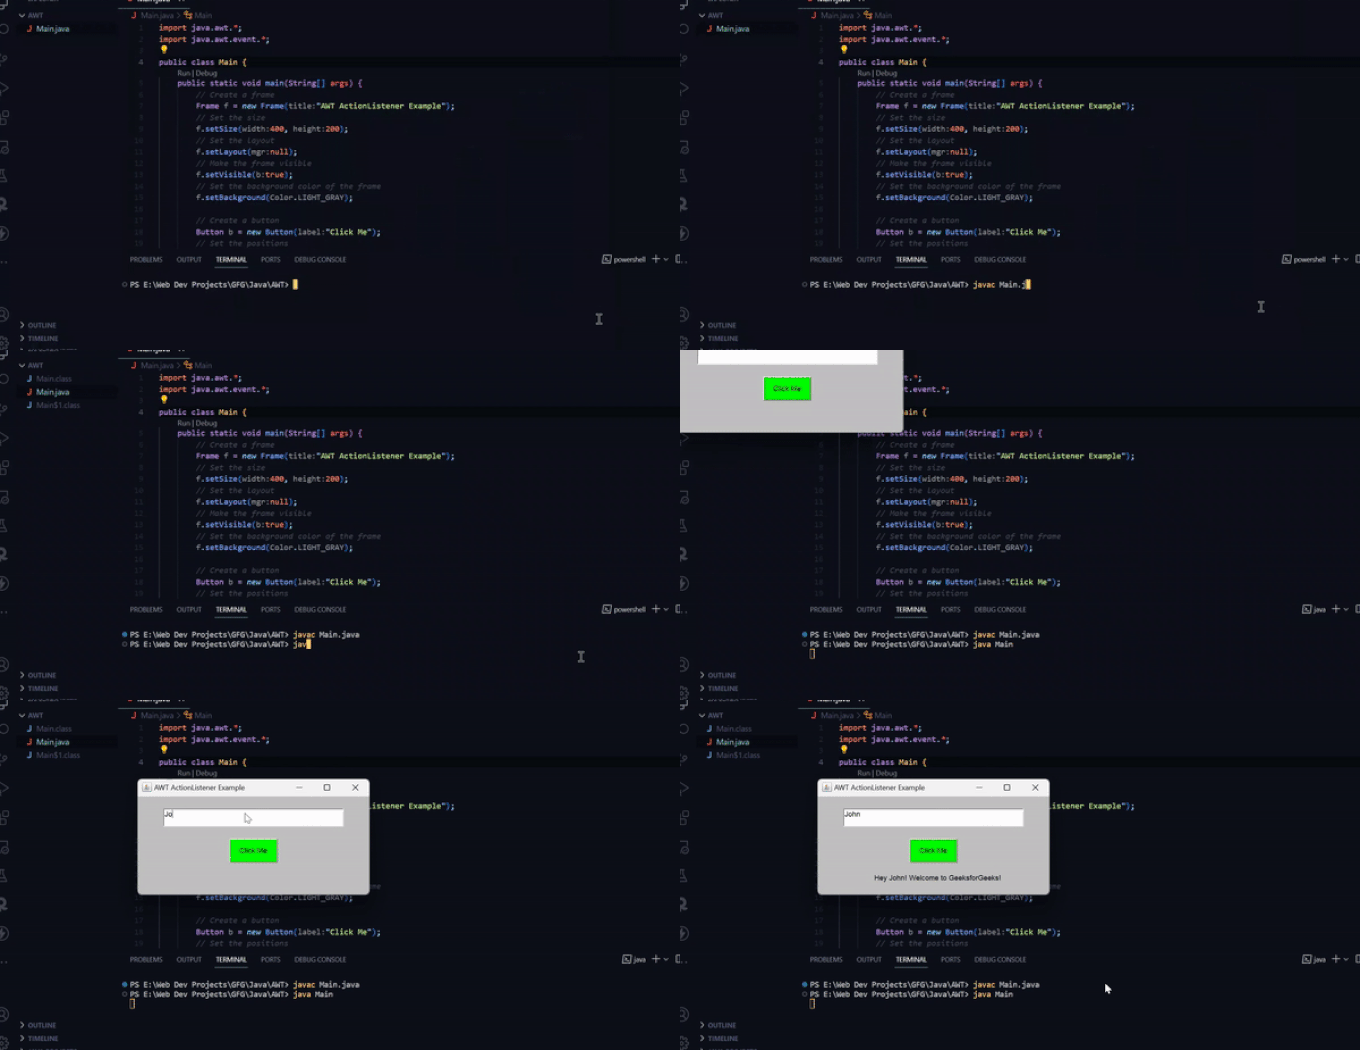
Final Screen Output of the Example:
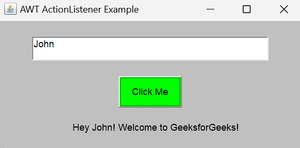
Explanation: In this example, a button, text field, and label are created in an AWT frame. An ActionListener is registered with the button, and when the button is clicked, the actionPerformed() method is triggered. The method retrieves the text entered by the user from the text field using getText() and displays a personalized welcome message in the label.
Example 2:
In this example, when the "Order" button is clicked, the ActionListener calculates the total cost of selected food items and displays it in a message dialog.
 import java.awt.*;
import java.awt.event.*;
import javax.swing.*;

public class Main implements ActionListener {
    JCheckBox cb1, cb2, cb3;

    Main(){

        // Create a frame
        Frame f = new Frame("AWT ActionListener Example");

        // Create a label
        Label l = new Label("Food Menu");

        // Set the positions
        l.setBounds(150, 50, 300, 20);

        // Create check boxes and set the positions
        cb1 = new JCheckBox("Pizza @ 100");
        cb1.setBounds(100, 100, 150, 20);
        cb2 = new JCheckBox("Burger @ 30");
        cb2.setBounds(100, 150, 150, 20);
        cb3 = new JCheckBox("Tea @ 10");
        cb3.setBounds(100, 200, 150, 20);

        // Create a button and set the positions
        Button b = new Button("Order");
        b.setBounds(100, 250, 80, 30);

        // Add action listener to the button
        b.addActionListener(this);

        // Add components to the frame
        f.add(l);
        f.add(cb1);
        f.add(cb2);
        f.add(cb3);
        f.add(b);

        // Set the size of the frame and make it visible
        f.setSize(400, 400);
        f.setLayout(null);
        f.setVisible(true);
    }

    // Override the actionPerformed() method
    public void actionPerformed(ActionEvent e){

        // Calculate the total amount and display it
        float amount = 0;
        String msg = "";
        if (cb1.isSelected()) {
            amount += 100;
            msg = "Pizza: 100\n";
        }
        if (cb2.isSelected()) {
            amount += 30;
            msg += "Burger: 30\n";
        }
        if (cb3.isSelected()) {
            amount += 10;
            msg += "Tea: 10\n";
        }
        msg += "-----------------\n";
        JOptionPane.showMessageDialog(
            null, msg + "Total: " + amount);
    }

    // Main method
    public static void main(String[] args) {
      new Main();
    }
}
Run the code using the following commands:
javac Main.java
java Main
Output:
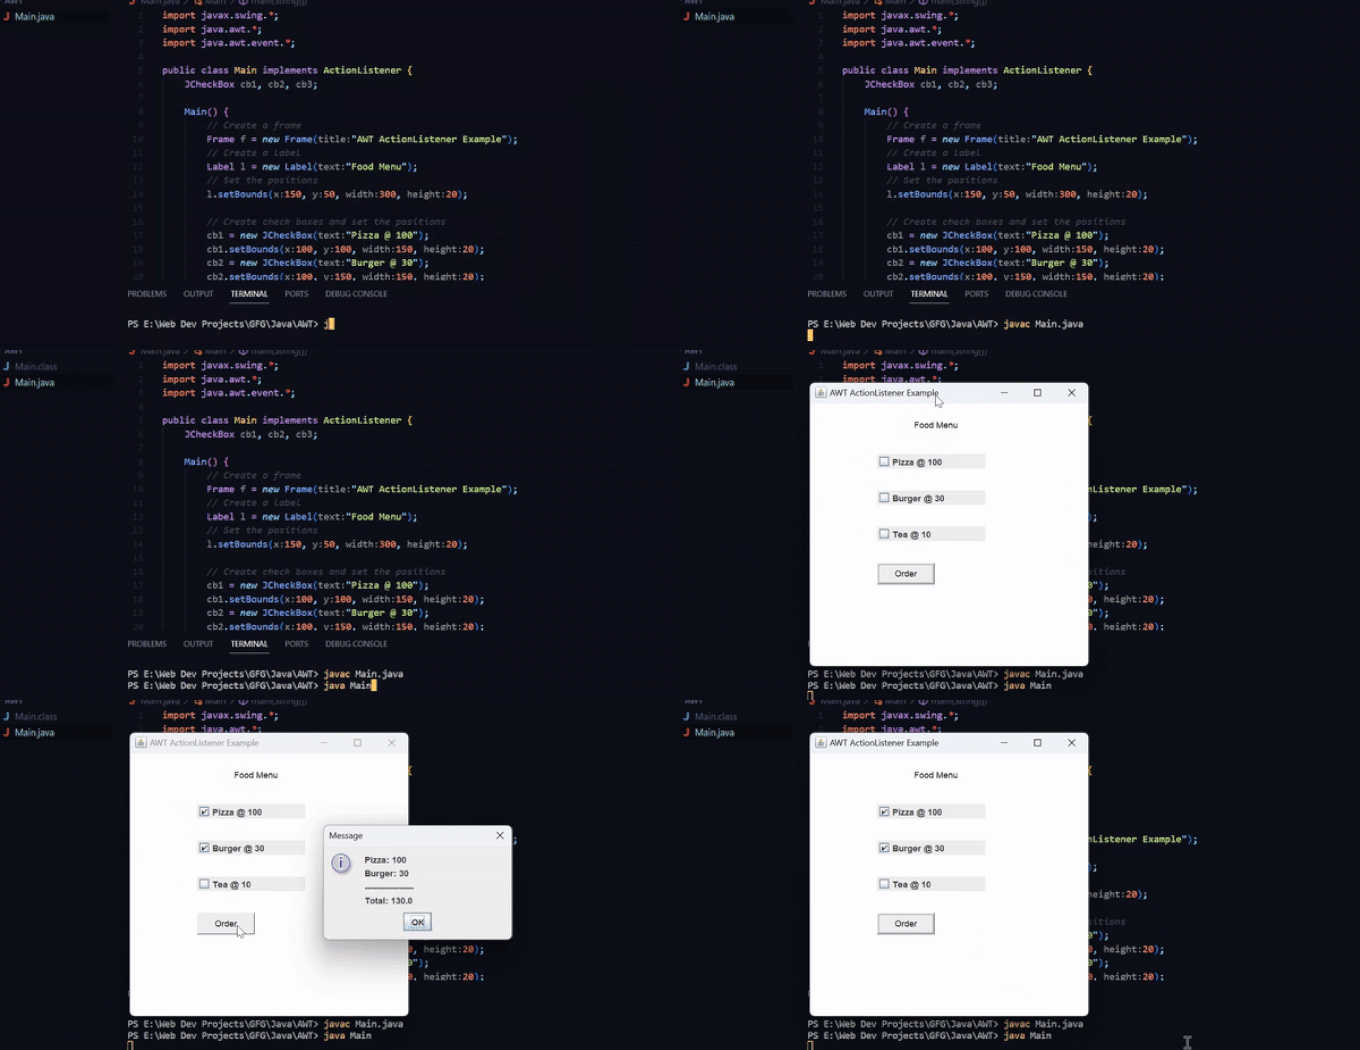
Final Screen Output of the Example:
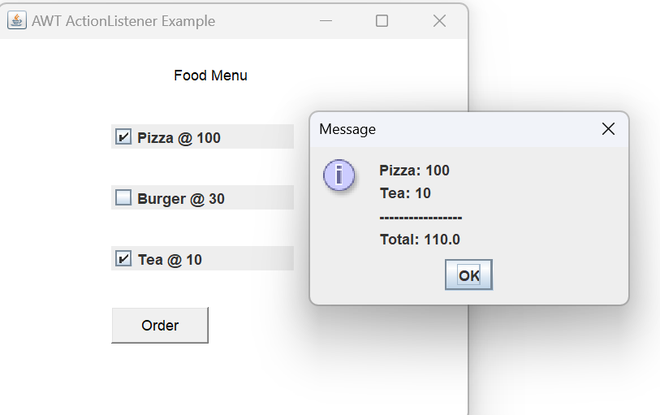
Explanation: In this example, a food ordering system is created using checkboxes and a button. The user can select food items such as Pizza, Burger, and Tea. When the Order button is clicked, the actionPerformed() method calculates the total cost of the selected items and displays the order details along with the total amount in a message dialog box.
