Spring Cloud Config provides a centralized approach to managing external configuration properties in distributed applications. It follows a client-server architecture where the Cloud Config Server stores configuration files and Cloud Config Clients retrieve those configurations dynamically during application startup.
- Centralizes configuration management for multiple Spring Boot applications.
- Supports environment-specific profiles such as dev, test, and production.
- Simplifies configuration updates and maintenance in microservices architectures.
Spring Cloud Config
Spring Cloud Config is a framework that provides server-side and client-side support for externalized configuration in distributed systems.
It consists of two main components:
- Cloud Config Server: Stores and serves configuration properties.
- Cloud Config Client: Fetches configuration properties from the Config Server.
Prerequisites
- Project: Maven
- Language: Java
- Java Version: 17 or later
- Packaging: Java Archive
- IDE: Eclipse (with Spring Tool Suite installed)
- Database: MySQL (with MySQL workbench)
Example: Suppose we have a microservices application containing a Loan Service. Instead of storing configuration properties inside the application itself, we place all configuration files inside the Config Server and configure Three environment profiles default, dev and uat.
We will create:
- One Cloud Config Server
- One Loan Service Config Client
Steps to Configure Spring Cloud Config Server and Config Client In MicroServices
Follow These Steps to Configure Spring Cloud Config Server and Config Client in a Microservices Architecture
Step 1: Creating the Cloud Config Server
The Cloud Config Server acts as a centralized repository that stores configuration properties and serves them to multiple client applications.
1.1: Create Spring Boot Project
Create a Spring Boot project using Spring Initializr.
Add the following dependencies:
- Spring Web
- Spring Dev Tools
- Spring Cloud Config Server
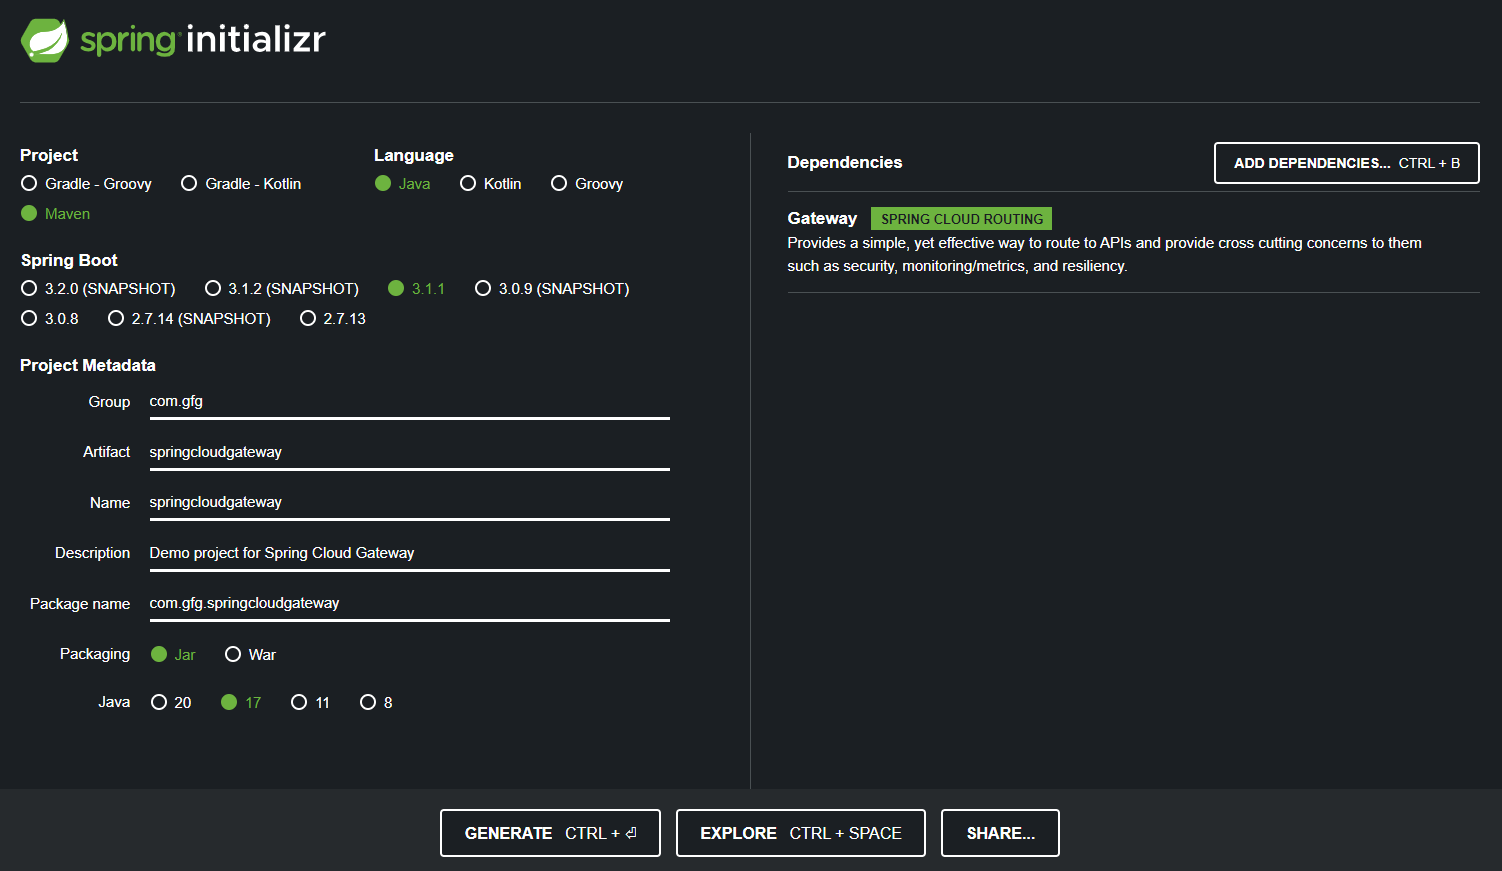
After adding the required dependencies, click on Generate to download the project. Extract the downloaded ZIP file and open the project in your preferred IDE, such as IntelliJ IDEA, Eclipse, or Spring Tool Suite (STS).
1.2: Review the Generated pom.xml File.
The generated pom.xml file should contain the Spring Cloud Config Server Dependency.
<dependency>
<groupId>org.springframework.cloud</groupId>
<artifactId>spring-cloud-config-server</artifactId>
</dependency>
1.3: Enable Config Server Functionality
Add the @EnableConfigServer annotation to enable Config Server capabilities in the Spring Boot application.
package com.example.configserver;

import org.springframework.boot.SpringApplication;
import org.springframework.boot.autoconfigure.SpringBootApplication;
import org.springframework.cloud.config.server.EnableConfigServer;

@SpringBootApplication
@EnableConfigServer
public class ConfigServerApplication {

    public static void main(String[] args) {
        SpringApplication.run(ConfigServerApplication.class, args);
    }
}
1.4: Configure the Config Server
Configure the application to run on port 8888 and use the native file system as the configuration repository.
- spring.application.name: Defines the Config Server application name
- server.port: Specifies the Config Server port
- spring.profiles.active=native: Enables local file-based configuration
- search-locations: Specifies the location of configuration files
spring.application.name=config-server
server.port=8080
spring.profiles.active=native
spring.cloud.config.server.native.search-locations=classpath:/config
1.5: Create Configuration Files
Create a config directory under resources and add environment-specific property files.
1. loan-service.properties
server.port=8081
application.message=Welcome From Default Profile
2. loan-service-dev.properties
server.port=8082
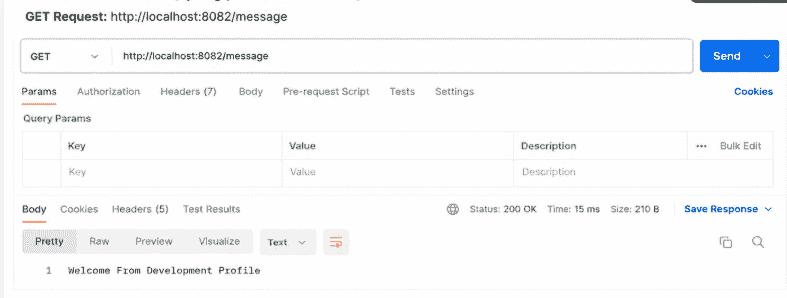
application.message=Welcome From Development Profile
3. loan-service-uat.properties
server.port=8083
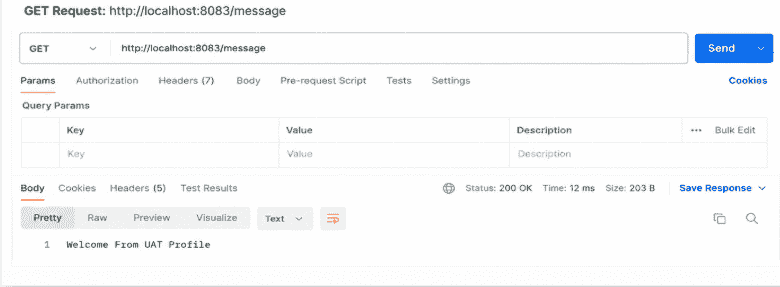
application.message=Welcome From UAT Profile
1.6: Run Config Server
Run the application By using following maven commands
mvn spring-boot:run
The Config Server starts on:
http://localhost:8080
Step 2: Creating the Config Client
The Config Client retrieves configuration properties from the Cloud Config Server during application startup.
2.1: Create Config Client Project
Create another Spring Boot project with the following dependencies:
- Spring Web
- Spring Boot DevTools
- Spring Cloud Config Client
2.2: Review the Generated pom.xml File.
The generated pom.xml file should contain the Spring Cloud Config Client Dependency.
<dependency>
<groupId>org.springframework.cloud</groupId>
<artifactId>spring-cloud-starter-config</artifactId>
</dependency>
2.3: Configure the Config Client
Configure the client to connect to the Config Server.
- spring.application.name: Used to locate configuration files
- spring.config.import: Config Server URL
- spring.profiles.active: Active profile
spring.application.name=loan-service
spring.config.import=optional:configserver:http://localhost:8888
spring.profiles.active=dev
2.4: Create Main Class
Create the Spring Boot application entry point.
package com.example.loanservice;

import org.springframework.boot.SpringApplication;
import org.springframework.boot.autoconfigure.SpringBootApplication;

@SpringBootApplication
public class LoanServiceApplication {

    public static void main(String[] args) {
        SpringApplication.run(
                LoanServiceApplication.class,
                args);
    }
}
2.5: Create REST Controller
Create a REST endpoint to verify that configuration properties are loaded successfully.
package com.example.loanservice;

import org.springframework.beans.factory.annotation.Value;
import org.springframework.web.bind.annotation.GetMapping;
import org.springframework.web.bind.annotation.RestController;

@RestController
public class LoanController {

    @Value("${application.message}")
    private String message;

    @GetMapping("/message")
    public String getMessage() {
        return message;
    }
}
2.6: Run the Config Client
Navigate to the Config Client project:
cd loan-service
Run the application using maven commands
mvn spring-boot:run
Since the active profile is:
loan-service-dev.properties
If we are making the reguest with this profile:
GET http://localhost:8082/message
Output:
If you change the profile configuration
spring.profiles.active=uat
then the response coming from changed profile :
Output: