

Zoom Meetings (stylized as Zoom) is a proprietary videotelephony software package developed by Zoom Video Communications. There is a 40-minute time limit on the free plan, which allows for up to 100 simultaneous users. Users can upgrade to a premium plan by subscribing to it. The most expensive subscription allows for up to 1,000 simultaneous participants for sessions lasting up to 30 hours.
If you’re using Ubuntu 20.04 Focal Fossa, you can install Zoom quickly and efficiently using two different methods. In this article, we’ll look at how to install Zoom on Ubuntu 20.04 using both the terminal and Ubuntu Software Center.
Method 1: Installation of Zoom on Ubuntu using Terminal
For those comfortable with the command line, installing Zoom using the terminal is one of the fastest and most efficient ways. Follow these simple steps to install Zoom via the terminal:
Step 1: Update APT Package Manager
First and foremost, make sure your APT is up to date. Type the following commands into the terminal window on your Ubuntu desktop.
sudo apt update && sudo apt upgrade
Step 2: Download and install Zoom-Client
To install the ZOOM client, use the following command in your terminal window. Because the installation requires root access, you will be prompted for a password.
sudo snap install zoom-client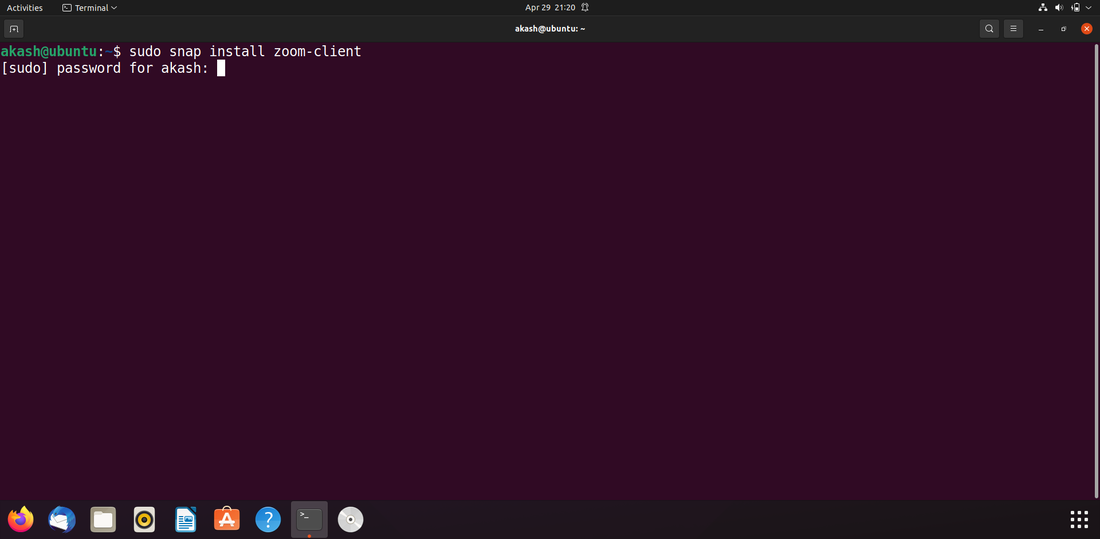
The ZOOM client program will be downloaded and installed from the Ubuntu software repository.
Step 3: Open ZOOM
To use ZOOM, use the following command in your terminal window.
zoom-client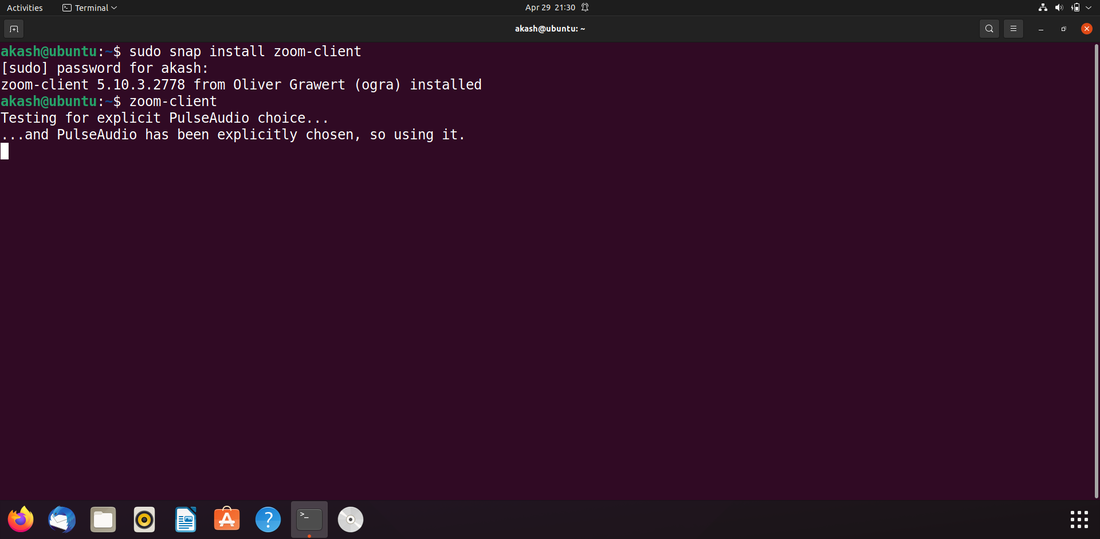
The Zoom application will open, allowing you to log in or join meetings immediately
Method 2: Using the Ubuntu's Software Center
Step 1: Open the Software Center first
Click on Activities on the Desktop, then put "software" in the search field and click on it, as seen in the screenshot.

Step 2: Search for Zoom
Type "zoom" into the Ubuntu Software Center's search box and click on it, as seen in the screenshot below.
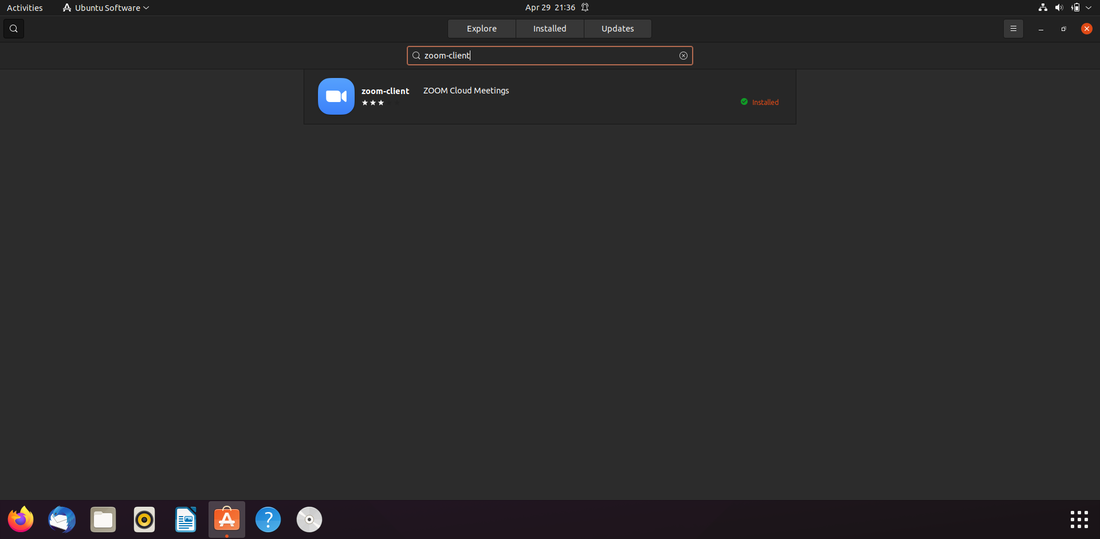
Step 3: Download and install the ZOOM Client App
The ZOOM client program will be installed when you click the "Install" button.
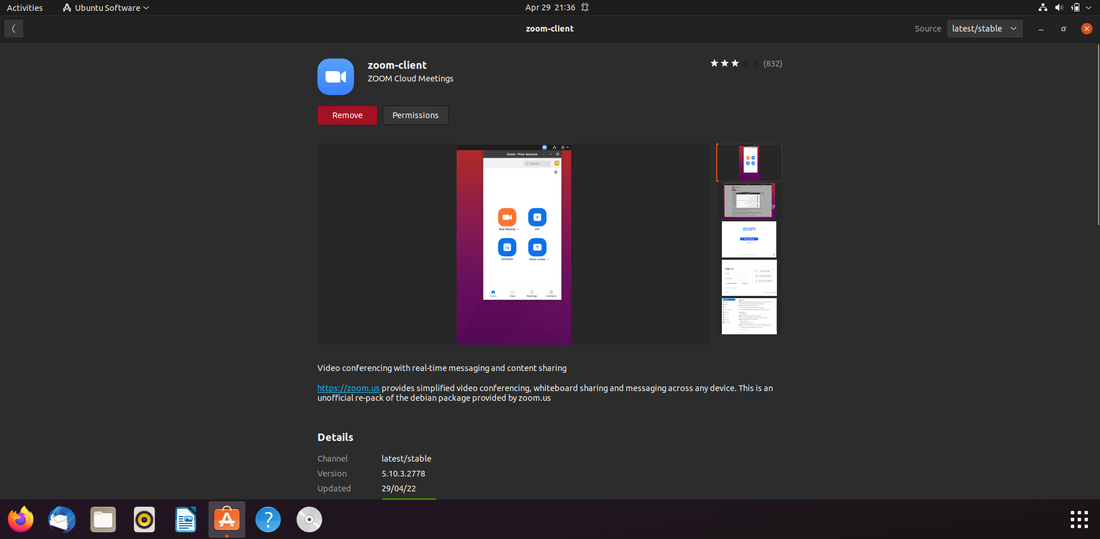
Step 4: Launch Zoom from the Software Center
After installing the ZOOM client, click the "Launch" button to start it.
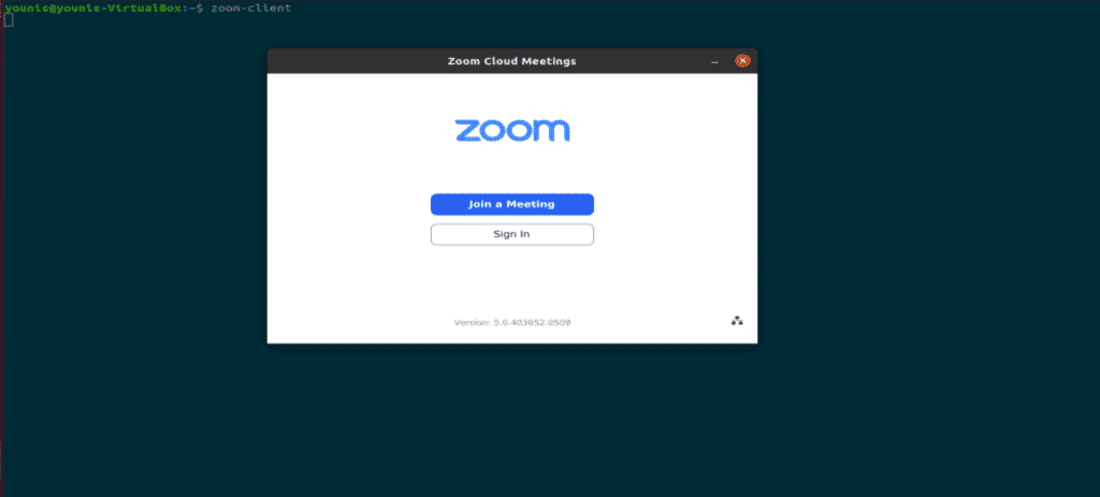
ZOOM is now available to be used in Ubuntu.
Conclusion
We learnt two different ways to Install Zoom on Ubuntu, that is, the command-line method via the terminal or the graphical method via the Ubuntu Software Center. Zoom offers a powerful solution for virtual meetings and video conferencing, making it a top choice for individuals and organizations worldwide. By following either of the two methods outlined above, you’ll be able to install and start using Zoom on your Ubuntu system in just a few steps.
