

In modern PowerPoint, “custom animation” means applying one or more animation effects to the same object and controlling exactly how and when they play. This is done mainly through the Add Animation button and the Animation Pane.
Steps to Add Multiple Custom Animation Effects to One Object
Step 1: Select the text, image, shape, or other object on the slide.
Step 2: Go to the Animations tab.

Step 3: Click Add Animation (do not click an effect in the main gallery, or it will replace the existing animation).
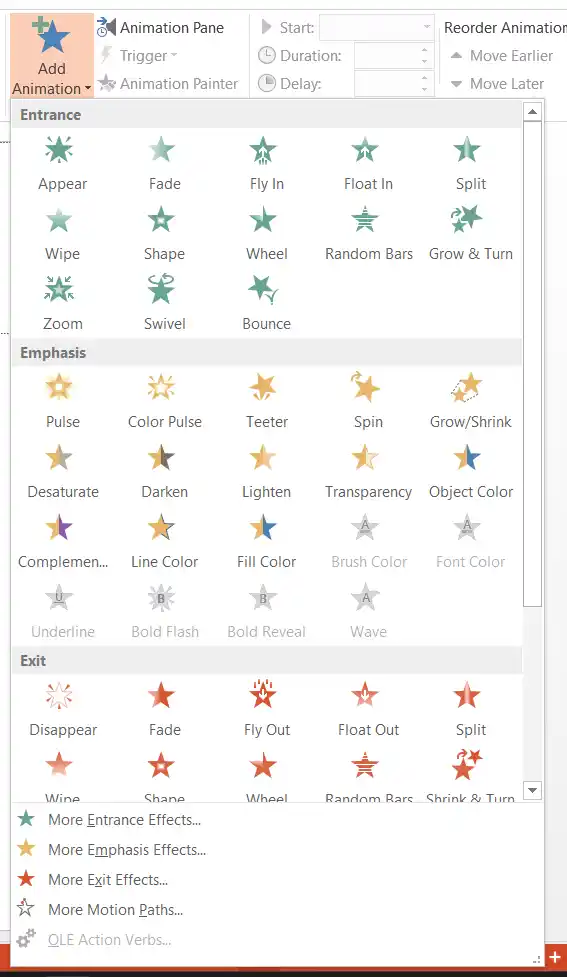
Step 4: Choose an Entrance, Emphasis, Exit, or Motion Path effect.
Step 5: Repeat steps 3–4 to add as many additional effects as you need to the same object.
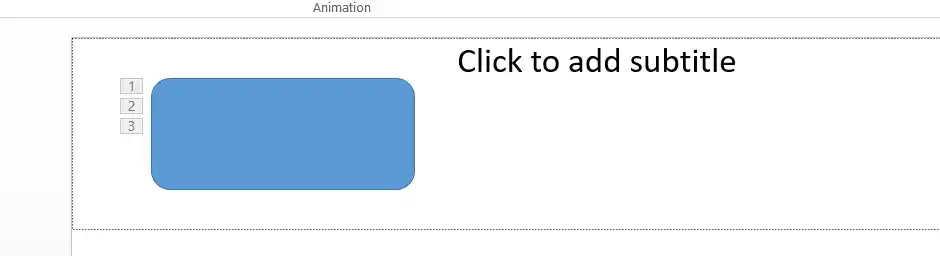
Step 6: Each effect is listed separately and can have its own timing and settings.
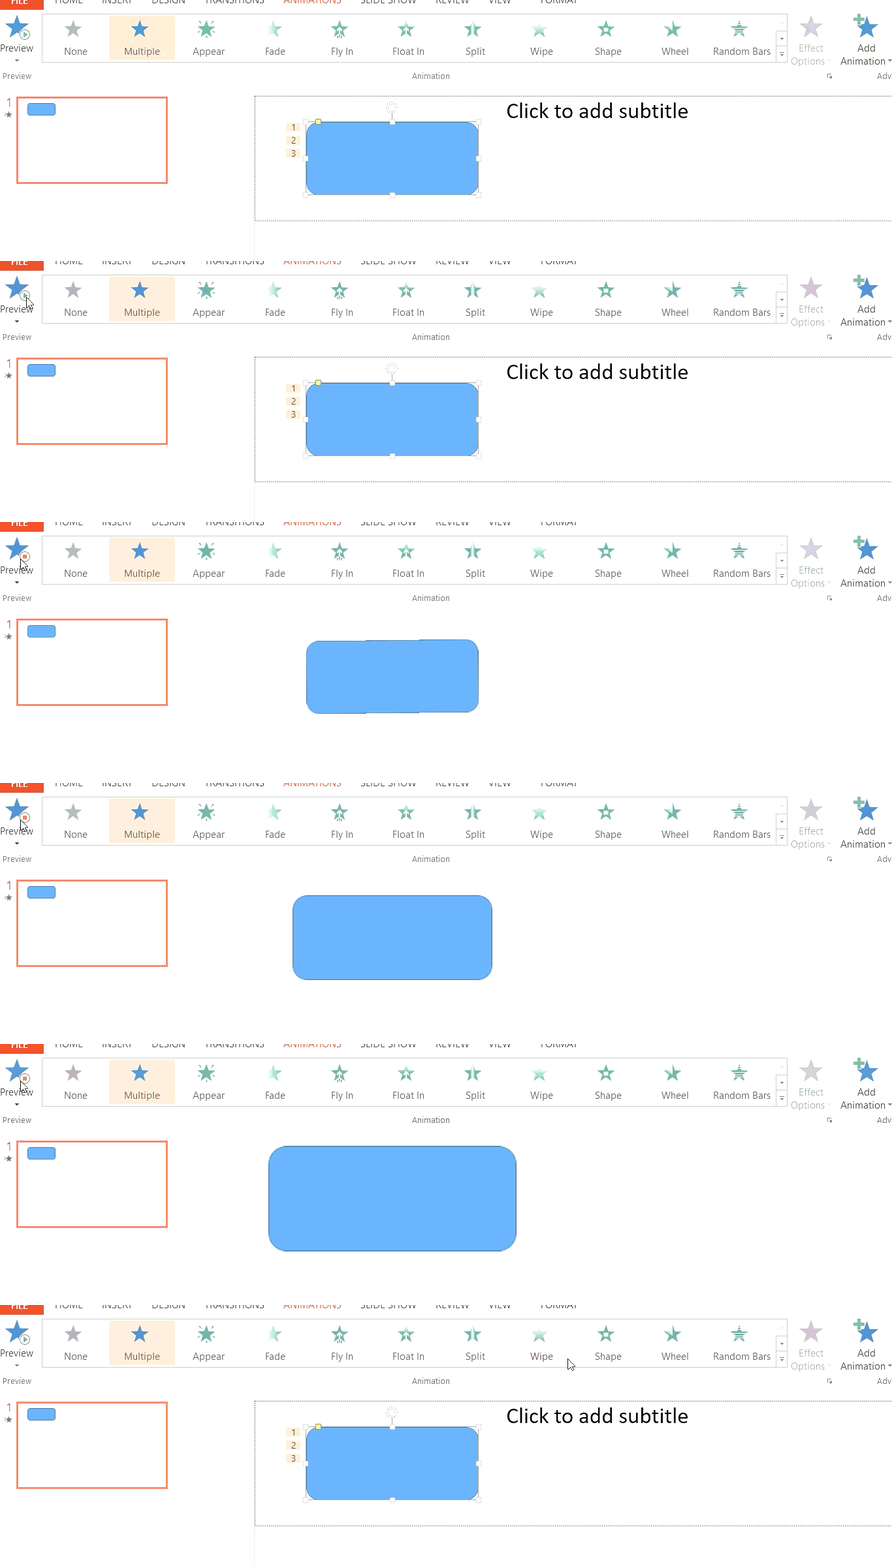
Use the Animation Pane to Manage Custom Effects
Step 1: On the Animations tab, click Animation Pane.
Step 2: The pane shows every animation on the current slide in the order they will play.
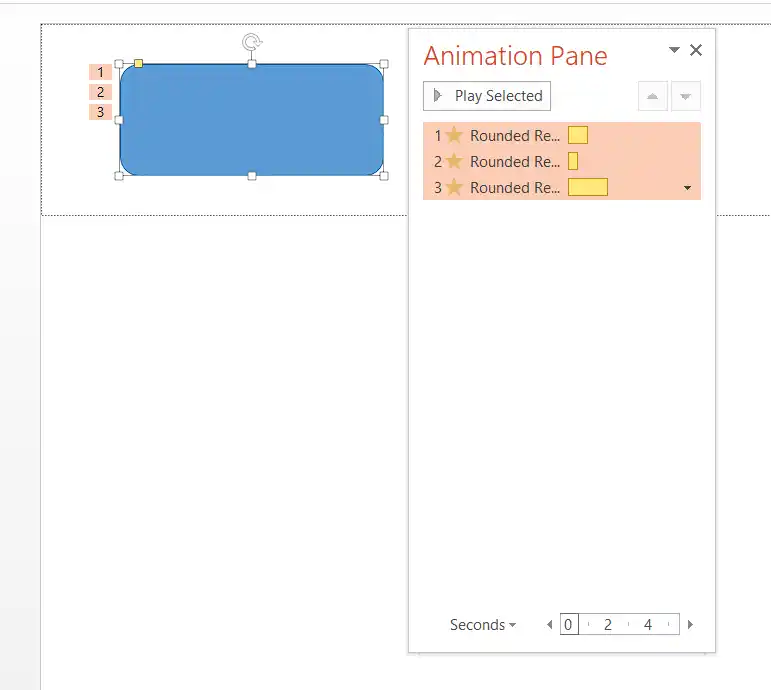
Step 3: From the Animation Pane you can:
- Drag effects up or down to change the sequence
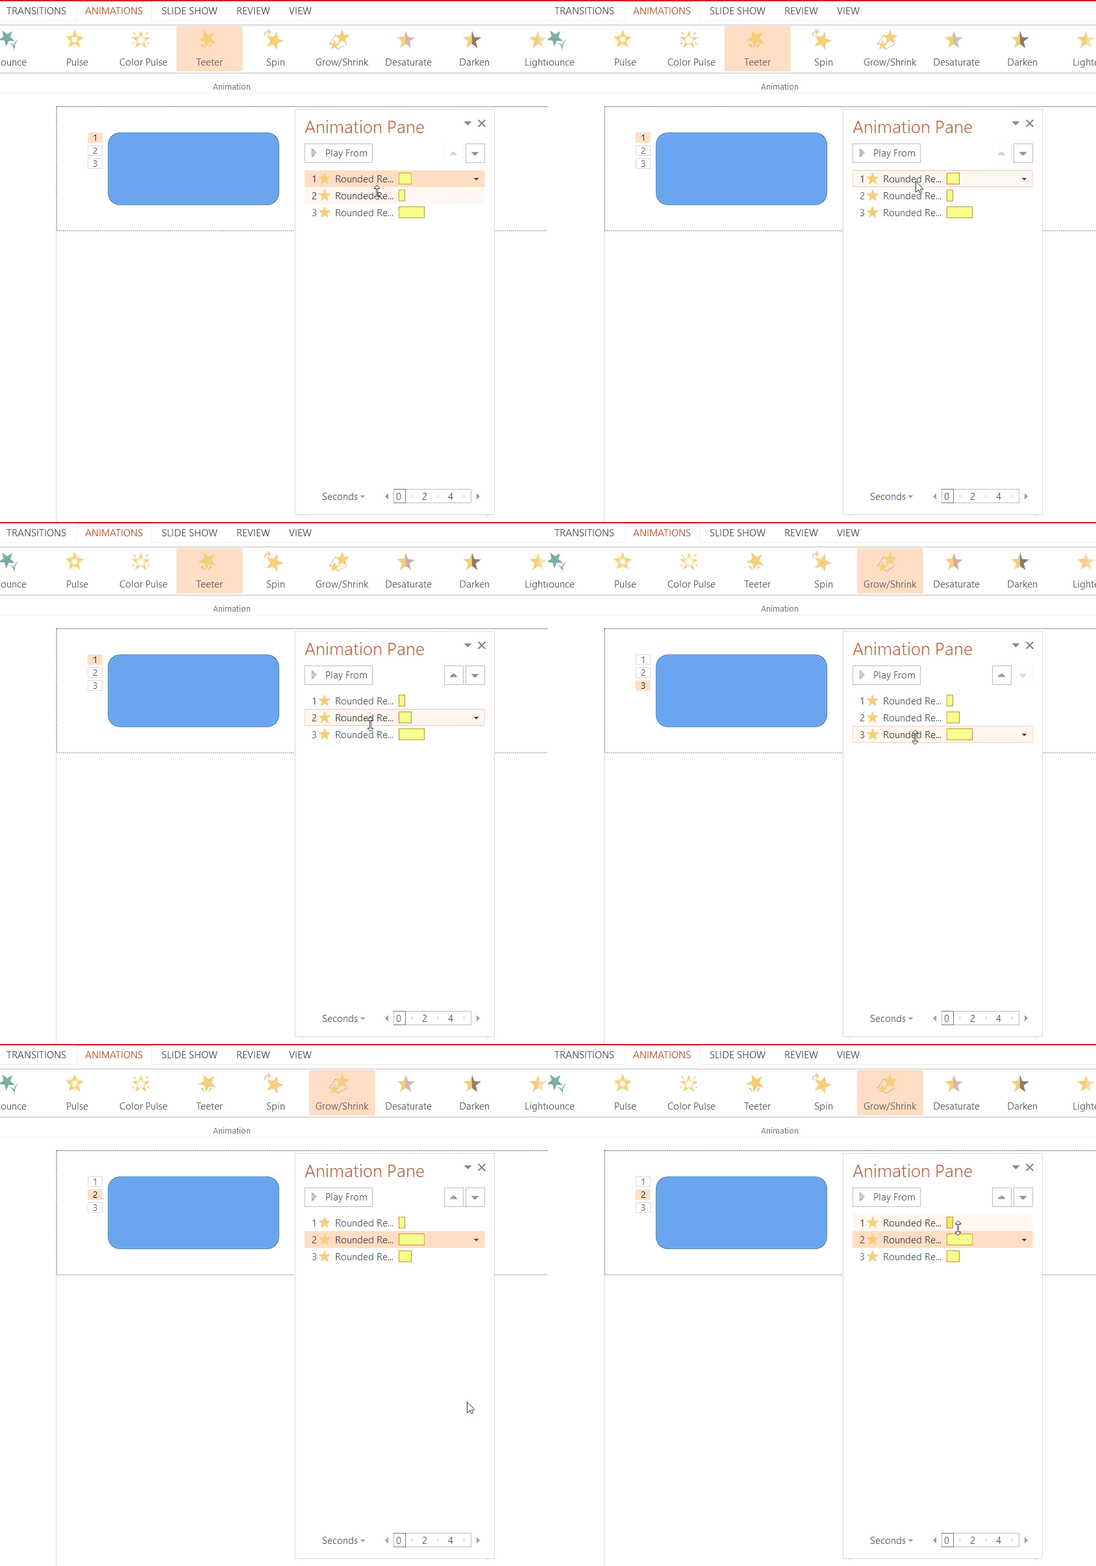
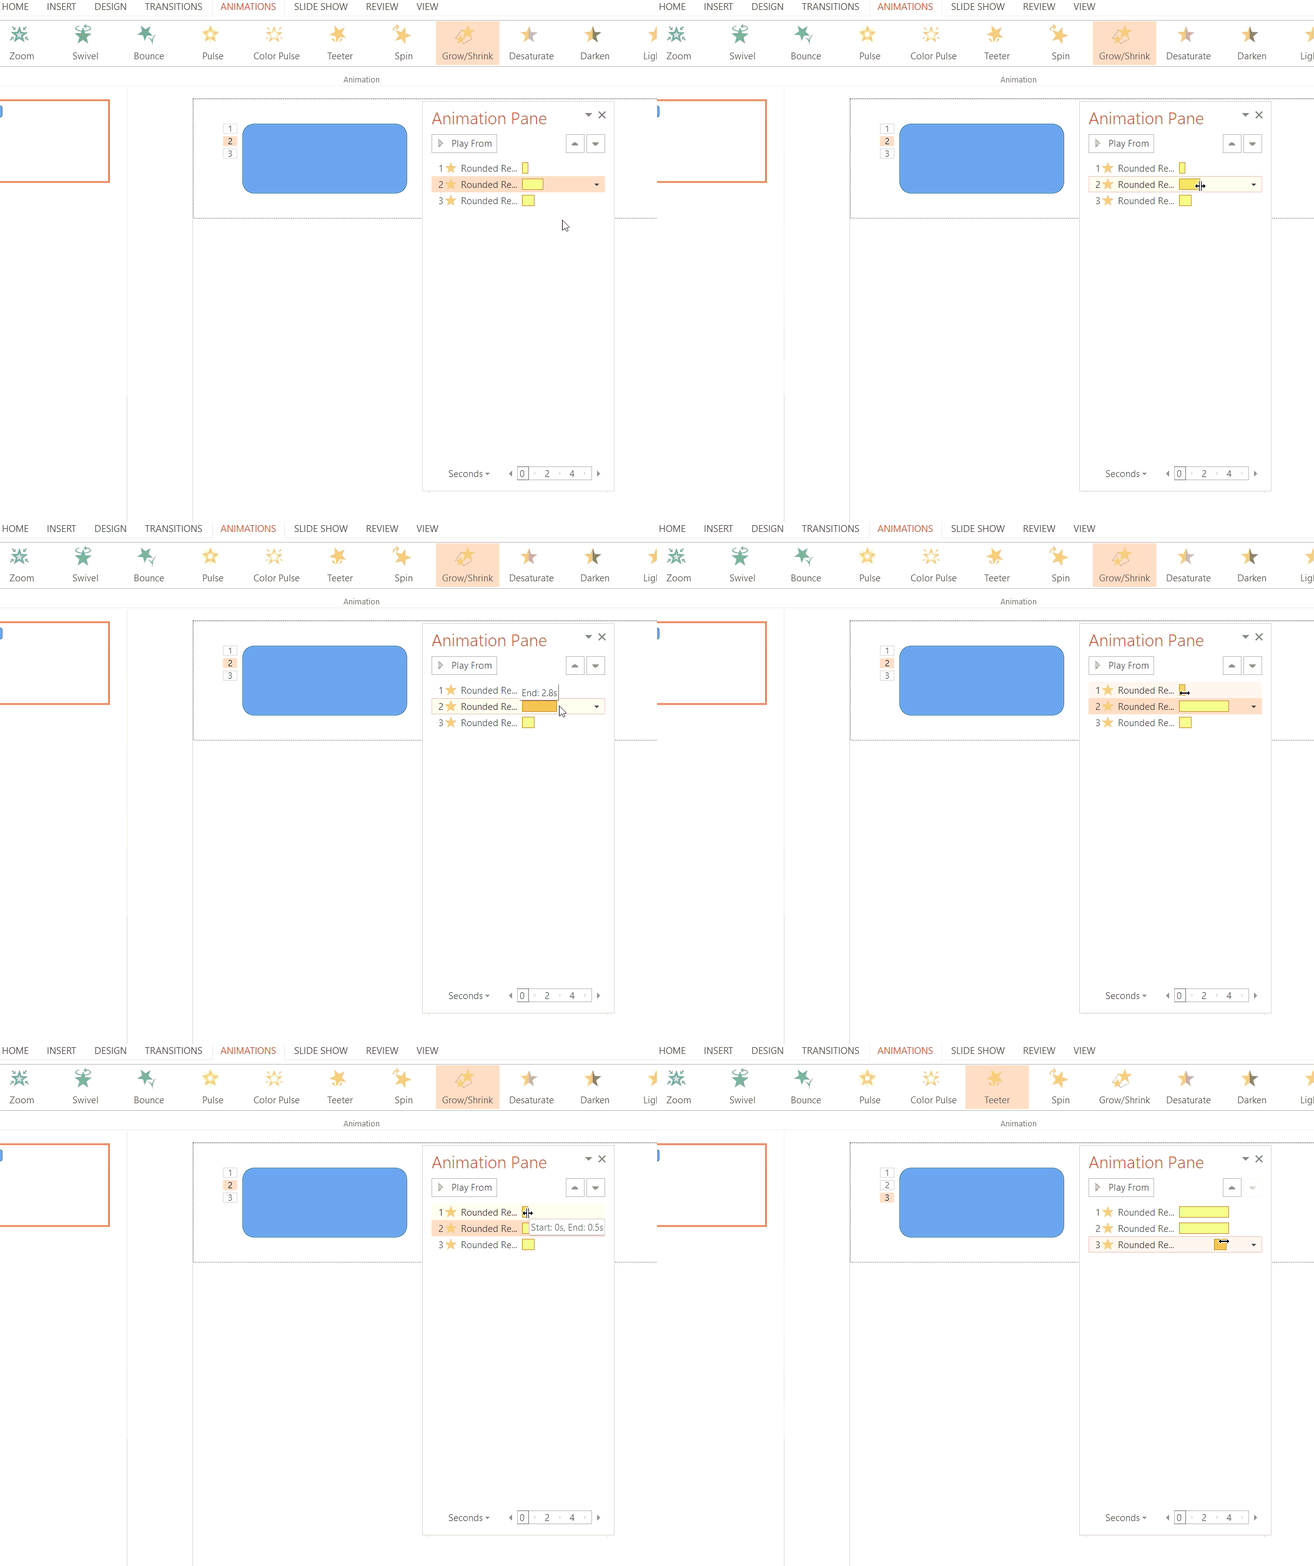
- Click the dropdown arrow next to an effect to access Timing, Effect Options, or Remove
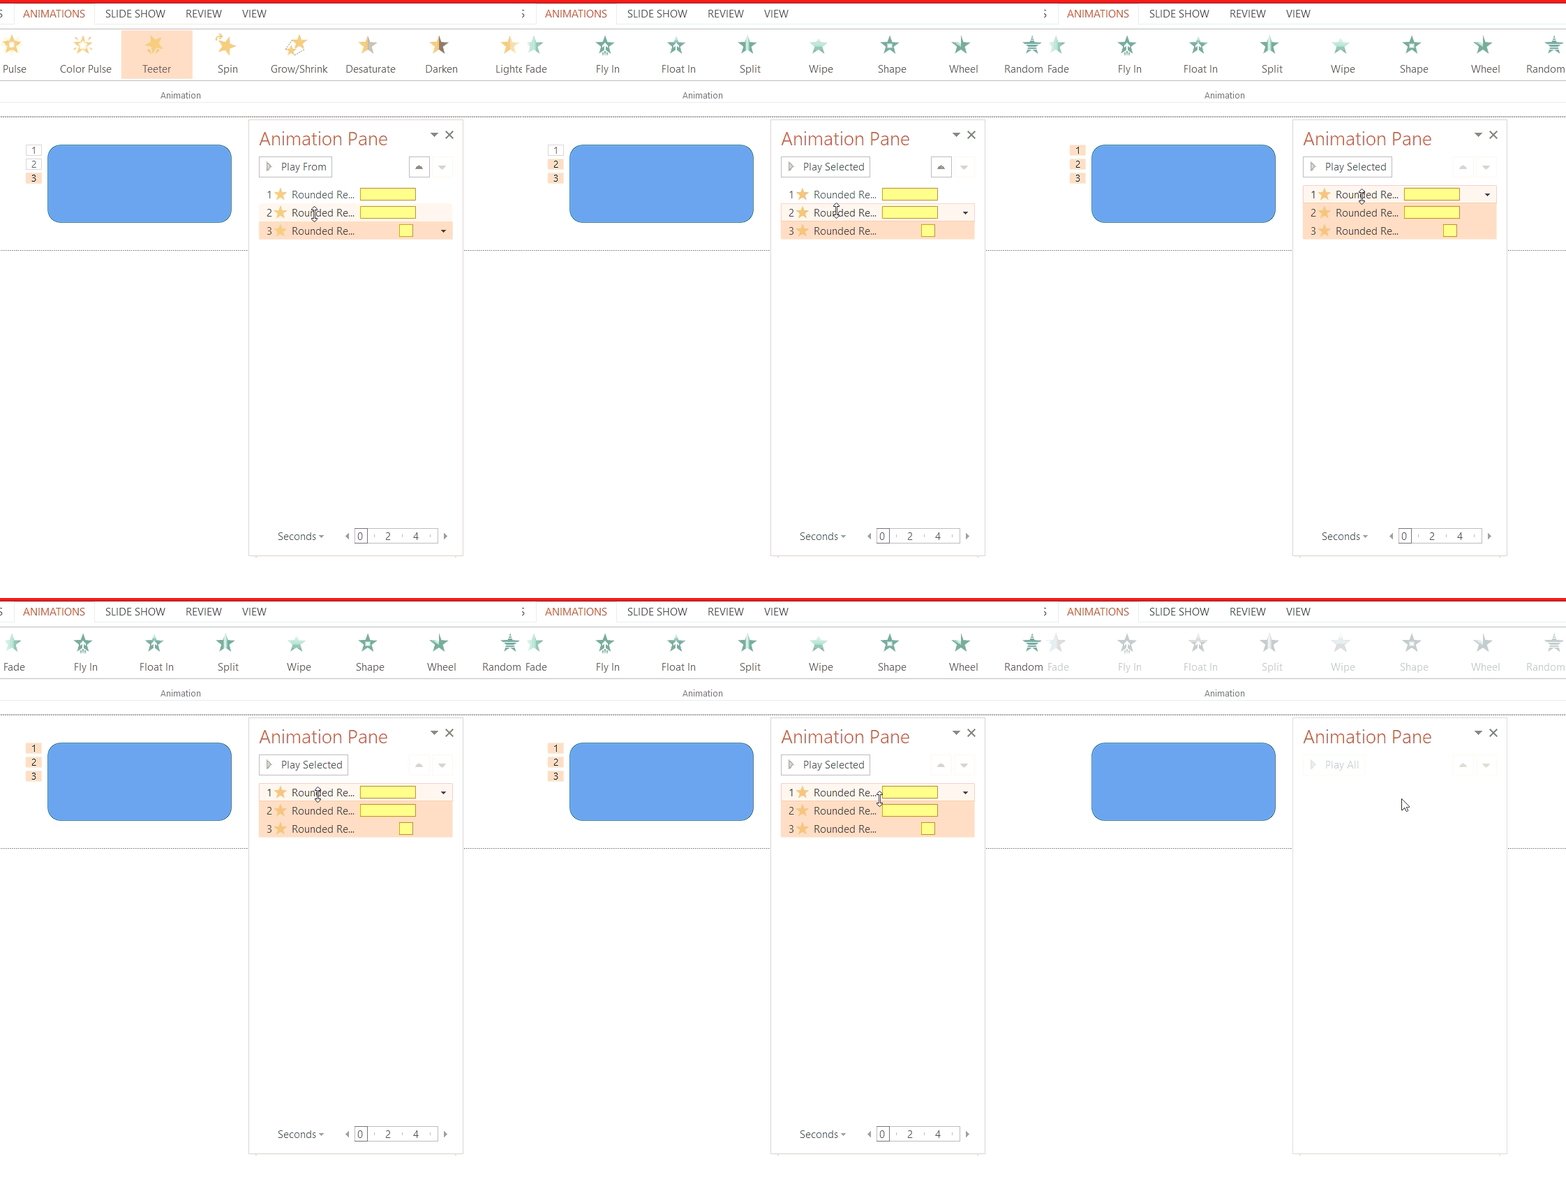
- Select multiple effects (Ctrl + click) and delete or reorder them together
Useful Custom Animation Combinations
- Entrance + Exit (object appears, then later disappears)
- Entrance + Emphasis (object appears, then pulses or changes color)
- Motion Path + Emphasis
- Multiple Motion Paths on the same object for complex movement
