Playwright is a powerful end-to-end testing framework that integrates seamlessly with Next.js to automate browser interactions and verify application behavior across different browsers.
- Supports end-to-end testing across multiple browsers.
- Automates user interactions such as clicks, navigation, and form submissions.
- Tests applications with both server-side and client-side rendering.
- Ensures application reliability by validating complete user workflows.
Steps to Set Up Playwright Testing in Next.js
Follow the steps given below:
Step 1: Create a New Next.js Application
Create a Next.js project using the following commands:
npx create-next-app@latest next-playwright-app
cd next-playwright-app
Step 2: Install Playwright
Install Playwright using the following command:
npm init playwright@latestYou will be prompted with the following questions to choose how you would like to set up Playwright:
✔ Do you want to use TypeScript or JavaScript? · JavaScript
✔ Where to put your end-to-end tests? · tests/e2e
✔ Add a GitHub Actions workflow? (y/N) · false
✔ Install Playwright browsers (can be done manually via 'npx playwright install')? (Y/n) · true
We can also use the below command for automatic project setup along with playwright
npx create-next-app@latest --example with-playwright with-playwright-appStep 3: Configure the Test Script
Add the following script to your package.json file:
"scripts": {
  "test:e2e": "playwright test"
}
Step 4: Project Structure
After installation, Playwright creates the required configuration files and test directory.
next-playwright-app/
│
├── app/
├── tests/
│   └── example.spec.js
├── playwright.config.js
├── package.json
└── ...
Step 5: Create the Application
Create the following file:
app/page.js"use client";
import { useState } from "react";
export default function Counter() {
const [count, setCount] = useState(0);
return (
<main style={{ padding: "30px" }}>
<h1>Counter: {count}</h1>
<button onClick={() => setCount(count + 1)}>
Increment
</button>
<button
onClick={() => setCount(count - 1)}
style={{ marginLeft: "10px" }}
>
Decrement
</button>
</main>
);
}
Note: You can replace the default example.spec.js file generated by Playwright with counter.spec.js, or delete the default file and create a new one.
Step 6: Create a Playwright Test
Open the existing tests/example.spec.js file and replace its contents with the following code:
import { test, expect } from "@playwright/test";

test("Counter increment and decrement", async ({ page }) => {
  await page.goto("http://localhost:3000");

  // Verify initial counter value
  await expect(page.getByRole("heading")).toContainText("Counter: 0");

  // Increment counter
  await page.getByRole("button", { name: "Increment" }).click();
  await expect(page.getByRole("heading")).toContainText("Counter: 1");

  // Decrement counter
  await page.getByRole("button", { name: "Decrement" }).click();
  await expect(page.getByRole("heading")).toContainText("Counter: 0");
});
Step 7: Run the Tests
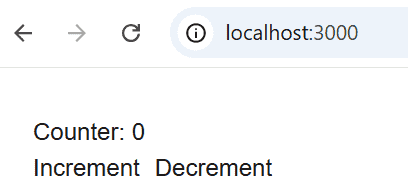
Start the Next.js development server.
npm run devOutput:
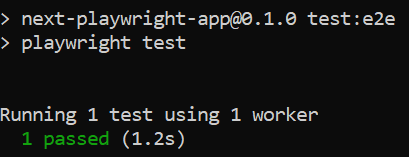
In another terminal, execute the Playwright tests.
npm run test:e2eOutput:
Step 8: View the HTML Test Report
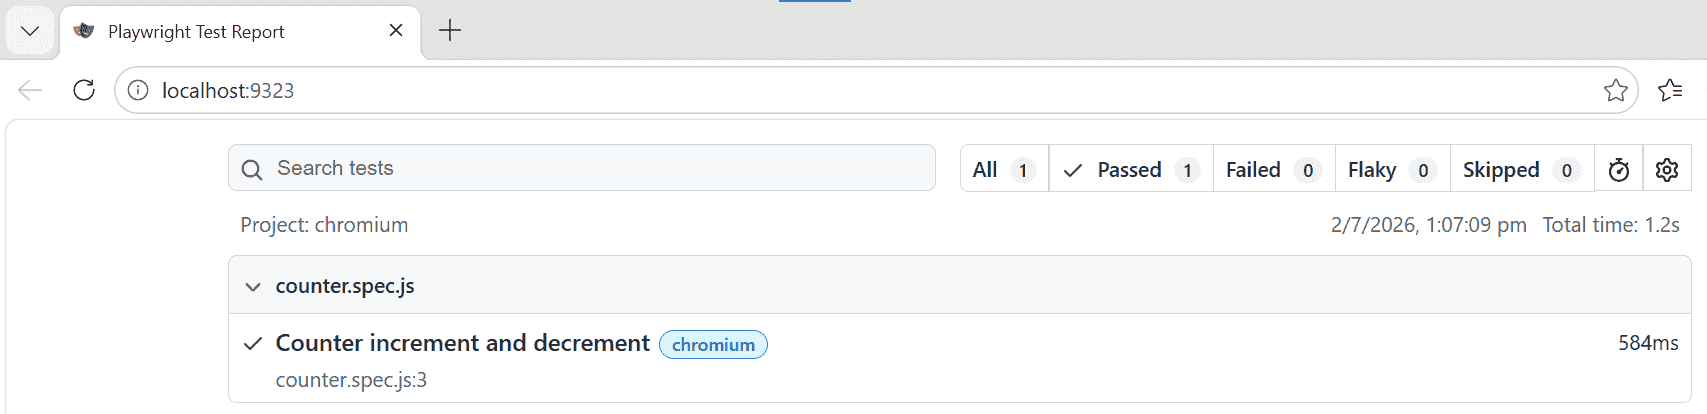
To view the HTML test report generated after executing the test cases, run:
npx playwright show-reportOutput: