


Workday
Merge lets you securely connect your agents to Workday and thousands of tools instantly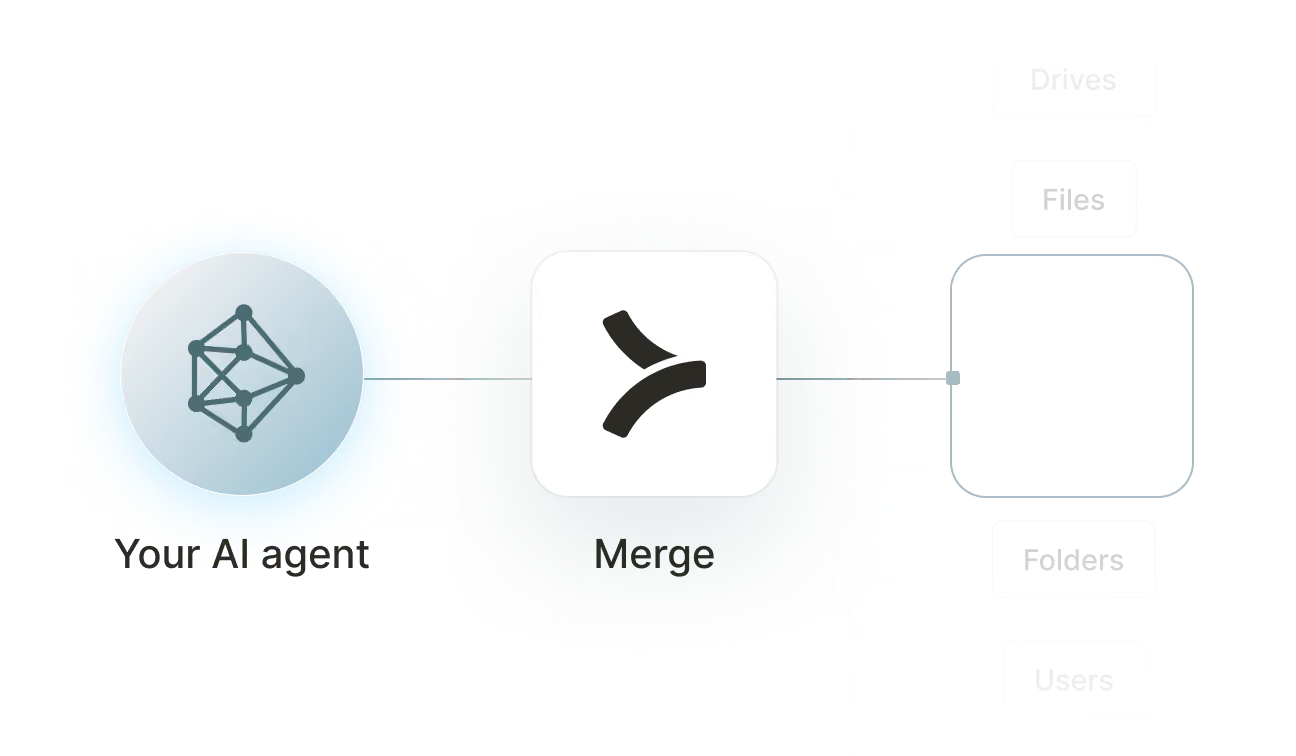

Available tools

How to set upMerge Agent Handler
In an mcp.json file, add the configuration below, and restart Cursor.
Learn more in the official documentation ↗
1{
2  "mcpServers": {
3    "agent-handler": {
4      "url": "https://ah-api-develop.merge.dev/api/v1/tool-packs/{TOOL_PACK_ID}/registered-users/{REGISTERED_USER_ID}/mcp",
5      "headers": {
6        "Authorization": "Bearer yMt*****"
7      }
8    }
9  }
10}
Copy Code
Open your Claude Desktop configuration file and add the server configuration below. You'll also need to restart the application for the changes to take effect.
Make sure Claude is using the Node v20+.
Learn more in the official documentation ↗
1{
2  "mcpServers": {
3    "agent-handler": {
4      "command": "npx",
5      "args": [
6        "-y",
7        "mcp-remote@latest",
8        "https://ah-api-develop.merge.dev/api/v1/tool-packs/{TOOL_PACK_ID}/registered-users/{REGISTERED_USER_ID}/mcp",
9        "--header",
10        "Authorization: Bearer ${AUTH_TOKEN}"
11      ],
12      "env": {
13        "AUTH_TOKEN": "yMt*****"
14      }
15    }
16  }
17}
Copy Code
Open your Windsurf MCP configuration file and add the server configuration below.
Click on the refresh button in the top right of the Manage MCP server page or in the top right of the chat box in the box icon.
Learn more in the official documentation ↗
1{
2    "mcpServers": {
3      "agent-handler": {
4        "command": "npx",
5        "args": [
6          "-y",
7          "mcp-remote@latest",
8          "https://ah-api.merge.dev/api/v1/tool-packs/<tool-pack-id>/registered-users/<registered-user-id>/mcp",
9          "--header",
10          "Authorization: Bearer ${AUTH_TOKEN}"
11        ],
12        "env": {
13          "AUTH_TOKEN": "<ah-production-access-key>"
14        }
15      }
16    }
17  }
Copy Code
In Command Palette (Cmd+Shift+P on macOS, Ctrl+Shift+P on Windows), run "MCP: Open User Configuration".
You can then add the configuration below and press "start" right under servers. Enter the auth token when prompted.
Learn more in the official documentation ↗
1{
2  "inputs": [
3    {
4      "type": "promptString",
5      "id": "agent-handler-auth",
6      "description": "Agent Handler AUTH_TOKEN", // "yMt*****" when prompt
7      "password": true
8    }
9  ],
10  "servers": {
11    "agent-handler": {
12      "type": "stdio",
13      "command": "npx",
14      "args": [
15        "-y",
16        "mcp-remote@latest",
17        "https://ah-api-develop.merge.dev/api/v1/tool-packs/{TOOL_PACK_ID}/registered-users/{REGISTERED_USER_ID}/mcp",
18        "--header",
19        "Authorization: Bearer ${input:agent-handler-auth}"
20      ]
21    }
22  }
23}
Copy Code
FAQ on integrating with Google Drive’s API
Heading

What is a Workday MCP server?
It’s an MCP server that lets you access data and functionality from Workday via tools. Your agents can call these tools to update employee records, retrieve compensation details on a group of employees, and more.
Workday doesn’t currently support an “official” MCP server. But you can access Workday MCP servers with dozens of tools from 3rd-party platforms, like Merge Agent Handler.
What are some common ways to use a Workday MCP server?
Here are some popular use cases:
- Employee profile lookups: Pull basic employee data for personalization, access checks, or downstream workflows (e.g., “Who is Alex’s manager?”)
- Onboarding task orchestration: When a new hire is created or starts, trigger cross-system workflows (e.g., create IT/helpdesk tickets) with Workday as the HR source of truth
- Offboarding automation and access hygiene: When a termination is recorded, coordinate de-provisioning and notify internal stakeholders (e.g., a Slack channel for IT), with Workday events driving the workflow
- Manager self-serve “HR copilot”: Let managers ask natural-language questions about team changes, start dates, roles, and tenure and get answers grounded in Workday data
- Workforce analytics and reporting: Generate headcount, attrition, hiring velocity, and department breakdowns by querying Workday worker and employment data
What makes Merge Agent Handler’s Workday MCP server better than alternative Workday MCP servers?
Here are just a few reasons:
- Enterprise-grade authentication and credential handling: Merge Agent Handler manages the auth and credential lifecycle for third-party tools so developers don’t need to build or maintain integration infrastructure themselves. This allows agents to securely interact with enterprise systems like Workday while maintaining controlled access
- Connector Studio for customization: Developers can modify existing connectors or create new ones using Connector Studio, enabling custom tools or integrations tailored to their specific agentic use cases. This allows teams to adapt Workday integrations without rebuilding the infrastructure layer
- Enterprise security with data loss protection (DLP): Agent Handler includes a Security Gateway that scans tool inputs and outputs for sensitive data and provides configurable rules to block, redact, or mask data to prevent misuse
- Real-time observability: The platform logs every tool call and underlying API request triggered by your AI agents. These logs are fully searchable and enable teams to audit behaviors and debug issues with ease
Can I set custom security rules for Workday tool calls in Merge Agent Handler?
Yes, Merge Agent Handler includes a security gateway with data loss protection (DLP) that scans tool inputs and responses for sensitive information and enforces security policies. These rules can automatically block, redact, or mask sensitive data fields during tool execution.
Here are a few custom rules you can set:
- Prevent accidental exposure of employee PII in support workflows: If your helpdesk agent pulls a worker profile from Workday, redact or block sensitive fields (e.g., SSNs, passport numbers, birthdates) so they never get copied into a ticket or chat response
- Enable manager self-serve without turning Workday into “search for everyone”: Allow managers to ask questions about their direct reports, but block broad directory scraping (like “list all employees”) for non-admin identities
- Ship a compliant employee experience across regions: Apply stricter handling for EU employees or region-specific restrictions, so the same agent can operate globally without violating local requirements
- Reduce risk in sensitive offboarding conversations: If an agent is asked about “termination reason” or similar sensitive custom fields, require extra justification, redact details, or block the request outright
- Stop unauthorized employee data changes: Block all Workday write actions by default, then allow only a small approved set of “safe” updates for designated service accounts or workflows
How can I start using Merge Agent Handler’s Workday MCP server?
You can follow these steps:
1. Create an Agent Handler account and sign in.
2. Create (or select) a Registered User for the identity you want to act as. This is the identity boundary Agent Handler uses to scope credentials and audit logs.
3. Add the Workday connector and configure its tool access. Do this in Agent Handler so the tools you need are available to your agent via MCP (and scoped appropriately).
4. Create a Tool Pack that includes Workday. Tool Packs define the set of tools your MCP client will see when it connects.
5. Have the Registered User authenticate to Workday via Merge Link. Agent Handler will prompt for auth if the user isn't connected yet, and store the Workday credentials under that Registered User.
6. Generate your MCP connection config. The MCP endpoint comes in the following form: https://ah-api-develop.merge.dev/api/v1/tool-packs/{TOOL_PACK_ID}/registered-users/{REGISTERED_USER_ID}/mcp
7. Add that MCP server to your MCP client (Claude Desktop, Windsurf, VS Code, Cursor). Use the provided JSON config pattern for your client, and make sure you are on Node v20 if you are using the <code class="blog_inline-code">npx mcp-remote</code> flow.
8. Authenticate the MCP connection with your Agent Handler API key.Your MCP client sends it as <code class="blog_inline-code">Authorization: Bearer ${AUTH_TOKEN}</code> and you can rotate it as needed.
9. Test a few Workday tool calls, then verify in your logs. Run simple prompts first, and confirm the tool calls and underlying requests look correct in Agent Handler’s logs.
10. Add rules before going to production. Set DLP and access-control rules per connector/tool, and optionally by region, to block or redact sensitive HR data.
Can employees use Merge Agent Handler to connect their AI tools to Workday?
Yes, Agent Handler for Employees lets your employees connect Claude, ChatGPT, Microsoft Copilot, Cursor, and other MCP-compatible AI tools to Workday without bypassing IT governance.
Instead of setting up direct connections with personal credentials that IT can't monitor or revoke, each employee authenticates through Agent Handler and gets individual credentials tied to their identity.
IT also provisions access by role or group via SCIM. An HR manager, for example, gets Workday access to manage employee records and org changes, BambooHR to track PTO and HR data, and Google Sheets to report headcount; while a finance analyst gets Workday access to pull compensation data, NetSuite to close books, and Expensify to reconcile expenses.
Every tool call an employee's AI makes to Workday is also inspected against your DLP rules and logged to a searchable audit trail, giving security teams full visibility into what data was accessed and by whom.
Explore other MCP servers built and managed by Merge
View Docs


























Ready to try it out?
Whether you're an engineer experimenting with agents or a product manager looking to add tools, you can get started for free now

