


Chapter 3: Barrier Core does not have any collectibles or secret areas to find. Players can get 100% completion for the level by simply going through the objectives in Chapter 3.
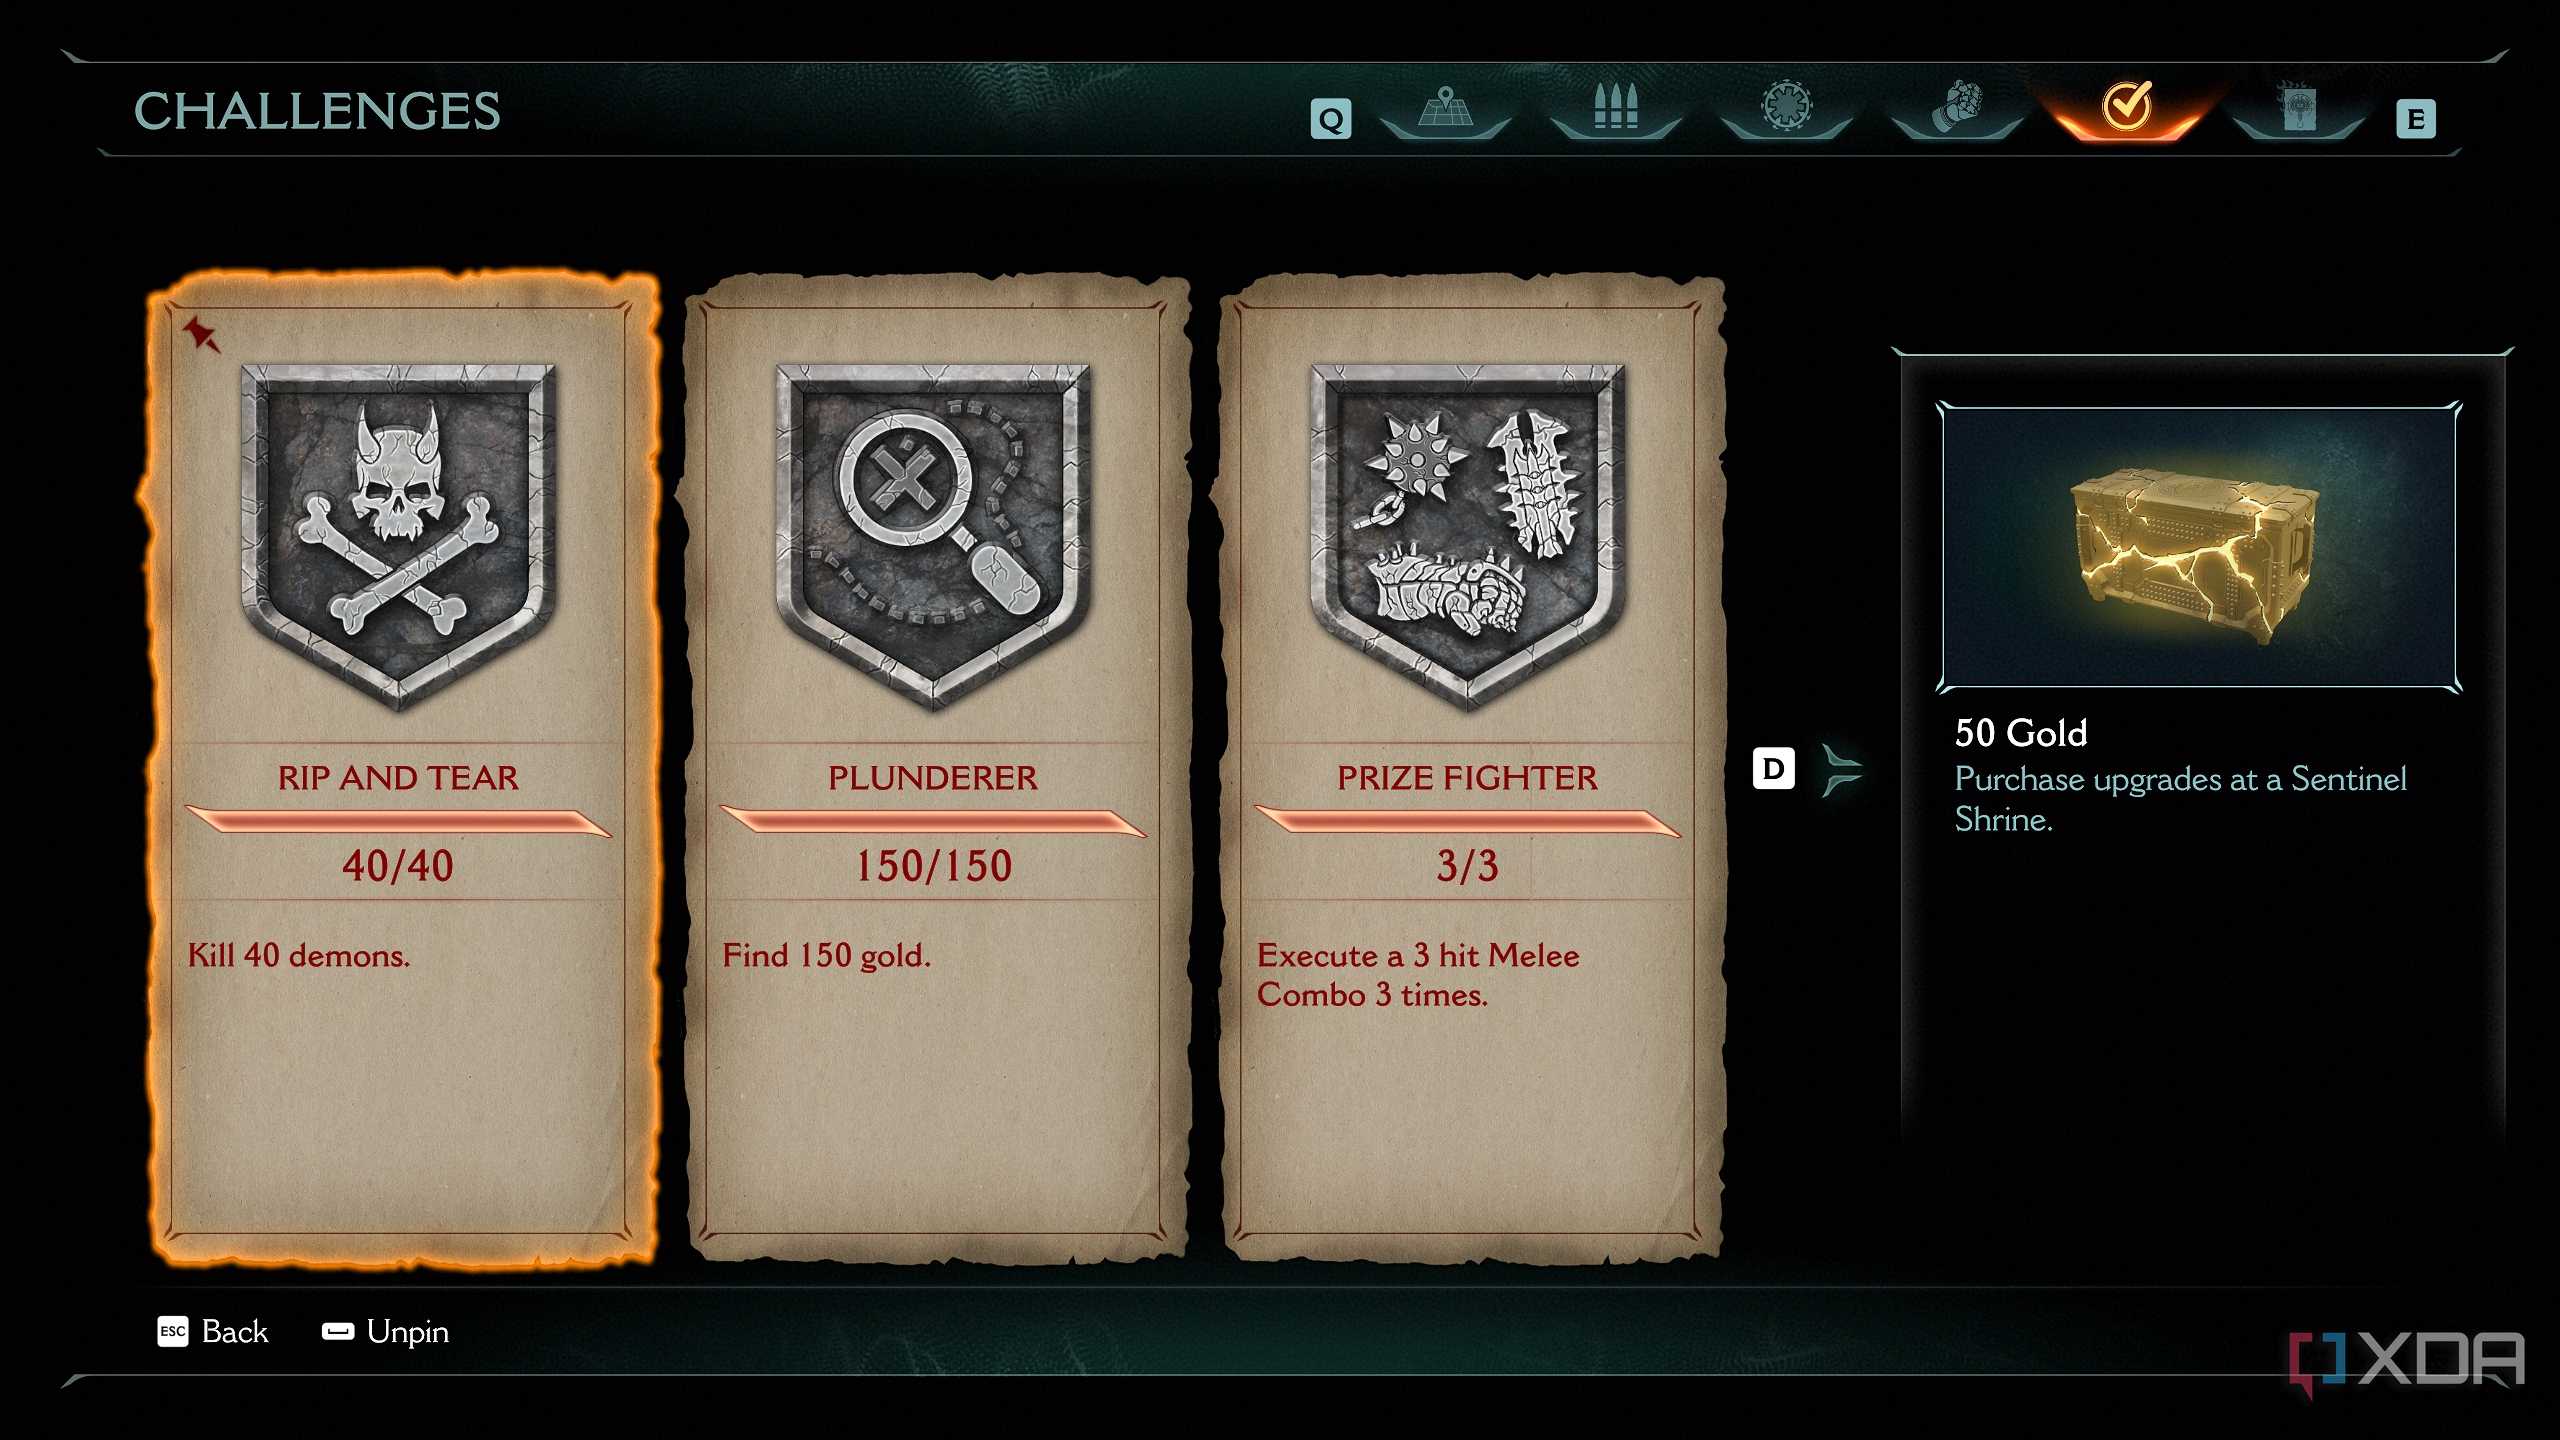
Chapter 4: Sentinel Barracks in Doom: The Dark Ages introduces mission challenges for the Slayer to complete.
In order to get 100% completion, make sure you complete the mission challenges for this level.
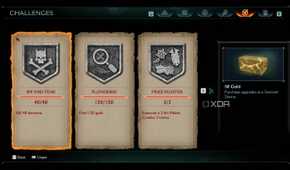
Chapter 4’s mission challenges are-
- Killing 40 demons
- Finding 150 gold
- Executing a 3-hit Melee Combo thrice
Chapter 4: Sentinel Barracks in Doom: The Dark Ages brings the army of Argent D'Nur closer
The Slayer fights alongside his brethren


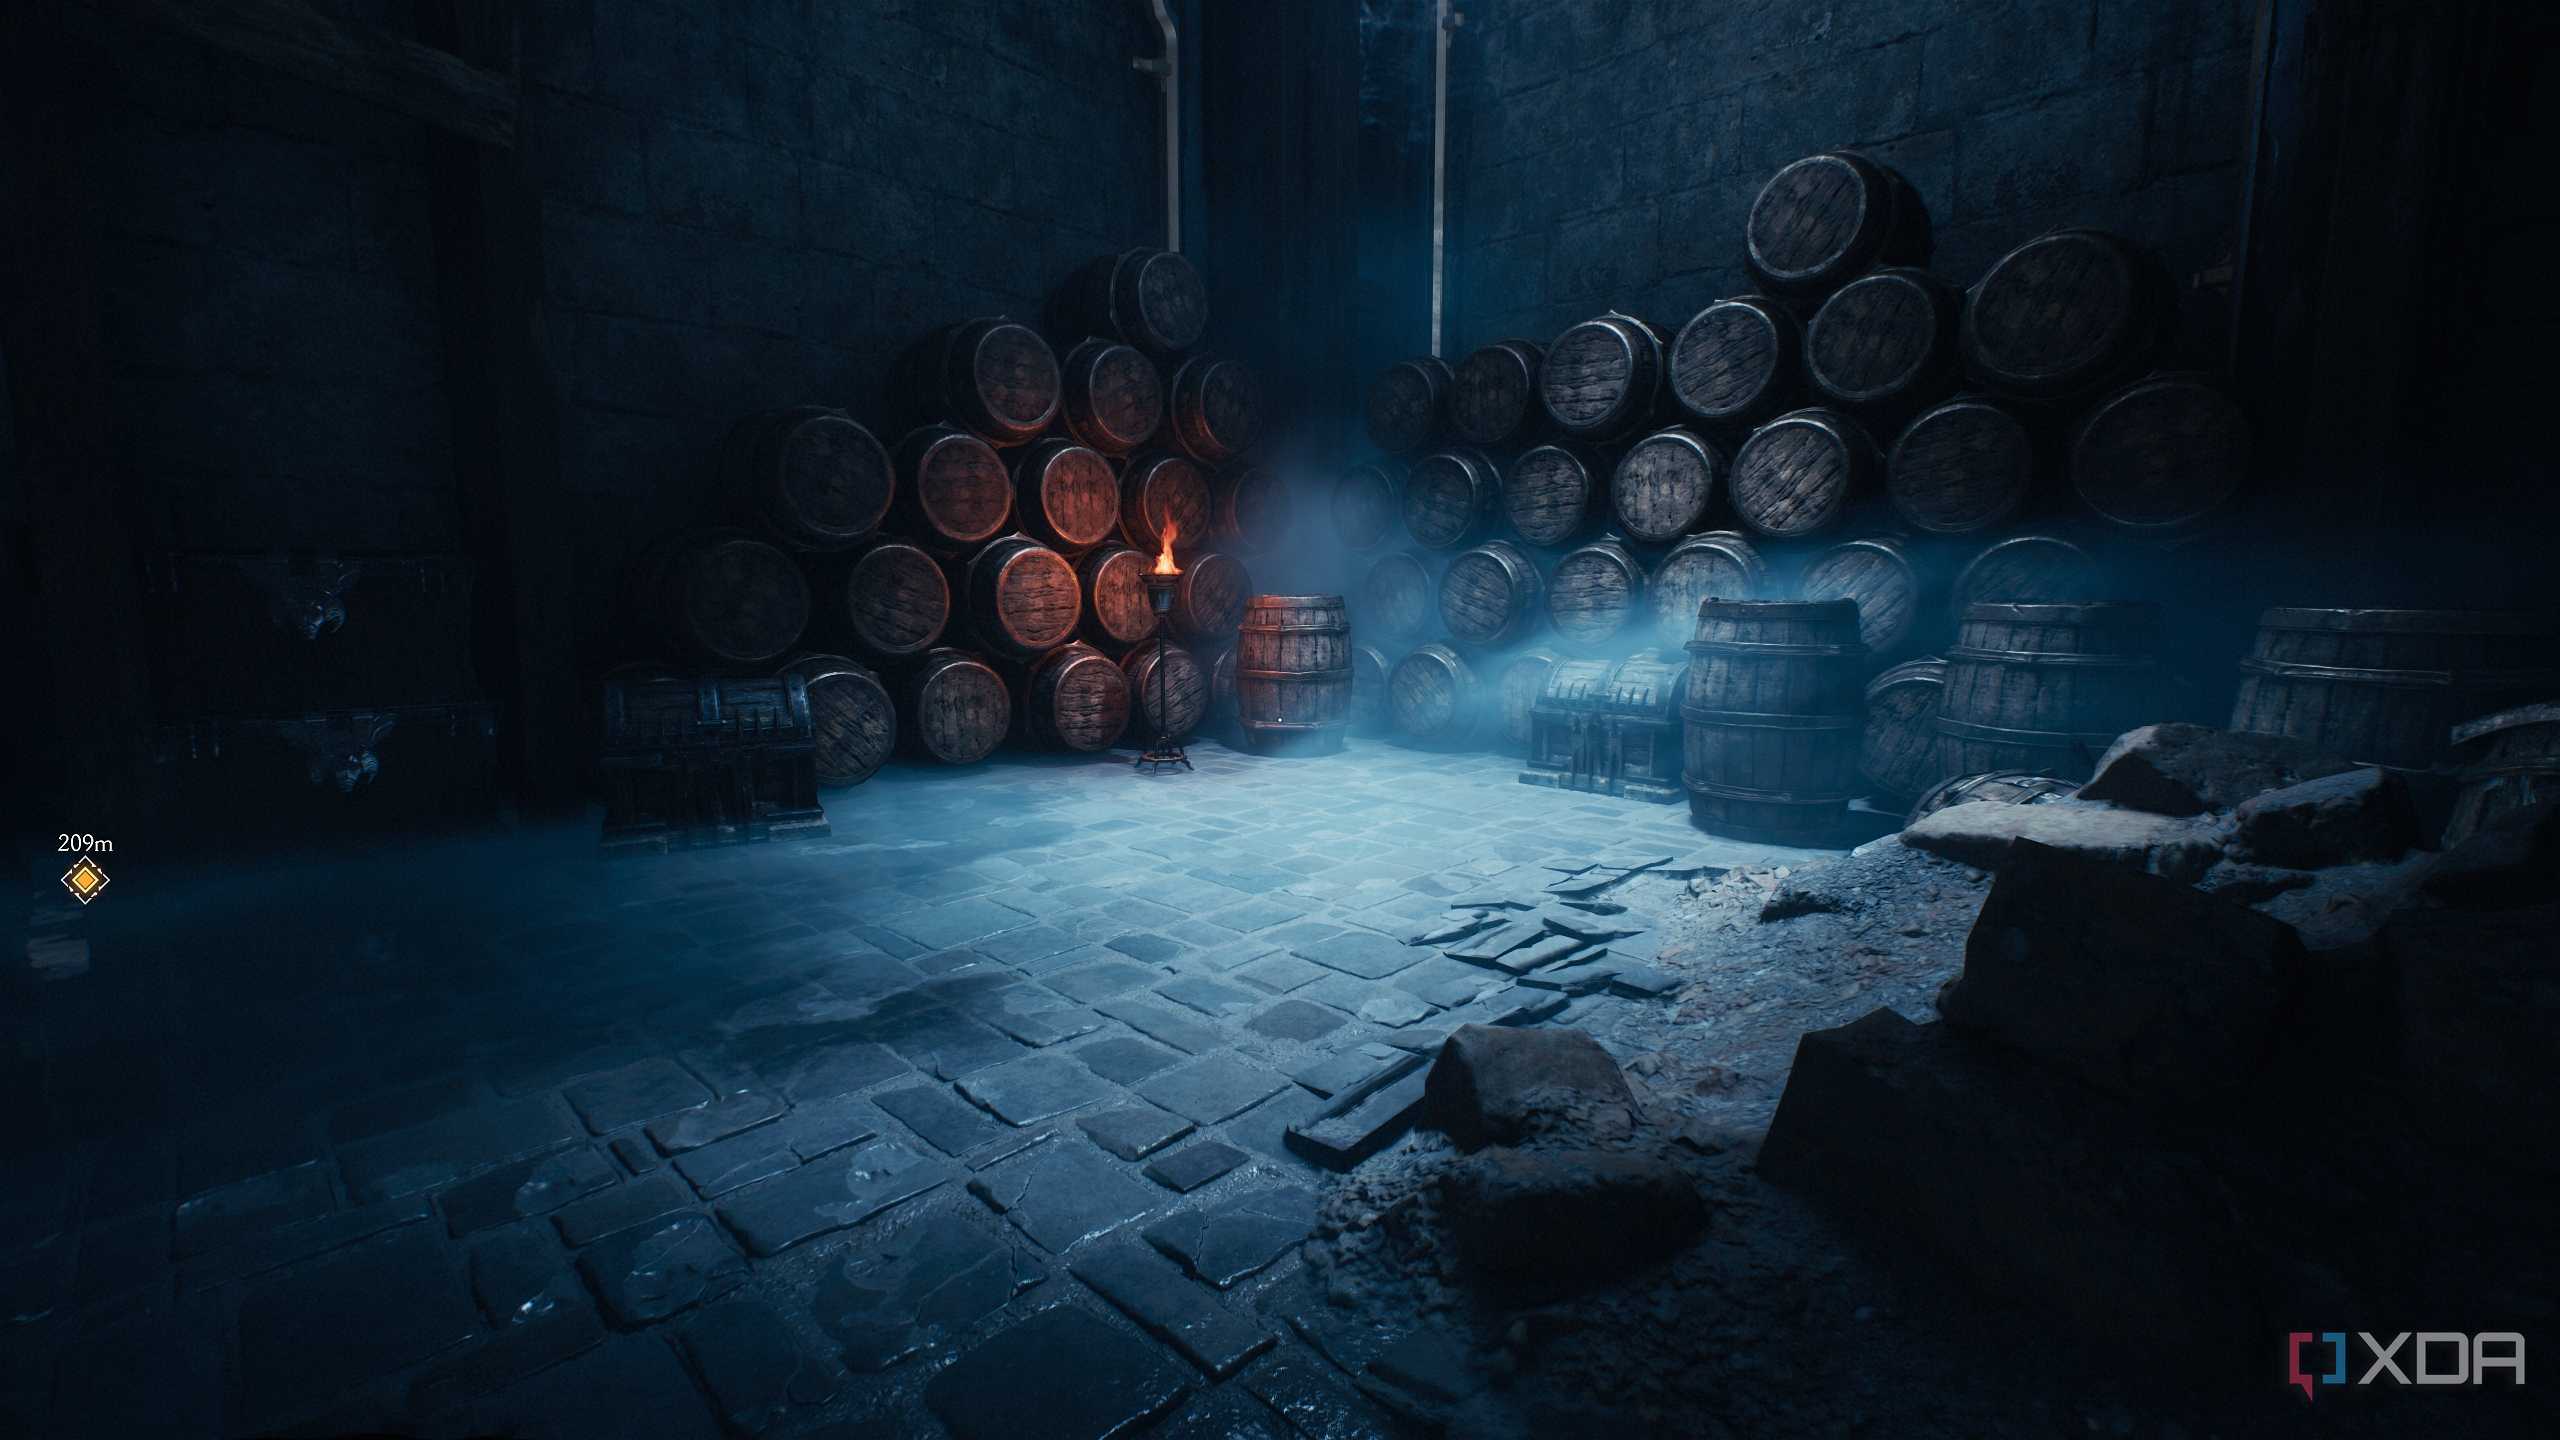
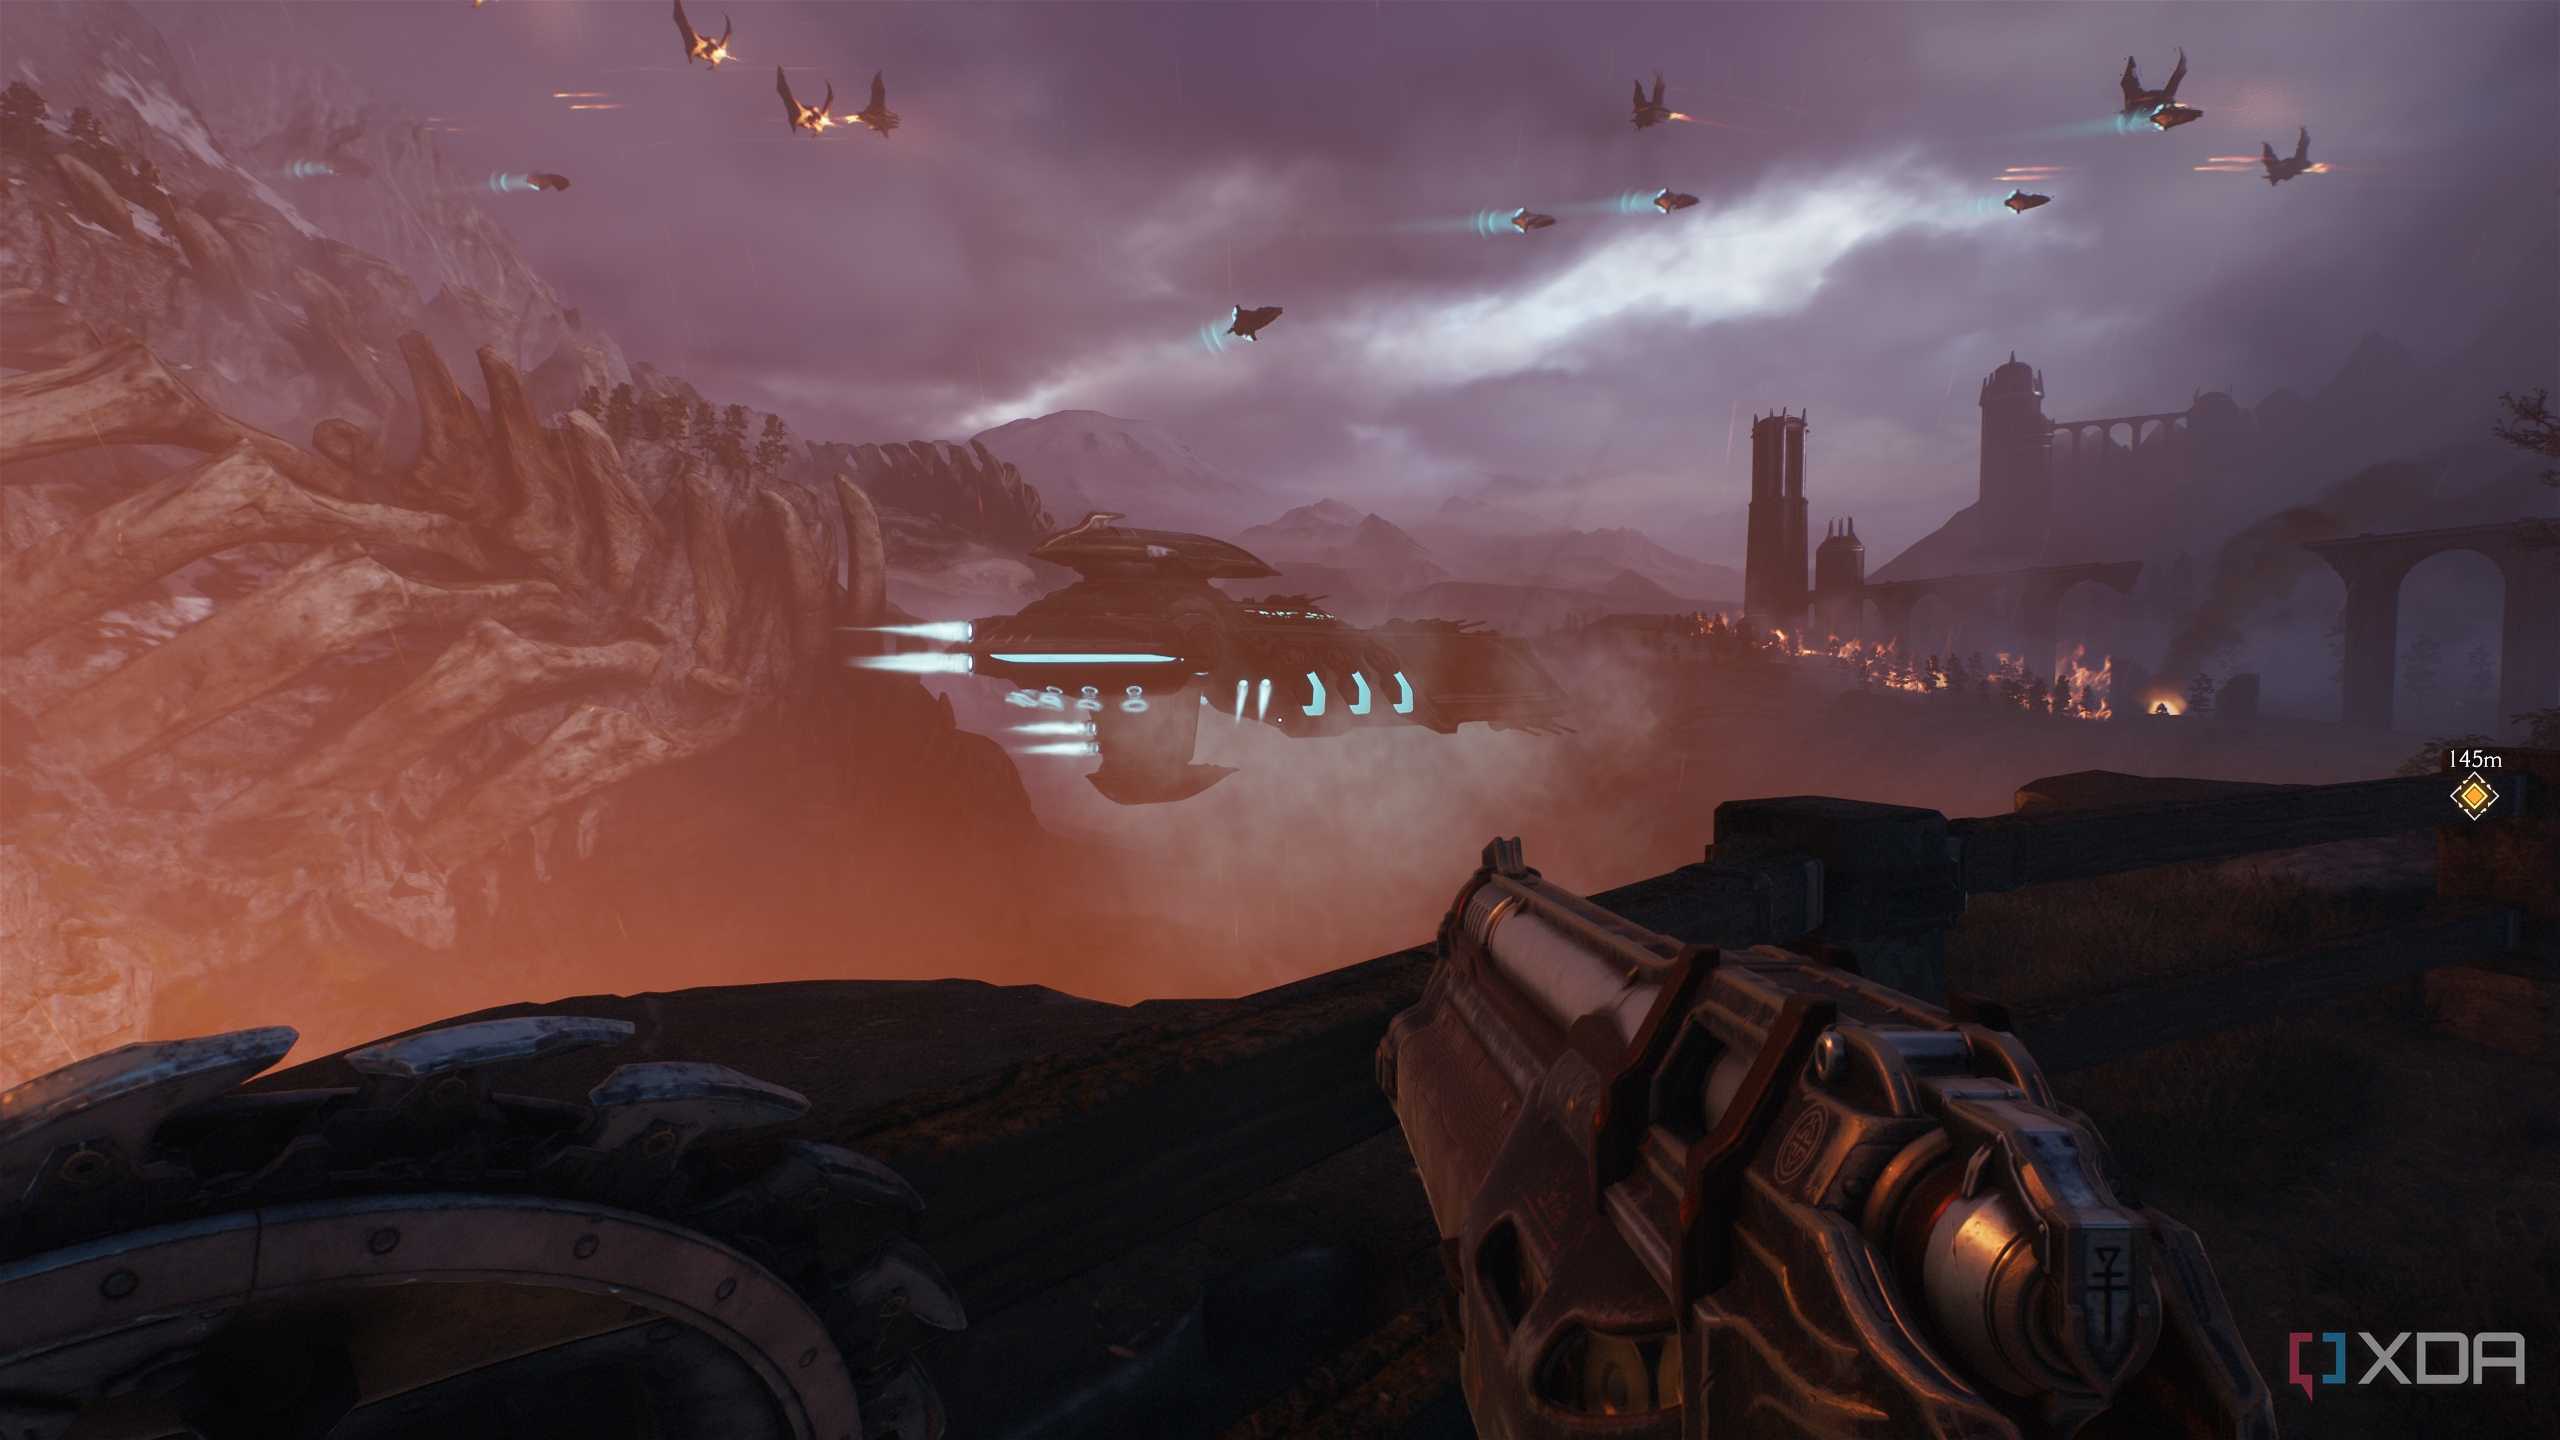
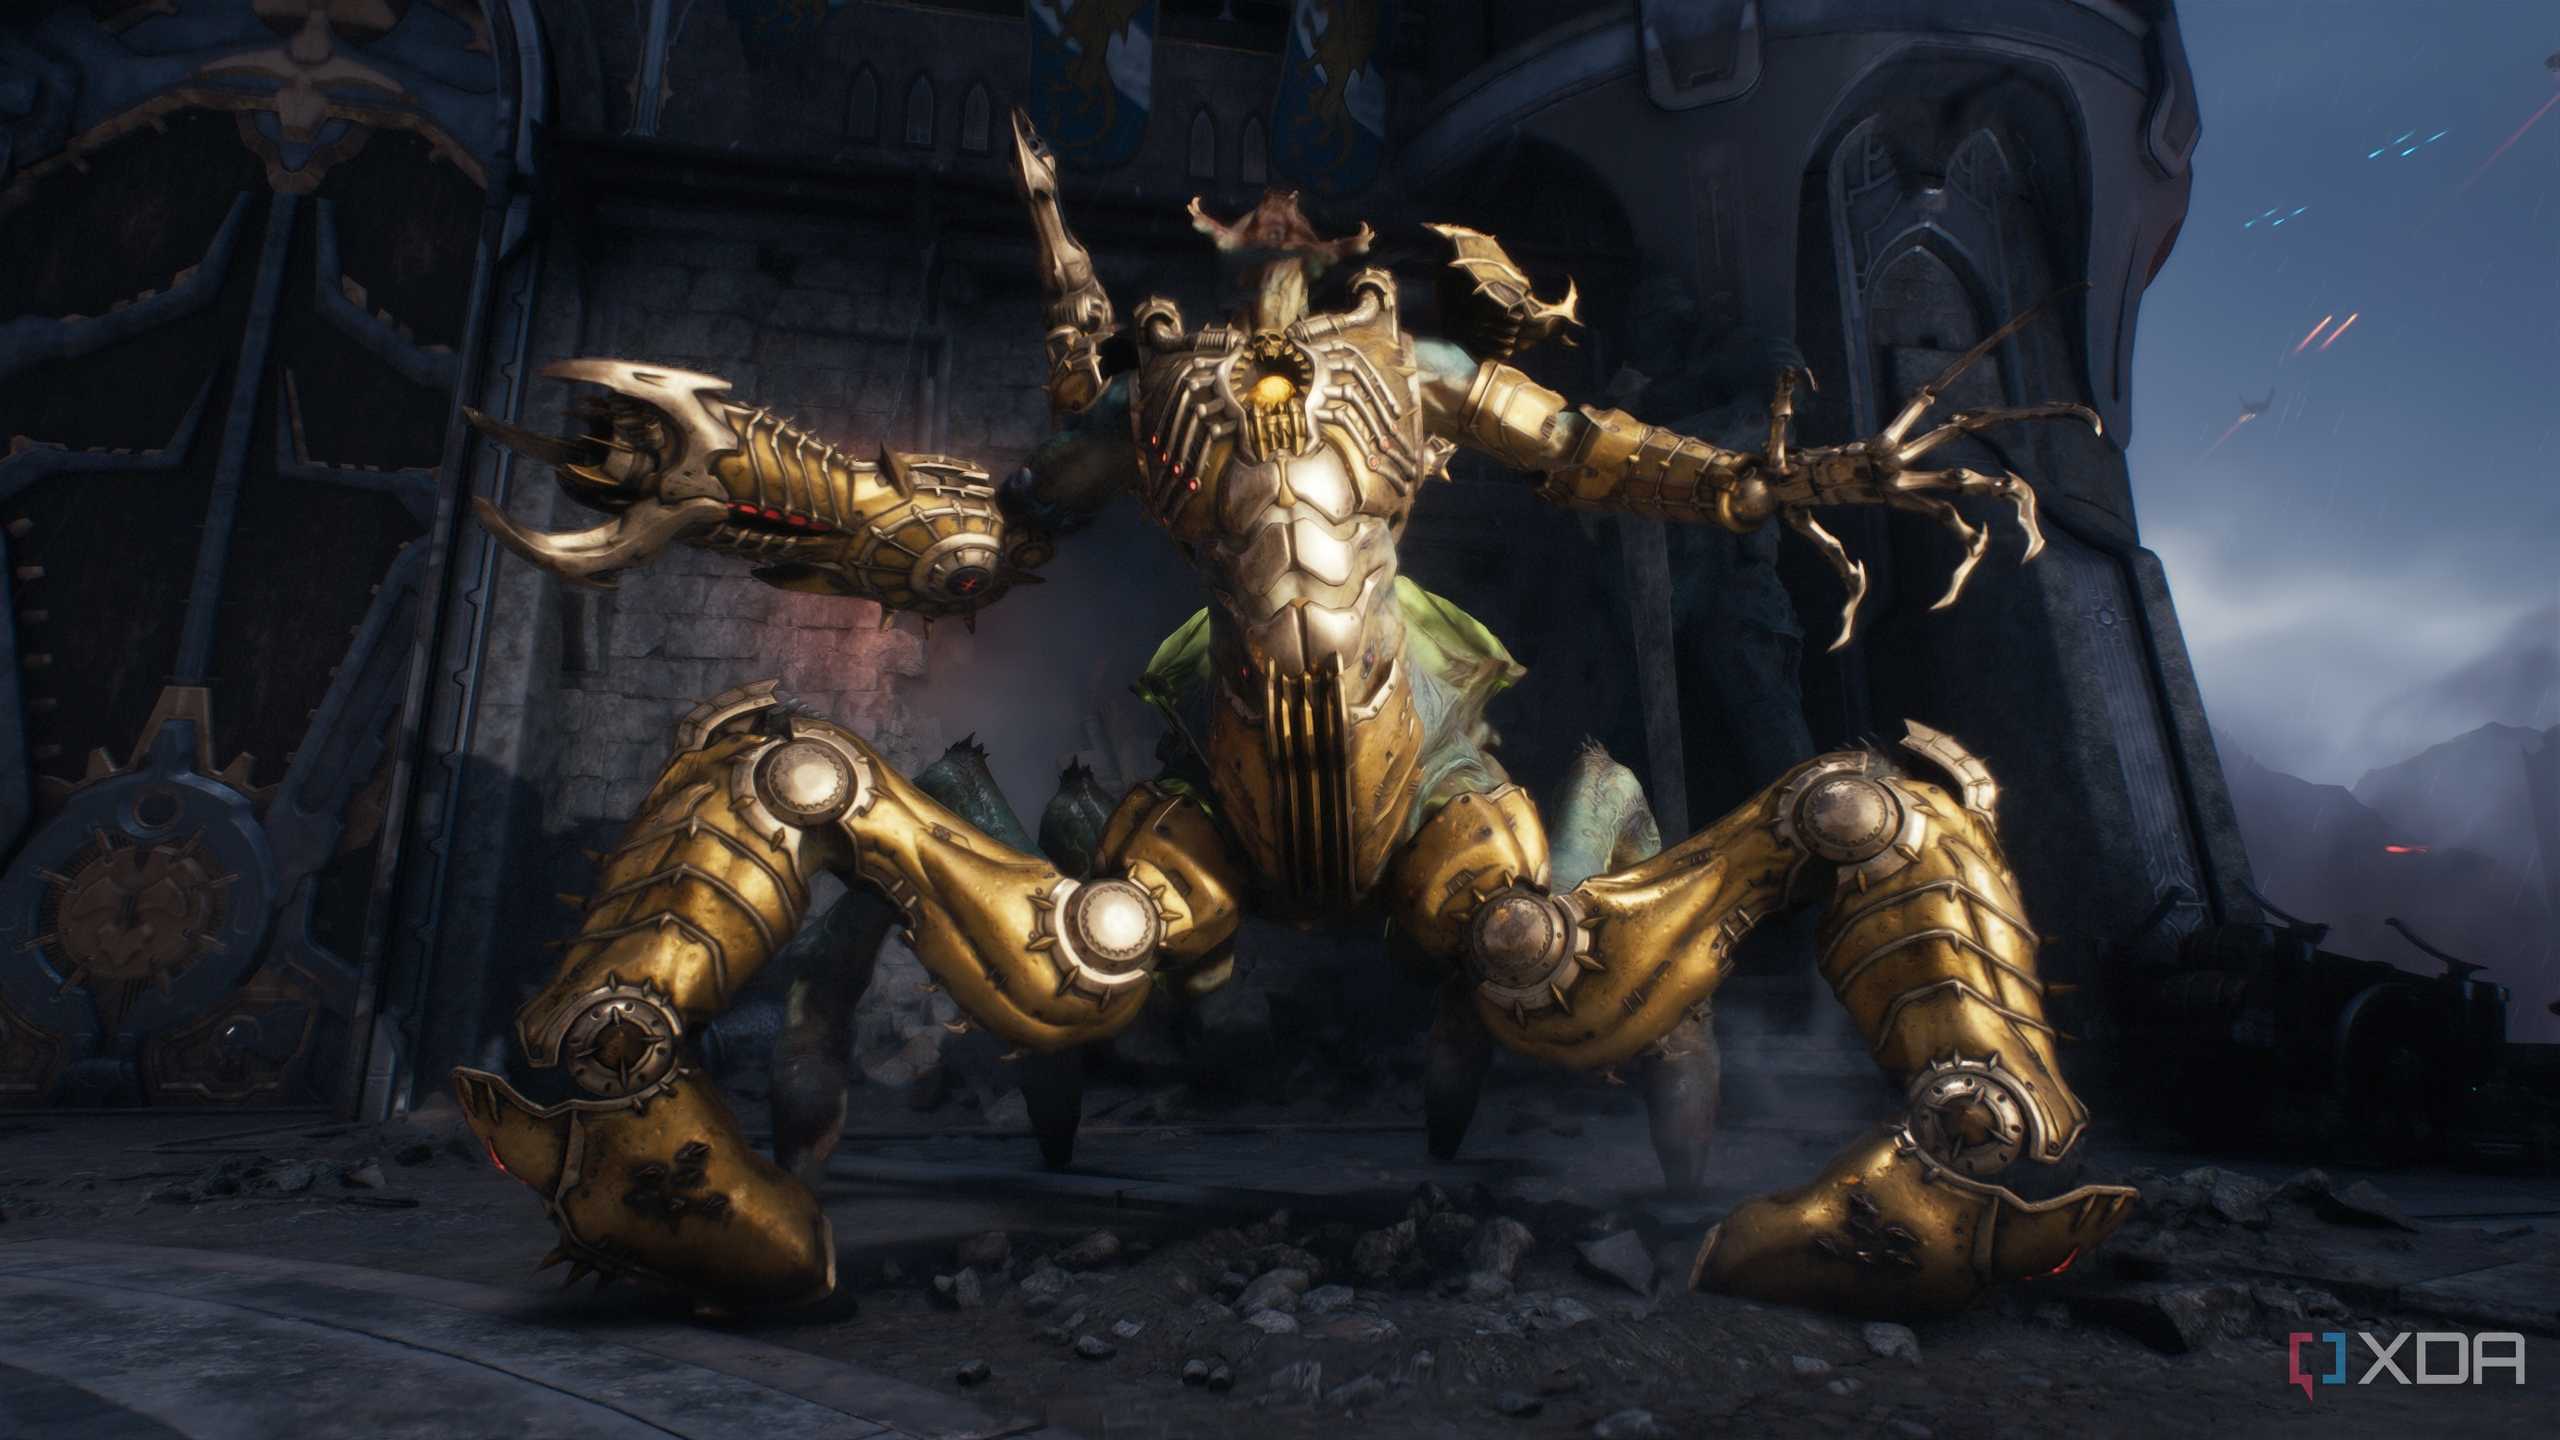
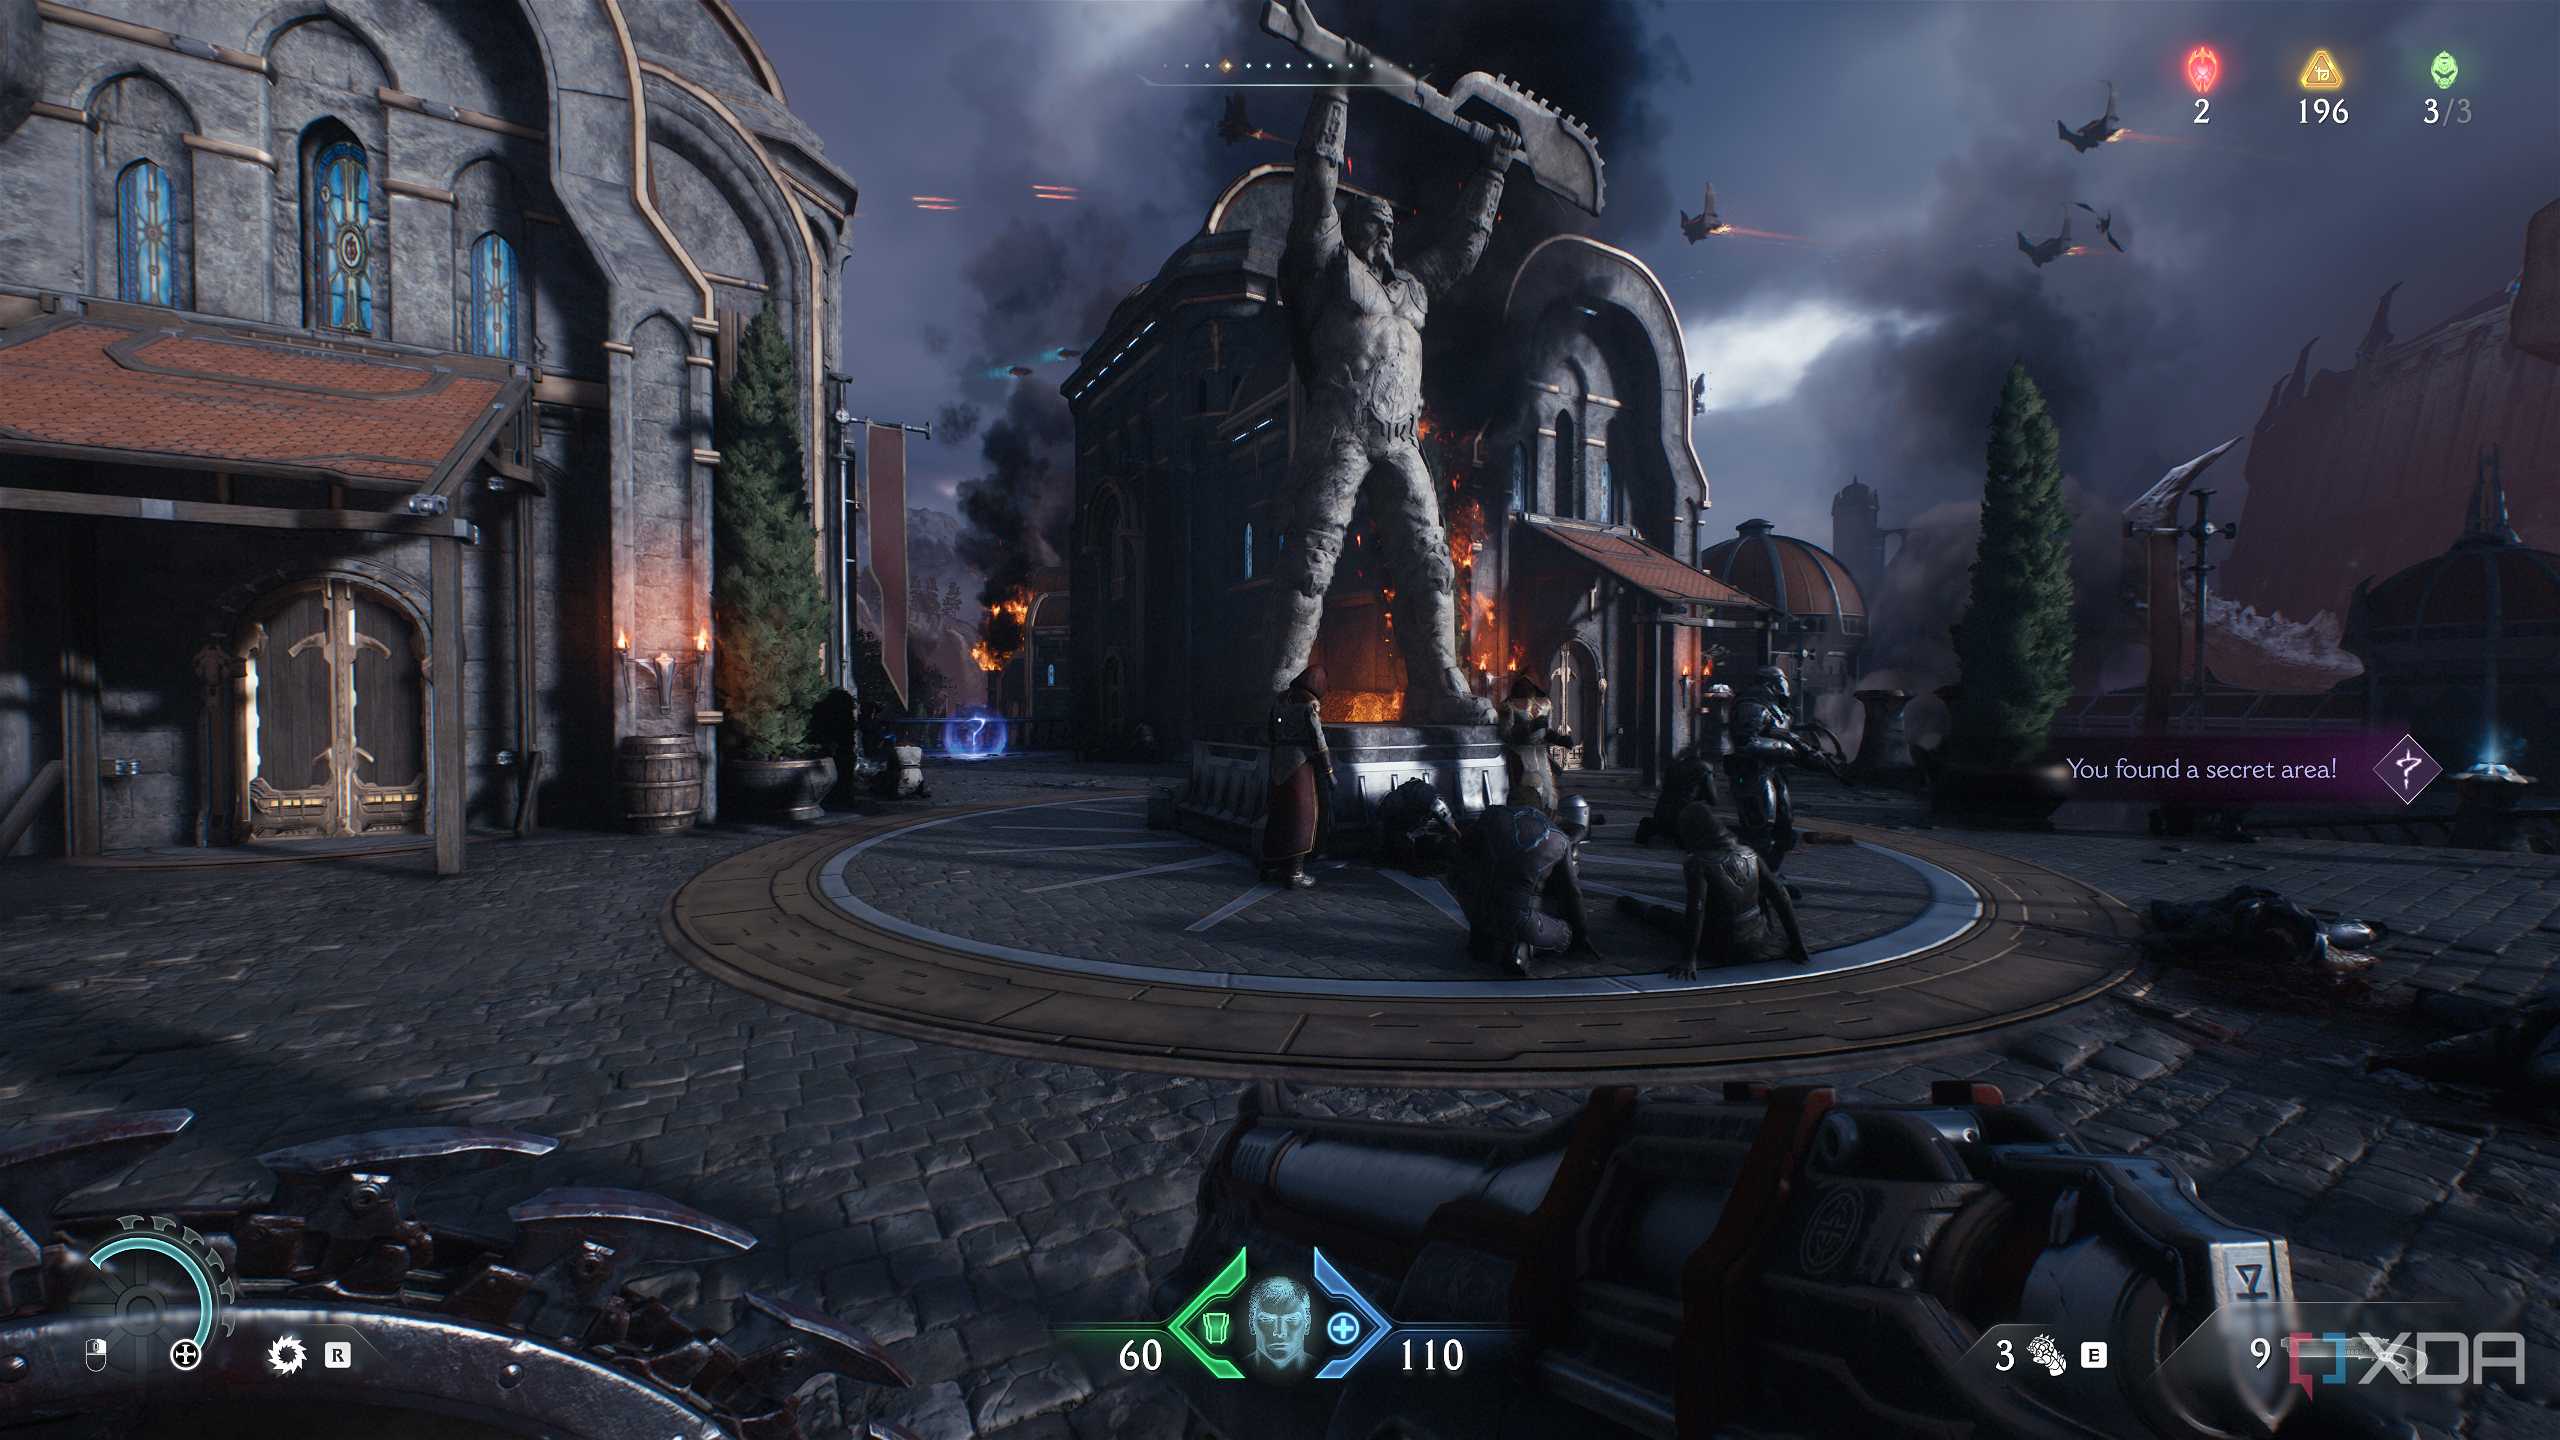
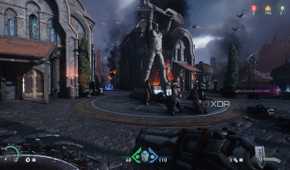
The Doom Slayer fights alongside the Sentinel Knights of Argent D'Nur in Chapter 4 of Doom: The Dark Ages. Following the objectives in the chapter along with the instructions provided below, it won't be long before you can claim that sweet 100% completion tag for the fourth level in Doom: The Dark Ages.
This guide covers each collectible required for 100% level completion in chronological order. It is recommended to follow this guide in the order stated.
1. Collectible — Hell Knight toy
The Doomguy certainly likes his toys

In the Sentinel Barracks, the first secret area you can access comes when you go outside to fight on the castle’s balcony.

Here, after taking down a Mancubus and its surrounding enemies, make sure you collect all the gold bars on the stairs.

After that, make your way towards the objective through the central door. You’ll be confronted by another Mancubus with multiple rows of shielded enemies.

Instead of fighting, look to the left to find a wooden wall to Shield Charge with three gold bars next to it.

This will get you into a secret area with plenty of gold bars and the Hell Knight collectible toy. Head back out from here or use the scramble wall to get back to the central corridor you were just in.
2. Gold chest and a secret area
Doomguy, ever the explorer

Right past the Mancubus and shielded soldiers, you’ll enter an area where you can spot some gold bars up on a balcony ledge.

They’re inaccessible right now, so just move to the center of the room, and go to the opposite end. You should see a green flesh node stuck in the balcony above. Use your shield to get up there and collect all the gold on this balcony.

At the end of the line of gold, look below to see a huge box with a Shield Charge symbol on it.

Drop down to bash the box, and it will slide all the way to the other balcony you saw when you entered.

Follow the box, climb up to the balcony ledge, and collect all the gold. At the end of this balcony ledge, you’ll unlock a secret area and a gold chest.
3. Life Sigil and more gold bars
More lives and more money

After your elevator fight with multiple Hell Knights ambushing you, you move to a long corridor with fodder demons and more Hell Knights.

Take care of them, and before moving to the next area, look up. A life sigil hangs in the air. Move under the life sigil and look to the side — you should see an interactable gate switch.

Use it to open the gate in front of you. 3 imps will suddenly appear, but they’re easy to take care of. Jump across the gap and collect the gold before scrambling up the wall on either side. You will now unlock a secret area and see the life sigil hanging in the air.

Don’t forget to look next to the Sigil to pick up two stacks of gold bars.
4. A second Life Sigil and a secret area
Doomguy's nothing if not thorough

Once the map opens up again, you’ll see a stairway leading to a tall tower on the left.

Inside, a Life Sigil awaits. To get to it, take care of all the enemies, and shoot the 3 Lost Souls that will attack you before you reach the bridge.

Instead of crossing the bridge, simply go to the left, and you’ll see a small patch of land with plenty of gold on it.

Sprint and jump onto this new area, and collect all the gold. Next, scramble up the wall and follow the path up to unlock the new secret area and a Life Sigil.

Simply Shield Charge through the final wall, and you should be right back where you started.
5. Red Ruby, a secret area, and more gold bars
Not the prayer circle we need

After you take down the enhanced Mancubus to get an Armor upgrade, follow your objective until you reach a Shadow Imp Stalker.

Take it down and to the left, you should see 3 metal gates with Demon Cultists behind them. To get to this secret area, follow the objective and drop down to the bridge with armor lined up on it.

However, before you go straight, simply turn around to see another area down below.

Sprint and jump on to it, scramble up the wall, and collect the gold bars. A combat encounter with multiple Shadow Imp Stalkers will ensure.

Dispatch them before moving forward, and you’ll scramble up a wall to unlock the secret area and take the praying cultists down.

In the back, grab the Red Ruby, and head up the stairs while collecting gold to reach a bunch of gold bars and a gold stack before jumping back down to the main path.
6. Hidden gold chest in the tower
Stalkers guarding the gold

Once you jump down to the broken bridge and move forward, take a left upon reaching the tower.

You’ll immediately reach a room with a gold chest inside, but two Shadow Imp Stalkers are guarding it.

Take care of the Imp Stalkers and grab the gold, along with the armor if you need it.
7. New weapon skin and a secret area
In the safety of the king's shadow

As you follow your objective, stop for a second when you reach a small bridge with blue lights.

Take care of all the surrounding enemies, but before dropping off from here, go to the north cliff where a Melee Charge is also present.

Look down to see black smoke covering a balcony.

Sprint and jump onto this area, and you’ll land in a secret area with King Novik’s statue, along with multiple NPCs taking shelter.

Behind the statue, a small walkway holds a collectible Weapon Skin.

Moreover, you can also access this area by simply following the objective until you reach an area where the floating heads of Lost Souls attack you. From the burning tree in the center, look to the left, and you’ll see a stairway leading up to this secret area.
8. Final stacks of gold and a Codex Page
History lessons never hurt

Towards the end of the map, you’ll reach a set of stairs with Shielded Soldiers guarding it. Heat up their shields and take care of them, and look at your map.

Straight ahead, two wooden carts are hiding stacks of gold under them.

Sprint into the carts or shoot them, collecting the gold.

Then, head towards the object before you reach a huge wooden door to Shield Charge through.

Make sure you look to the left, where gold bars are lined on the ground with a Codex Page for the Sentinel Barracks map waiting to be collected.
All collectibles in Chapter 4: Sentinel Barracks in Doom: The Dark Ages
This marks the completion of all secrets and collectibles in Chapter 4: Sentinel Barracks. With this, you can move towards the final objective and get the 100% completion tag all completionists desire for level 4 in Doom: The Dark Ages.
|
Achievements in Chapter 4: Sentinel Barracks |
|
|
Gold |
212 |
|
Rubies |
2 |
|
Demonic Essence |
1 |
|
Secret Areas |
6 |
|
Codex Entries |
1 |
|
Collectible Toys |
1 |
|
Skins |
1 |


DOOM: The Dark Ages
-
 OpenCritic Reviews
- Top Critic Avg: 86/100 Critics Rec: 94%
- Released
- May 15, 2025
- ESRB
- M For Mature 17+ // Blood and Gore, Intense Violence
- Developer(s)
- id Software
- Publisher(s)
- Bethesda Softworks
- Engine
- id Tech
- Multiplayer
- Online Multiplayer
- Franchise
- DOOM



WHERE TO PLAY


id Software's DOOM: The Dark Ages is the latest entry in the decorated first-person shooter franchise and the follow-up to DOOM Eternal. The story will cover the Doom Slayer's origin.
- Genre(s)
- FPS, Action, Sci-Fi & Fantasy

