


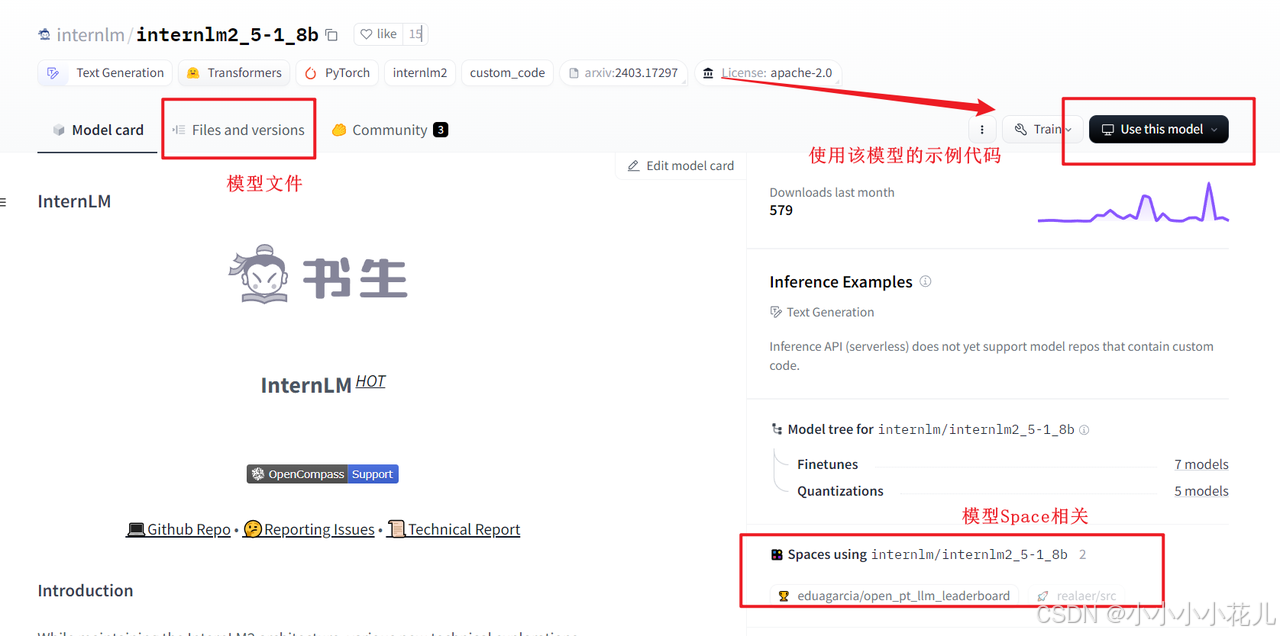
这里我们以internlm2_5-1_8b举例,查看Hugging Face上该模型的地址
2.1.3 GitHub CodeSpace的使用
因为网络和磁盘有限的原因,强烈不建议在 InternStudio 运行,因此这里使用CodeSpace
Github CodeSpace是Github推出的线上代码平台,提供了一系列templates,我们这里选择Jupyter Notebook进行创建环境。创建好环境后,可以进入网页版VSCode的界面,这就是CodeSpace提供给我们的在线编程环境。
在界面下方的终端(terminal)安装以下依赖,便于模型运行。
# 安装transformers
pip install transformers==4.38
pip install sentencepiece==0.1.99
pip install einops==0.8.0
pip install protobuf==5.27.2
pip install accelerate==0.33.0
2.1.3.1 下载internlm2_5-7b-chat的配置文件
考虑到个人GitHub CodeSpace硬盘空间有限(32GB可用),而7B的模型相对较大,这里我们先演示如何下载模型文件夹的特定文件。 考虑到CodeSpace平台上默认的用户权限不是root权限,这里为方便演示直接在工作区创建文件,即 /workspaces/codespaces-jupyter 目录
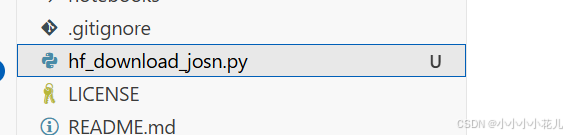
以下载模型的配置文件为例,先新建一个hf_download_josn.py 文件
touch hf_download_josn.py
在这个文件中,粘贴以下代码
import os
from huggingface_hub import hf_hub_download

# 指定模型标识符
repo_id = "internlm/internlm2_5-7b"

# 指定要下载的文件列表
files_to_download = [
    {"filename": "config.json"},
    {"filename": "model.safetensors.index.json"}
]

# 创建一个目录来存放下载的文件
local_dir = f"{repo_id.split('/')[1]}"
os.makedirs(local_dir, exist_ok=True)

# 遍历文件列表并下载每个文件
for file_info in files_to_download:
    file_path = hf_hub_download(
        repo_id=repo_id,
        filename=file_info["filename"],
        local_dir=local_dir
    )
    print(f"{file_info['filename']} file downloaded to: {file_path}")
运行该文件(注意文件目录请在该文件所在目录下运行该文件)
python hf_download_josn.py
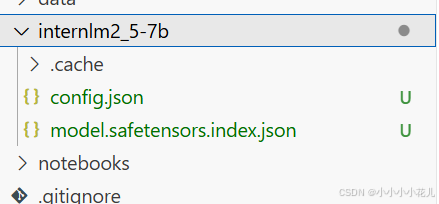
可以看到,已经从Hugging Face上下载了相应配置文件
虽然在这里我们没有完全下载internlm2_5-7b-chat模型,但是在实战营课程中,我们的InternStudio平台 的 /root/share 目录下已经提供了InterLM2.5系列的模型,可以找到它们作为model_name_or_path进行使用,如
/root/share/new_models/Shanghai_AI_Laboratory/internlm2_5-7b-chat
2.1.3.2 下载internlm2_5-chat-1_8b并打印示例输出
那么如果我们需想要下载一个完整的模型文件怎么办呢?创建一个python文件用于下载internlm2_5-1_8B模型并运行。下载速度跟网速和模型参数量大小相关联,如果网速较慢的小伙伴可以只尝试下载1.8b模型对应的config.json文件以及其他配置文件。
touch hf_download_1_8_demo.py
注意到在CodeSpace平台上是没有GPU资源的,因此我们Python代码中只使用CPU进行推理,我们需要修改跟CUDA有关的API,在hf_download_1_8_demo.py文件中粘贴以下内容:
import torch
from transformers import AutoTokenizer, AutoModelForCausalLM

tokenizer = AutoTokenizer.from_pretrained("internlm/internlm2_5-1_8b", trust_remote_code=True)
model = AutoModelForCausalLM.from_pretrained("internlm/internlm2_5-1_8b", torch_dtype=torch.float16, trust_remote_code=True)
model = model.eval()

inputs = tokenizer(["A beautiful flower"], return_tensors="pt")
gen_kwargs = {
    "max_length": 128,
    "top_p": 0.8,
    "temperature": 0.8,
    "do_sample": True,
    "repetition_penalty": 1.0
}

# 以下内容可选,如果解除注释等待一段时间后可以看到模型输出
# output = model.generate(**inputs, **gen_kwargs)
# output = tokenizer.decode(output[0].tolist(), skip_special_tokens=True)
# print(output)
等待几分钟后,会在控制台返回模型生成的结果(解除注释后)

2.1.4 Hugging Face Spaces的使用
Hugging Face Spaces 是一个允许我们轻松地托管、分享和发现基于机器学习模型的应用的平台。Spaces 使得开发者可以快速将我们的模型部署为可交互的 web 应用,且无需担心后端基础设施或部署的复杂性。 首先访问以下链接,进入Spaces。在右上角点击Create new Space进行创建:
在创建页面中,输入项目名为intern_cobuild,并选择Static应用进行创建
创建好项目后,回到我们的CodeSpace,接着clone项目。
找到该目录文件夹下的index.html文件,修改我们的html代码
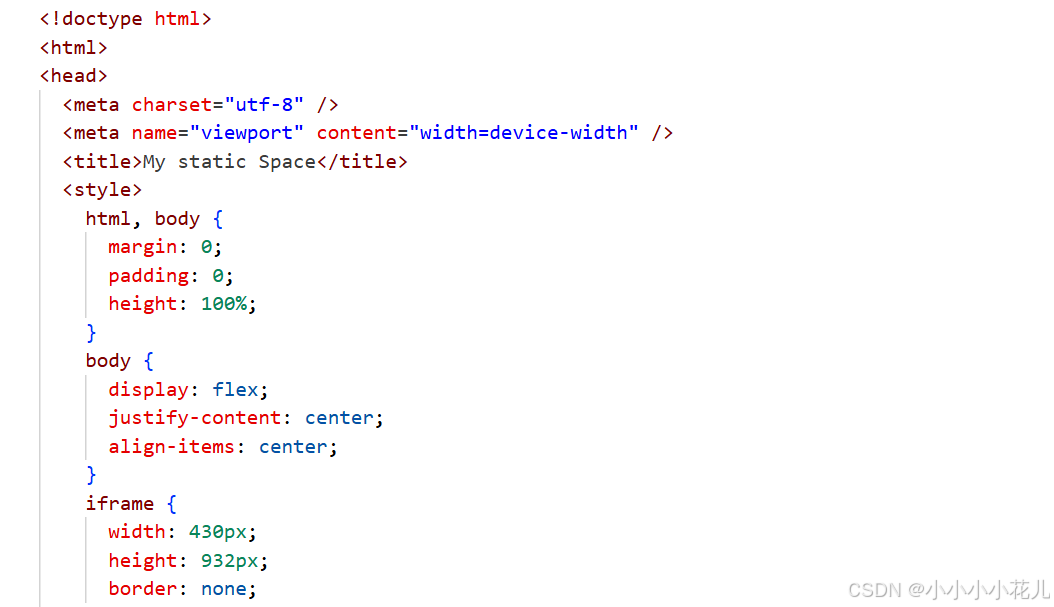
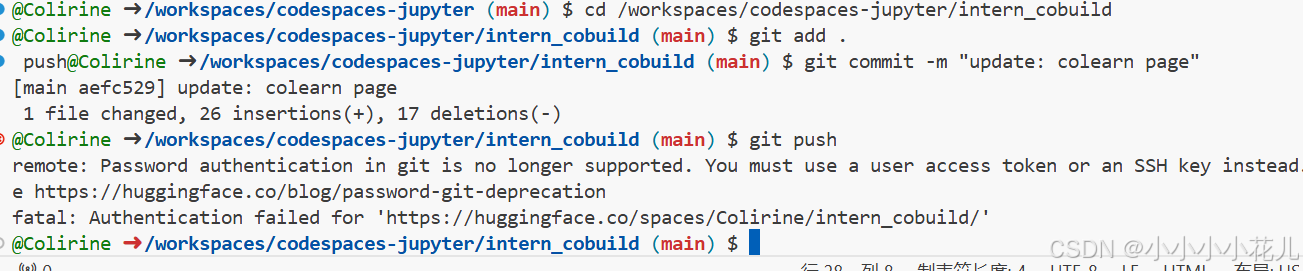
保存后就可以push到远程仓库上了,它会自动更新页面
再次进入Space界面,
2.1.5 模型上传
- 通过CLI上传 Hugging Face同样是跟Git相关联,通常大模型的模型文件都比较大,因此我们需要安装git lfs,对大文件系统支持。
curl -s https://packagecloud.io/install/repositories/github/git-lfs/script.deb.sh | sudo bash
# sudo apt-get install git-lfs # CodeSpace里面可能会有aptkey冲突且没有足够权限
git lfs install # 直接在git环境下配置git LFS
pip install huggingface_hub
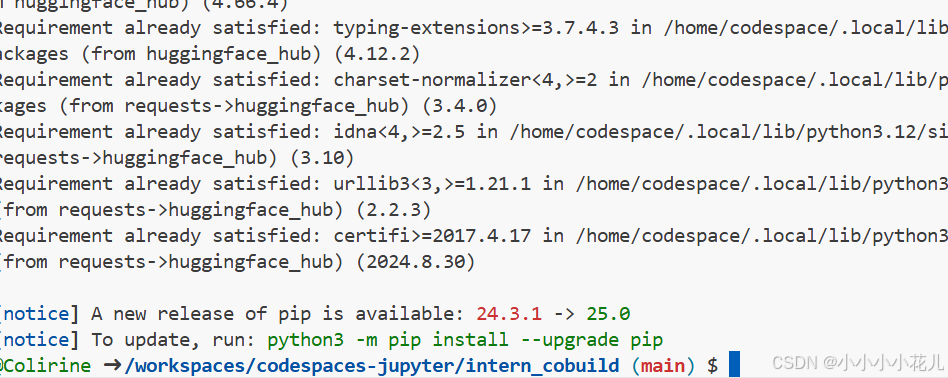
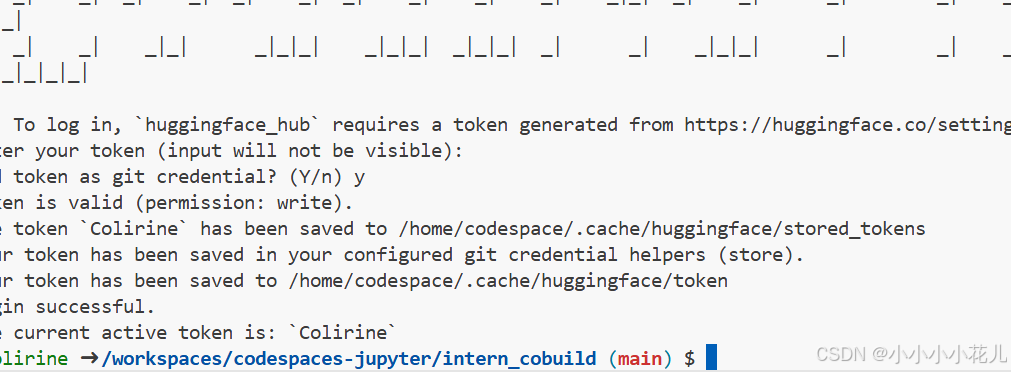
接着可以在CodeSpace里面,使用
git config --global credential.helper store
huggingface-cli login
命令进行登录,这时需要输入刚刚的token
创建项目
cd /workspaces/codespaces-jupyter
#intern_study_L0_4就是model_name
huggingface-cli repo create intern_study_L0_4# 克隆到本地 your_huggingface_name 注意替换成你自己的
git clone https://huggingface.co/{your_huggingface_name}/intern_study_L0_4
克隆好之后,刷新文件目录可以看到克隆好的intern_study_L0_4文件夹。
现在可以用git提交到远程仓库
cd intern_study_L0_4
git add .
git commit -m "add:intern_study_L0_4"
git push





 扫一扫
扫一扫


 2608
2608

 被折叠的 条评论
为什么被折叠?
被折叠的 条评论
为什么被折叠?
 到【灌水乐园】发言





