


一、项目概述
本次作业完成了 SpringBoot HelloWorld 入门项目,实现了支持 GET/POST/PUT/DELETE 四种 HTTP 请求的后端接口,并通过 Postman 完成了全流程接口测试,最终将代码上传至 Gitee 代码仓库。
二、环境准备
表格
| 工具 / 环境 | 版本 / 说明 |
|---|---|
| JDK | OpenJDK 25(兼容 Java 17 语法) |
| IDEA | IntelliJ IDEA 2025.3.3 |
| SpringBoot | 4.0.5(通过 Spring Initializr 初始化) |
| Postman | 最新版(接口测试工具) |
| Gitee | 代码仓库(用于提交项目代码) |
| 构建工具 | Maven |
三、项目创建与核心代码实现
1. 新建 SpringBoot 项目
- 打开 IDEA,选择「New Project」→ 「Spring Boot」,配置项目信息:
- 项目名:
springboot-helloworld - 组:
com.example - 工件:
springboot-helloworld - 语言:Java
- 构建工具:Maven
- Java 版本:17
- 项目名:
- 依赖选择:仅勾选 Spring Web(实现 HTTP 接口的核心依赖),点击「Create」完成项目创建。
2. 核心代码:HelloController
在 com.example.springboothelloworld 包下新建 HelloController.java,实现四种请求接口:
java
运行
package com.example.springboothelloworld;

import org.springframework.web.bind.annotation.*;
import java.util.HashMap;
import java.util.Map;

// 标记为 REST 接口控制器,统一接口路径为 /hello
@RestController
@RequestMapping("/hello")
public class HelloController {

    // 模拟数据库:存储姓名-年龄键值对
    private final Map<String, Integer> userMap = new HashMap<>();

    // 1. GET 请求:查询所有数据
    @GetMapping
    public Map<String, Integer> getAll() {
        return userMap;
    }

    // 2. POST 请求:添加数据
    @PostMapping
    public String add(@RequestParam String name, @RequestParam Integer age) {
        userMap.put(name, age);
        return "✅ 添加成功:" + name + " -> " + age;
    }

    // 3. PUT 请求:修改数据
    @PutMapping
    public String update(@RequestParam String name, @RequestParam Integer age) {
        if (userMap.containsKey(name)) {
            userMap.put(name, age);
            return "✅ 修改成功:" + name + " -> " + age;
        }
        return "❌ 用户不存在:" + name;
    }

    // 4. DELETE 请求:删除数据
    @DeleteMapping("/{name}")
    public String delete(@PathVariable String name) {
        if (userMap.containsKey(name)) {
            userMap.remove(name);
            return "✅ 删除成功:" + name;
        }
        return "❌ 用户不存在:" + name;
    }
}
3. 主启动类(自动生成,无需修改)
SpringbootHelloworldApplication.java 是项目的启动入口,代码如下:
java
运行
package com.example.springboothelloworld;

import org.springframework.boot.SpringApplication;
import org.springframework.boot.autoconfigure.SpringBootApplication;

@SpringBootApplication
public class SpringbootHelloworldApplication {
    public static void main(String[] args) {
        SpringApplication.run(SpringbootHelloworldApplication.class, args);
    }
}
四、项目启动与 Postman 接口测试
1. 启动项目
点击主启动类左侧的绿色三角按钮,启动 SpringBoot 项目,控制台出现以下日志即代表启动成功:
plaintext
Tomcat started on port 8080 (http)
Started SpringbootHelloworldApplication in 1.474 seconds
2. Postman 接口测试(全流程)
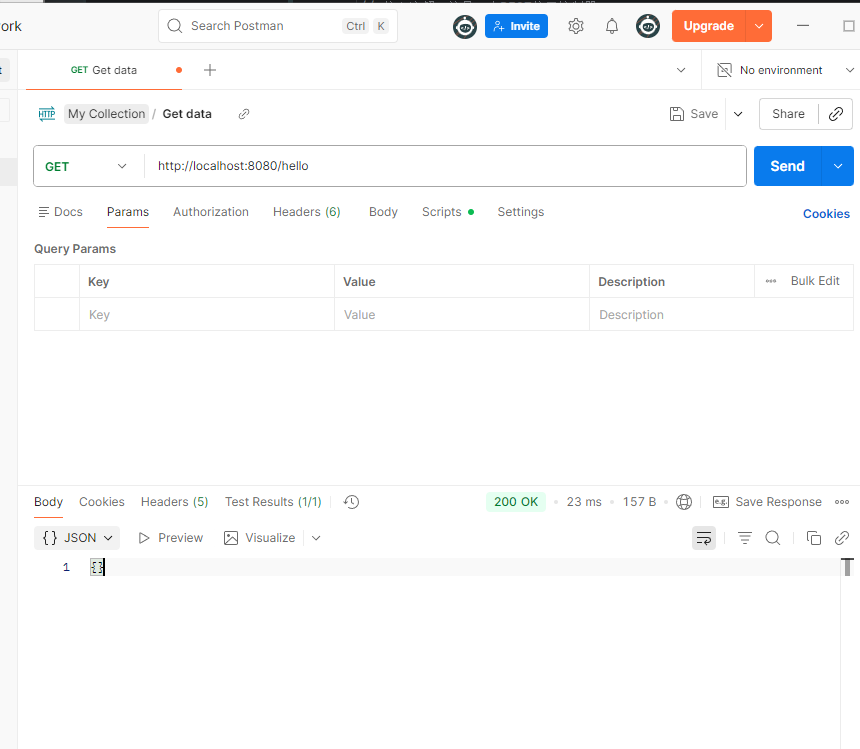
(1)GET 请求:查询初始数据
- 请求方式:
GET - 请求地址:
http://localhost:8080/hello - 测试结果:返回空对象
{},代表初始数据为空 - 测试截图:
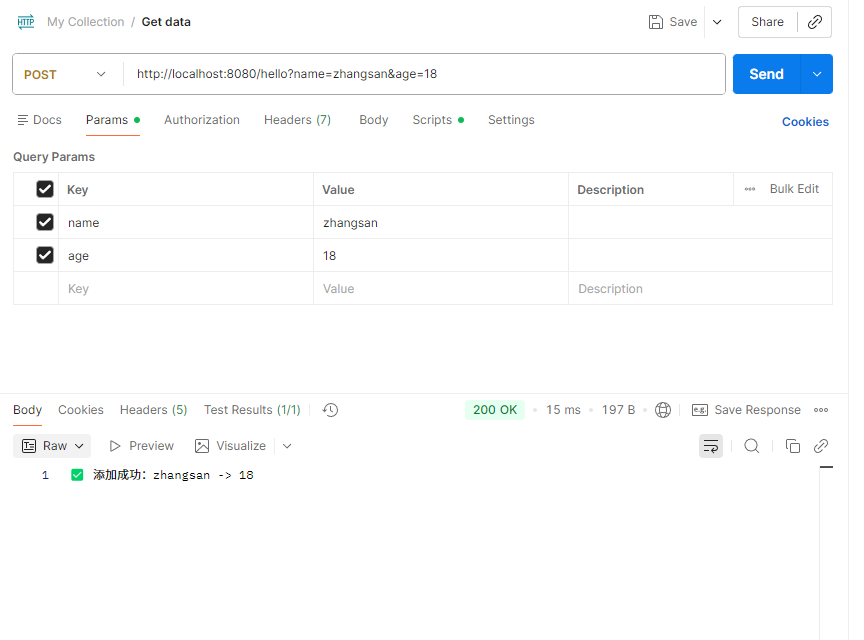
(2)POST 请求:添加数据
- 请求方式:
POST - 请求地址:
http://localhost:8080/hello - 请求参数:
name=zhangsan,age=18 - 测试结果:返回
✅ 添加成功:zhangsan -> 18 - 测试截图:
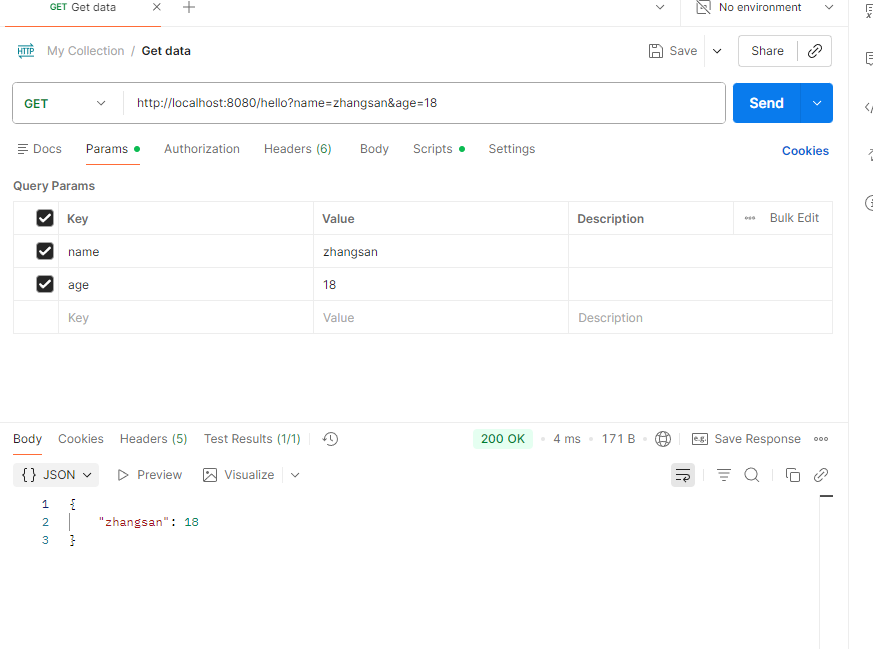
(3)再次 GET 请求:验证数据添加成功
- 请求方式:
GET - 请求地址:
http://localhost:8080/hello - 测试结果:返回
{"zhangsan": 18},数据已成功存储 - 测试截图:
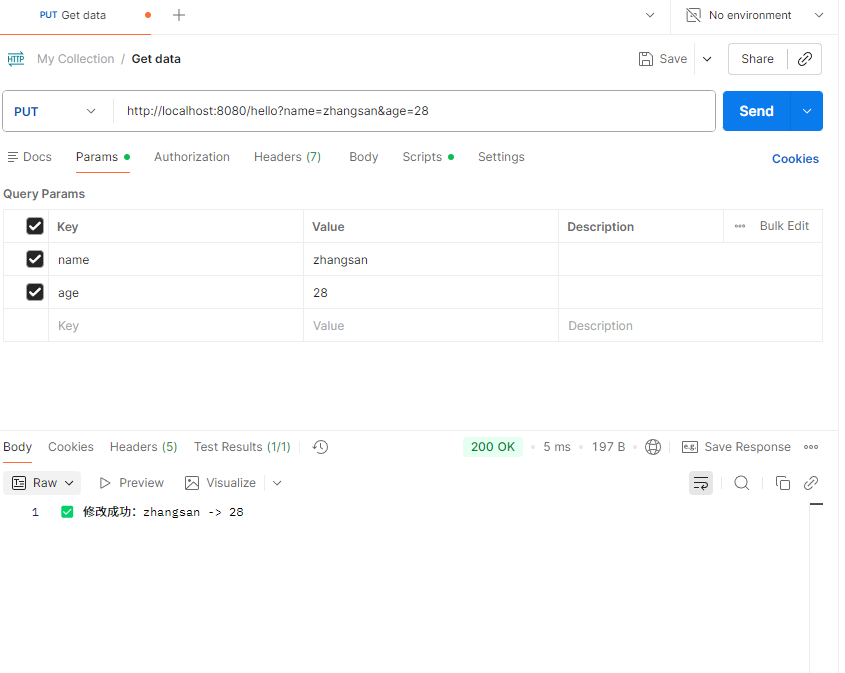
(4)PUT 请求:修改数据
- 请求方式:
PUT - 请求地址:
http://localhost:8080/hello - 请求参数:
name=zhangsan,age=28 - 测试结果:返回
✅ 修改成功:zhangsan -> 28 - 测试截图:
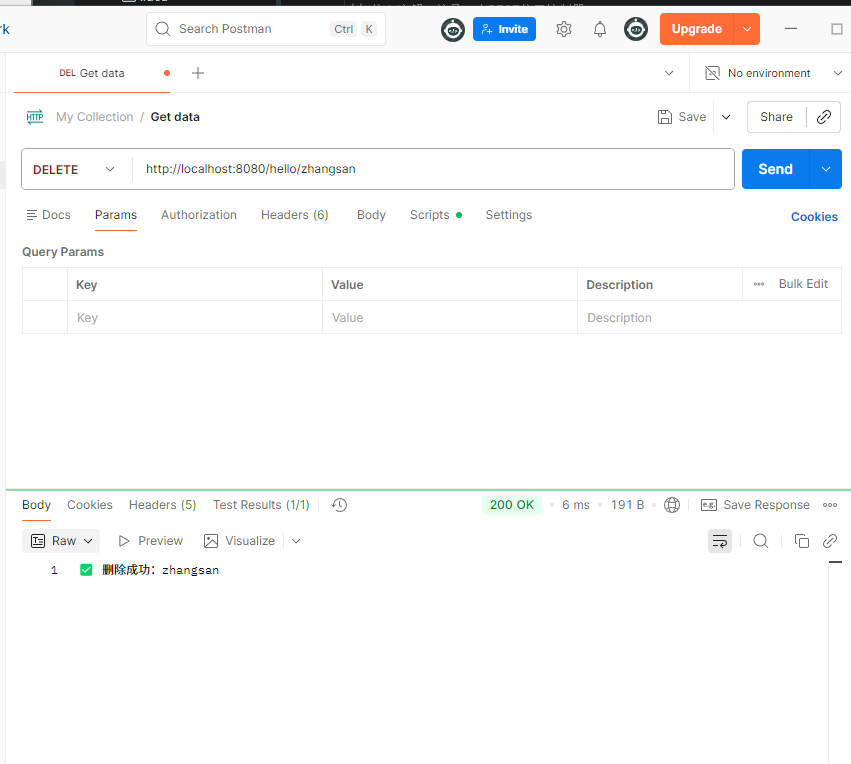
(5)DELETE 请求:删除数据
- 请求方式:
DELETE - 请求地址:
http://localhost:8080/hello/zhangsan - 测试结果:返回
✅ 删除成功:zhangsan - 测试截图:
五、代码仓库提交(Gitee)
1. 新建 Gitee 仓库
在 Gitee 新建名为 springboot-helloworld 的公开仓库,获取仓库 HTTPS 地址:https://gitee.com/l1sztzz/springboot-helloworld
2. Git 命令提交代码
在 IDEA 终端执行以下命令,完成代码推送:
bash
运行
# 初始化本地仓库
git init
# 添加所有文件到暂存区
git add .
# 提交到本地仓库
git commit -m "SpringBoot HelloWorld 完成,支持GET/POST/PUT/DELETE接口"
# 关联远程仓库
git remote add origin https://gitee.com/l1sztzz/springboot-helloworld.git
# 推送到远程仓库
git push -u origin master
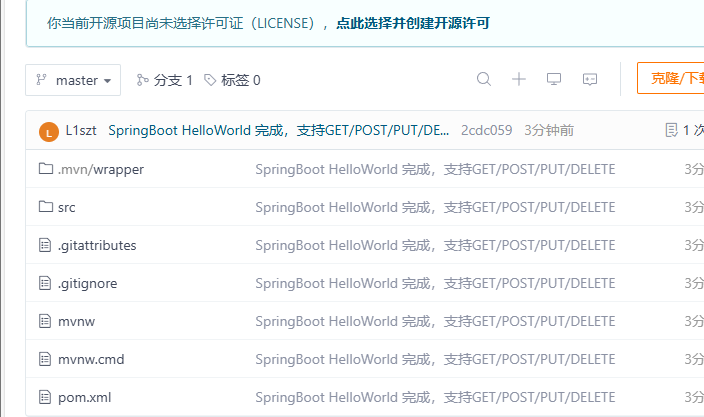
3. 仓库最终效果
代码推送成功后,Gitee 仓库展示完整项目结构,截图如下:





 扫一扫
扫一扫


 39
39

 被折叠的 条评论
为什么被折叠?
被折叠的 条评论
为什么被折叠?
 到【灌水乐园】发言





