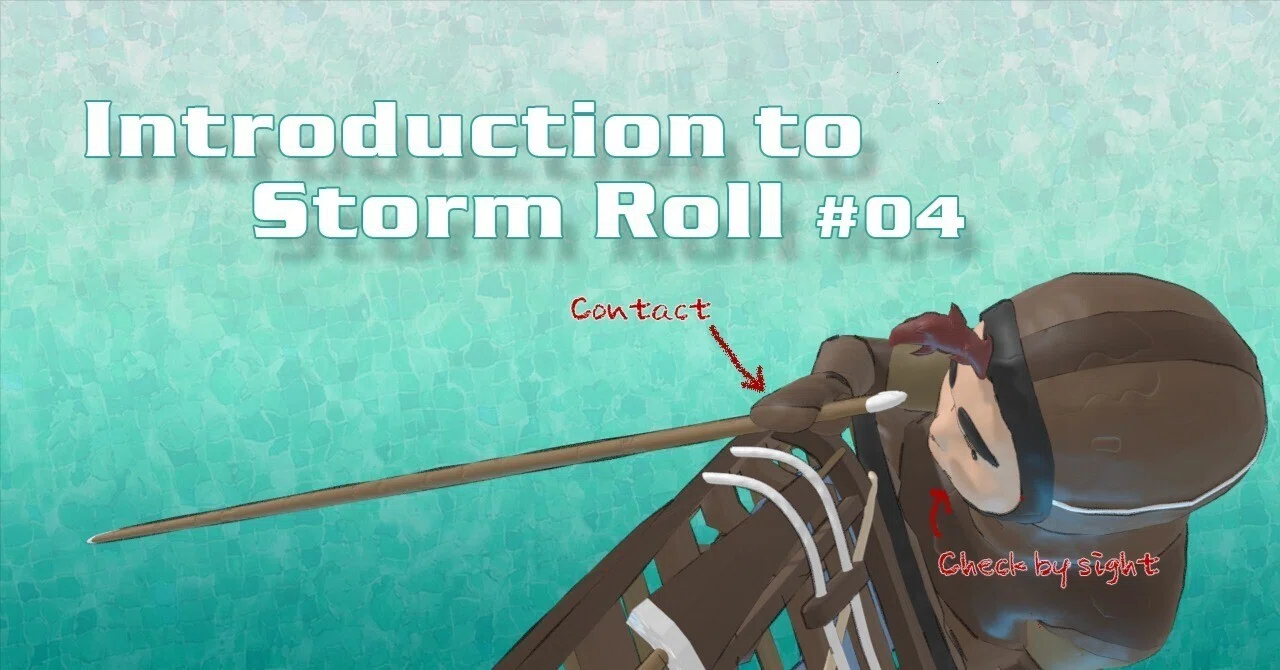
Step2 -Catch the paddle!-

Have you overcome the barrier of Step 1? If you haven't yet, make sure you master Step 1 before moving on to Step 2. If you skip steps, you won't get the basics down. As a result, you'll just end up with a "wrong storm roll."
1. Purpose of Step 2
Have you cleared the hurdle of Step 1?
If not, make sure to master it before moving on. Skipping steps means skipping the foundations—and that only leads to a wrong kind of storm roll.
In Step 2, as shown in the video, you'll perform a full rotation—without holding onto the paddle at first. The key focus here is learning to reconstruct your setup pose.

After capsizing, you recover the paddle and then reset your posture before rolling back up. It sounds simple, but there’s a big difference between knowing and doing.
There are no shortcuts, but if you’ve completed Step 1 thoroughly and understand the importance of the setup pose, you’ll likely manage without too much trouble.
Still, don’t assume it’s mastered after a few tries. Repetition is essential—drill the setup pose into your body until it becomes second nature.
2. Practice Method
At first, you might feel uneasy letting go of the paddle, even briefly. If so, try practicing with a partner who can help support the paddle. As you gain confidence, you’ll be able to practice on your own.
While it’s a matter of preference, I don’t recommend using a paddle float. The extra buoyancy may put undue strain on your wrists, elbows, and shoulders during recovery.
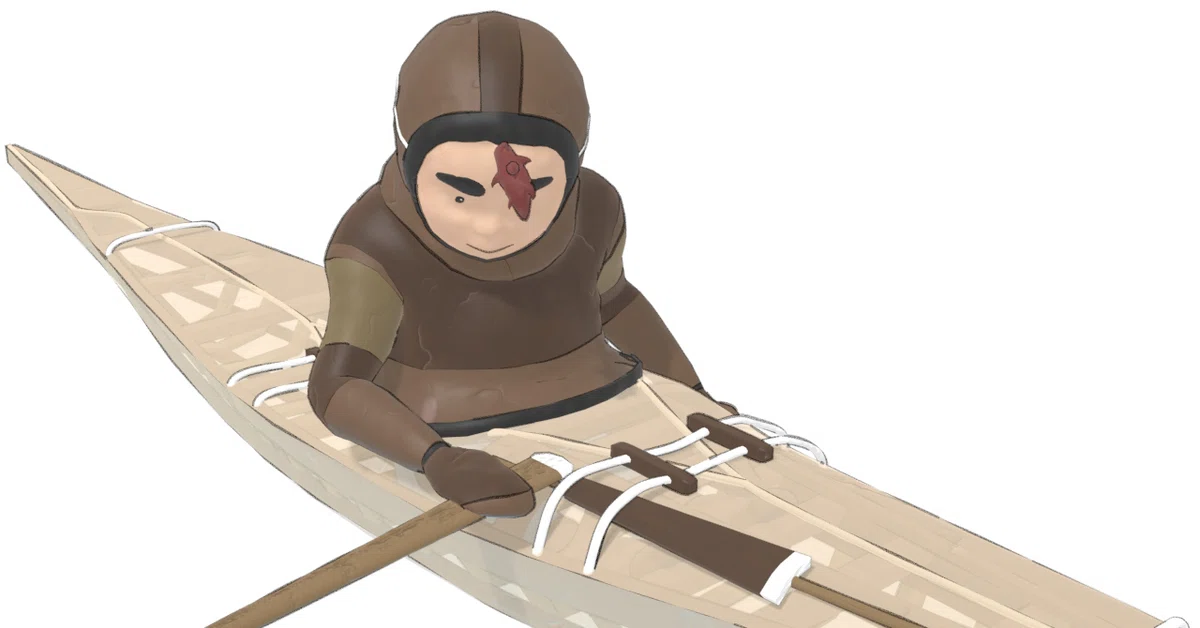
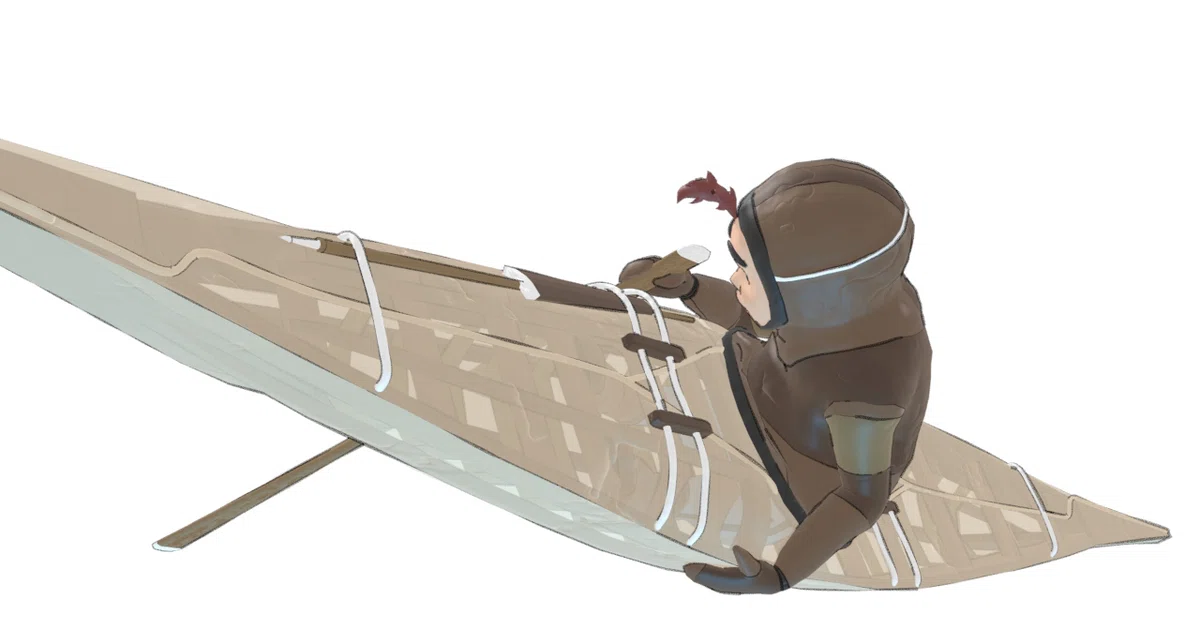
3. Step-by-Step Procedure
(Assuming a left-side capsize and a recovery from the right)
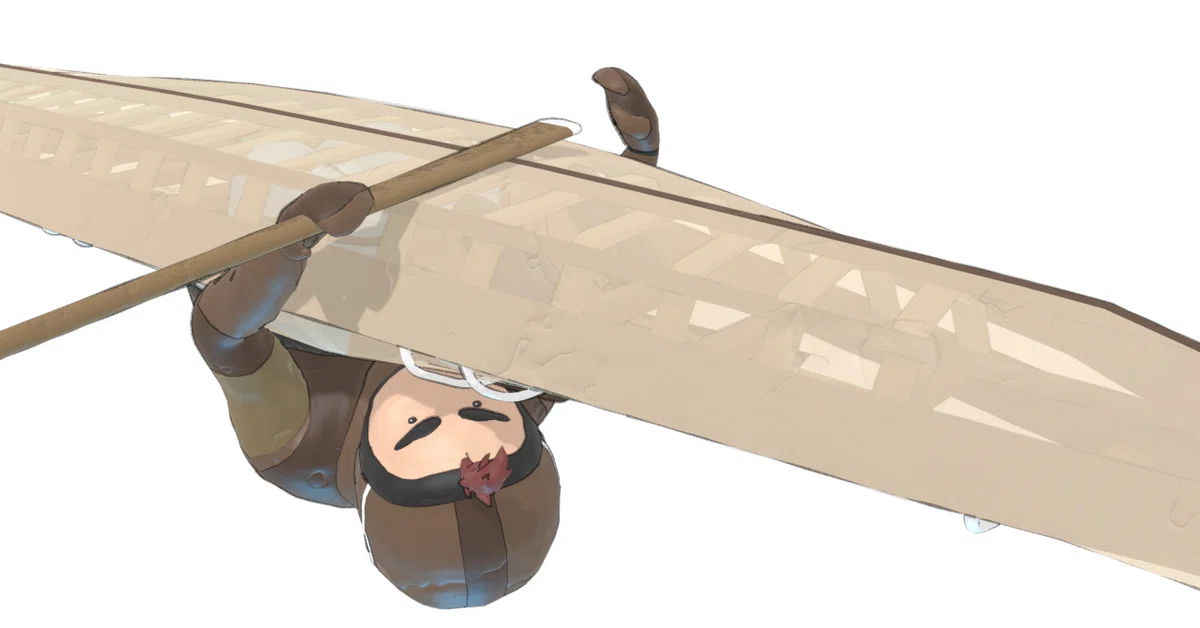
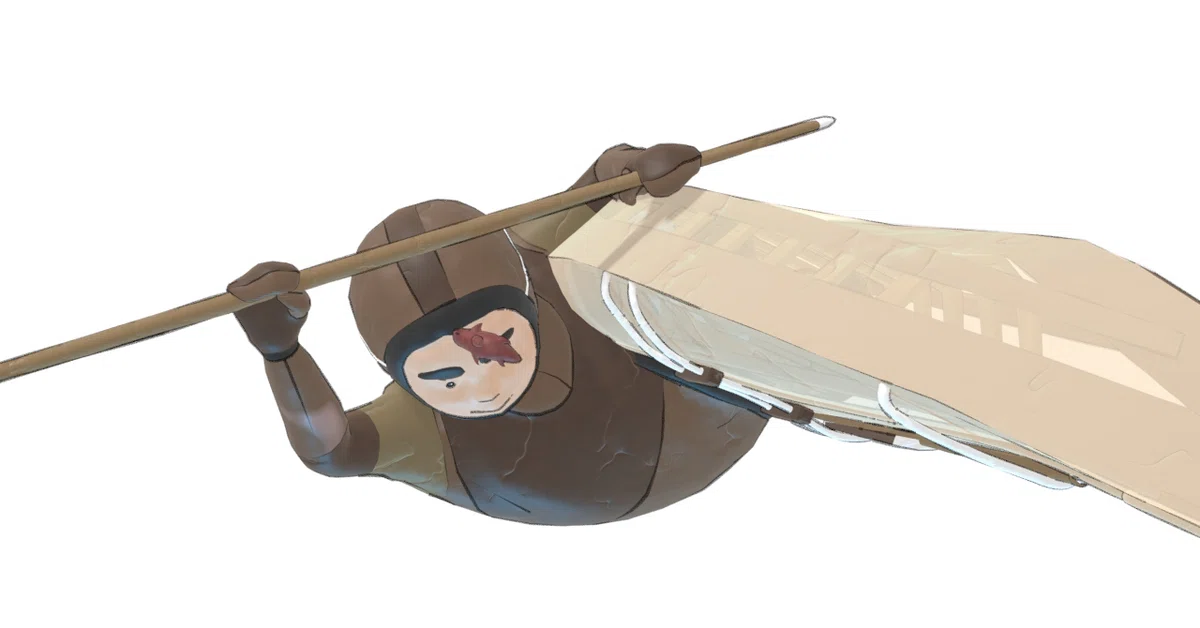
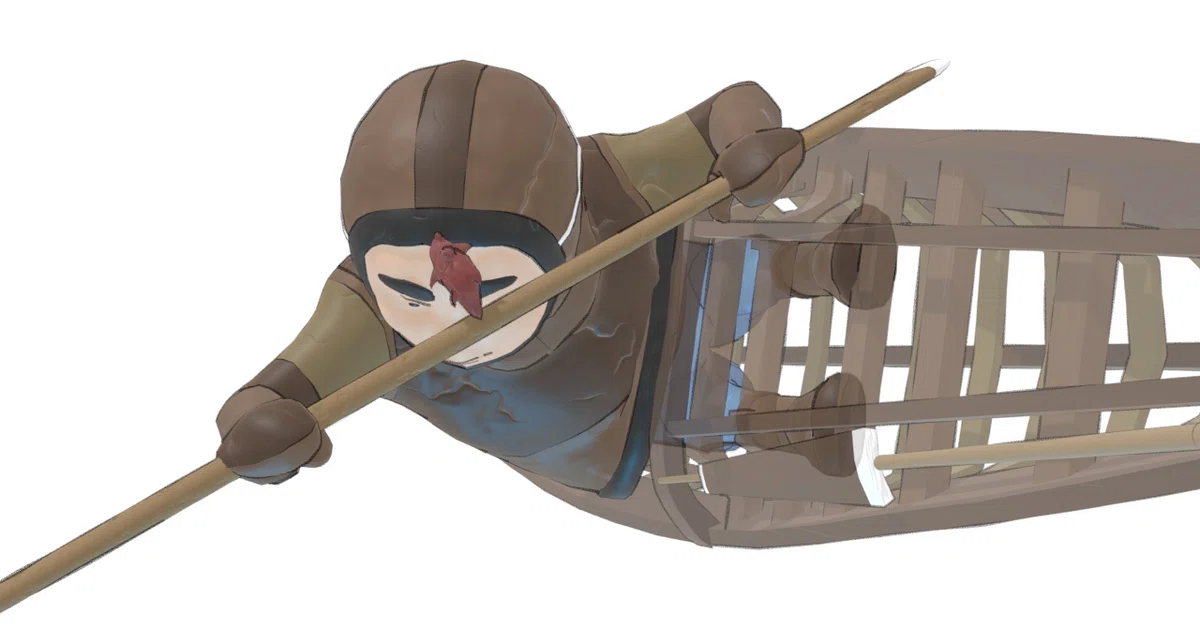
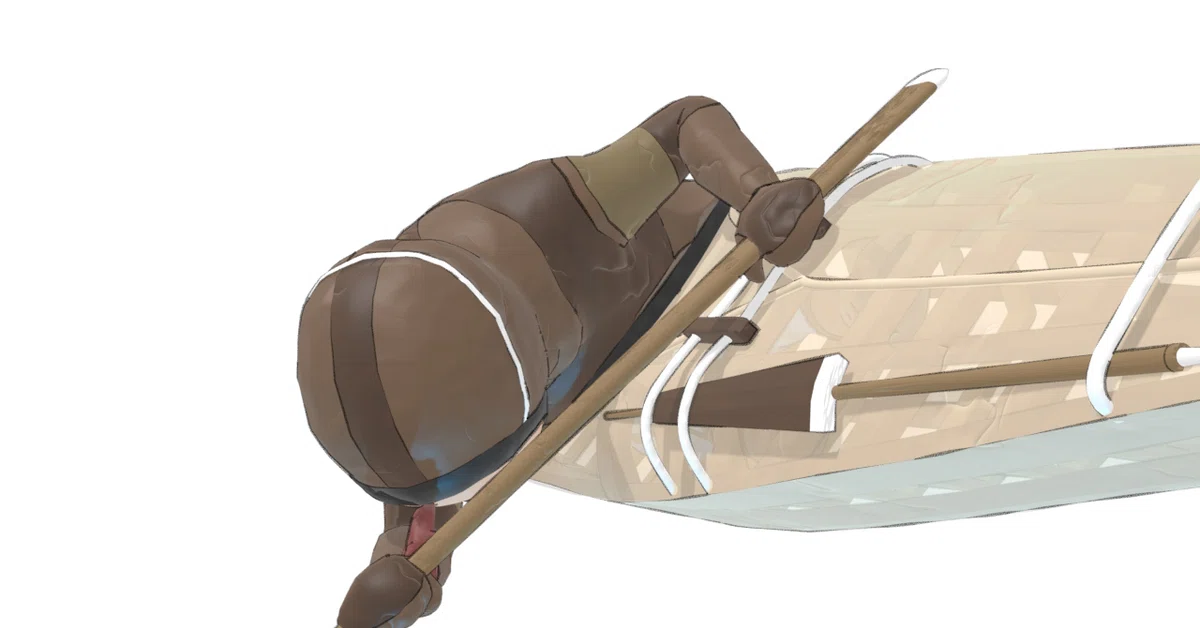
4. Common Mistakes
Mistake 1: Paddle Placement
It’s not necessarily wrong, but placing the paddle at the edge of the deck is best. If you leave it near the center, the usable part of the paddle for bracing will be shorter after capsizing—making recovery harder.
(It’s tough to explain in text—check the video for a better visual.)
Mistake 2: Hand Orientation
Many people grab the paddle with the wrong grip when recovering. It’s like grabbing a horizontal bar with a reverse grip.
But the correct grip is the natural one—palms facing down.
Being upside down can make things confusing, so be aware!
5. A Note on Nasal Breathing
A quick side note about breathing.
If you wear a nose clip or mask that covers your nose, you’ll naturally breathe through your mouth, which can quickly lead to oxygen depletion. Rolling practice is real exercise—it requires a lot of oxygen.
Air enters your lungs through either the mouth or nose, travels down the bronchi, and reaches tiny chambers called alveoli. These alveoli are surrounded by capillaries that absorb oxygen. The more expanded the alveoli are, and the better the contact between air and blood vessels, the more efficiently oxygen is absorbed.

Nasal breathing triggers signals to the alveoli, helping them expand fully. Air taken through the nose is cleaner, warmer (close to body temperature), and more humid—perfect conditions for efficient oxygen absorption.
Some say people in cold climates have higher noses to help warm the air more effectively via longer nasal passages.
Even if it’s a hassle, try to open your nose between practice rolls and take a deep, conscious breath.
How was "Step 2"?
If you have any questions, please email me.
See you in the next article.


いいなと思ったら応援しよう!
 よろしければ応援お願いします。いただいたチップはロールアニメーションの製作費などに充てさせていただきます。