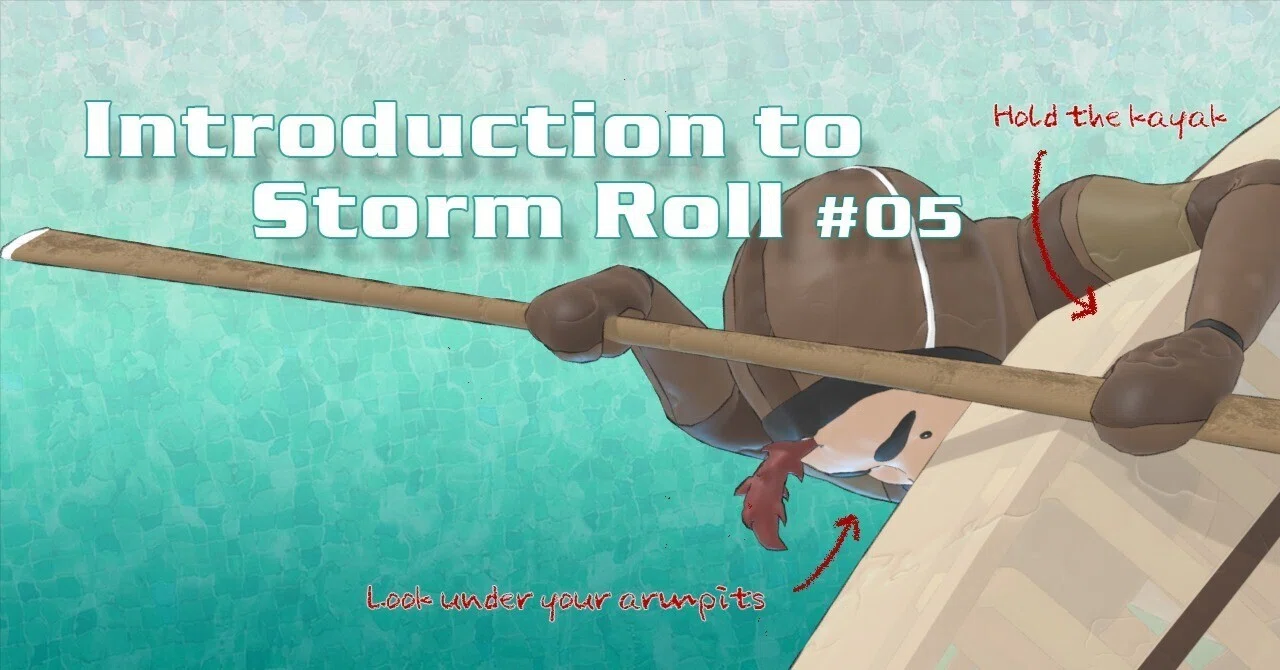
Step3 -It's almost a storm roll-

Now it's finally time for Step 3.
If you've successfully completed Steps 1 and 2, this should be a breeze.
1. Purpose of Step 3
Capsize while holding your paddle, then form the Step 1 pose to recover.
In other words, the goal here is to grasp the basic movement of the Storm Roll.
In Step 2, you practiced reconstructing the Step 1 setup pose with the paddle already positioned perpendicular to the kayak.
This time, you’ll position the paddle yourself, form the setup pose, and recover from there.

2. How to practice
As with Steps 1 and 2, having a partner can be helpful in the beginning.
As explained in the next section, “Step-by-Step Procedure,” you'll need to move the paddle into position before reaching the Step 1 pose.
The supporter should avoid touching the paddle while it's in motion. Once the Step 1 pose is established, they can offer support near the loom.
As shown in the video below, another method is to lean your back against the supporter’s knee in shallow water. This can help you visualize the sweep motion.
3. Step-by-step Procedure
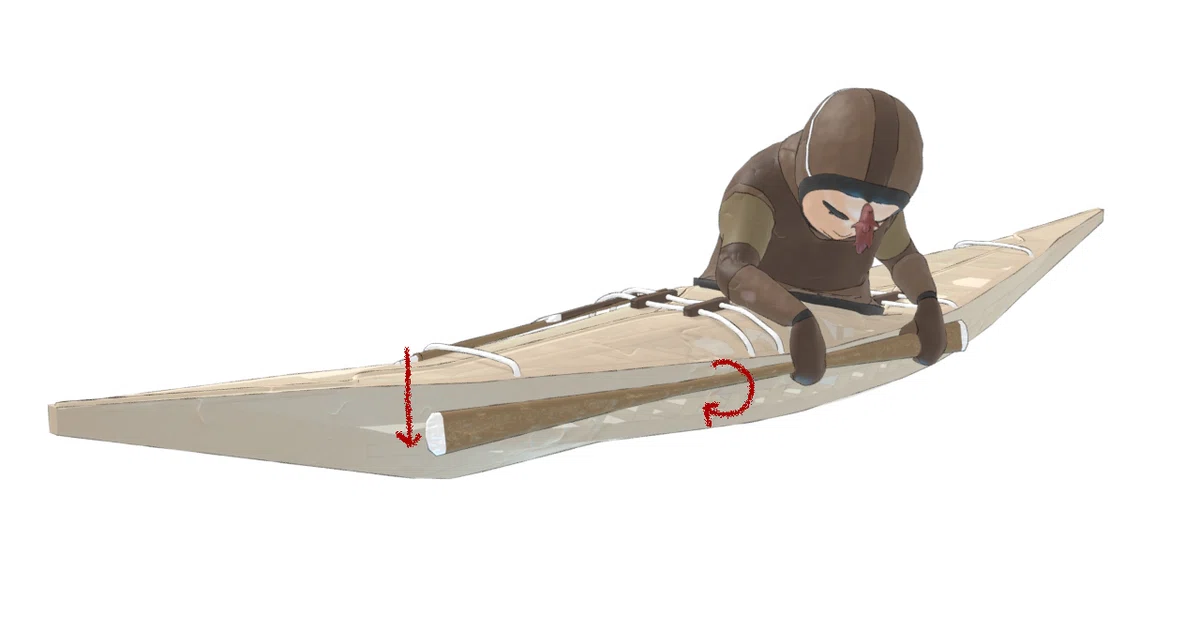
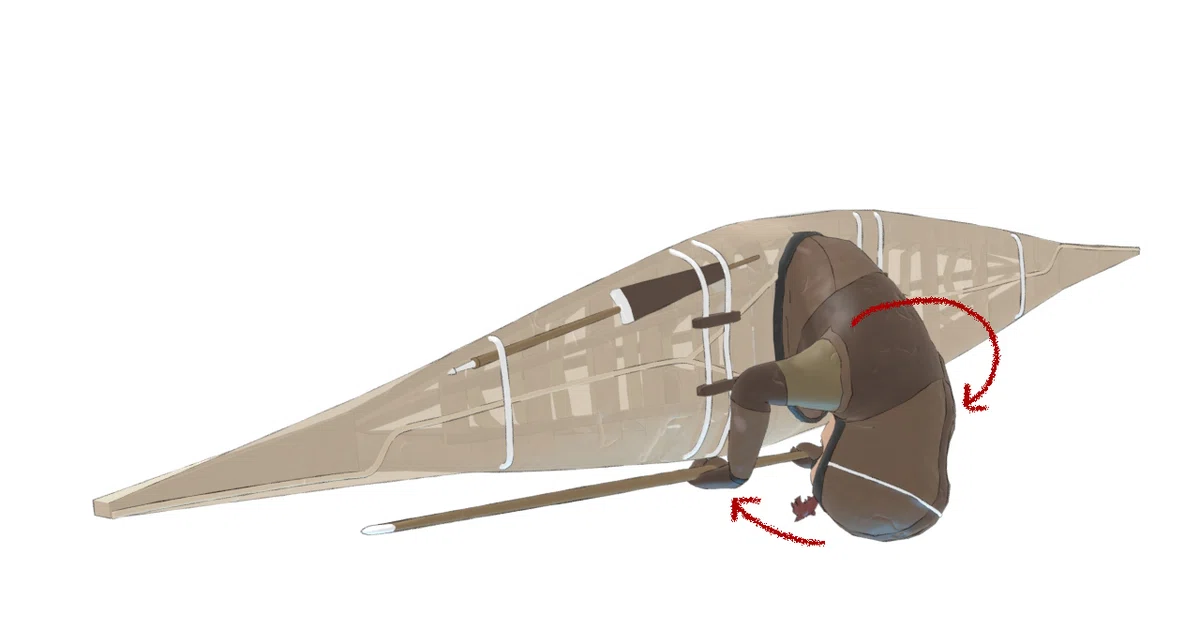
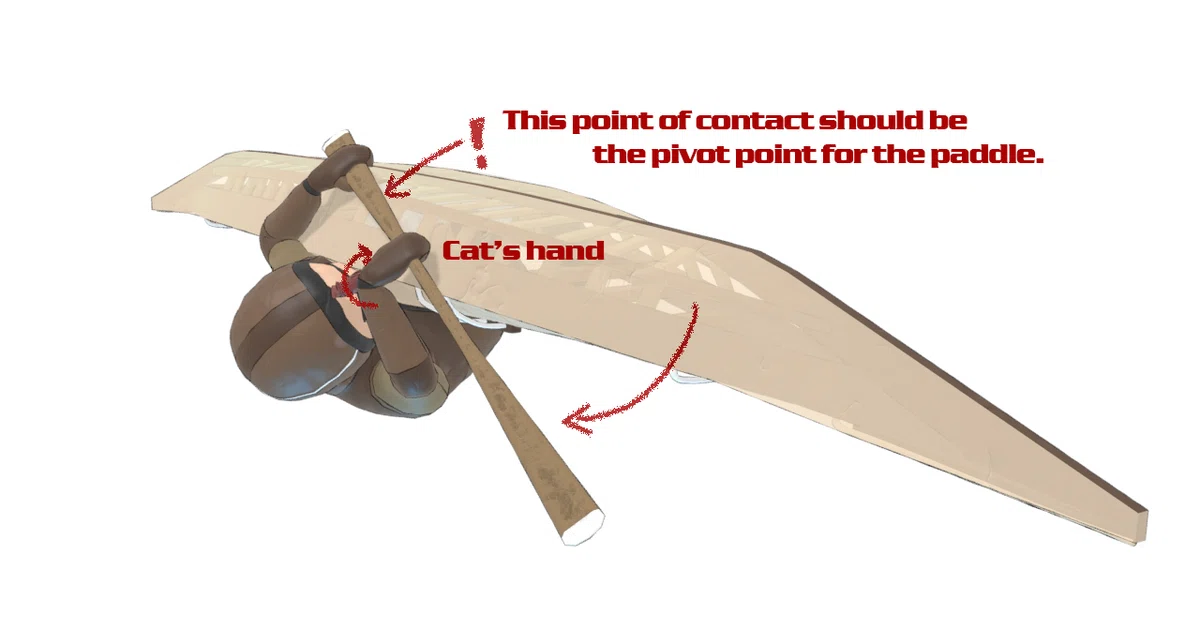
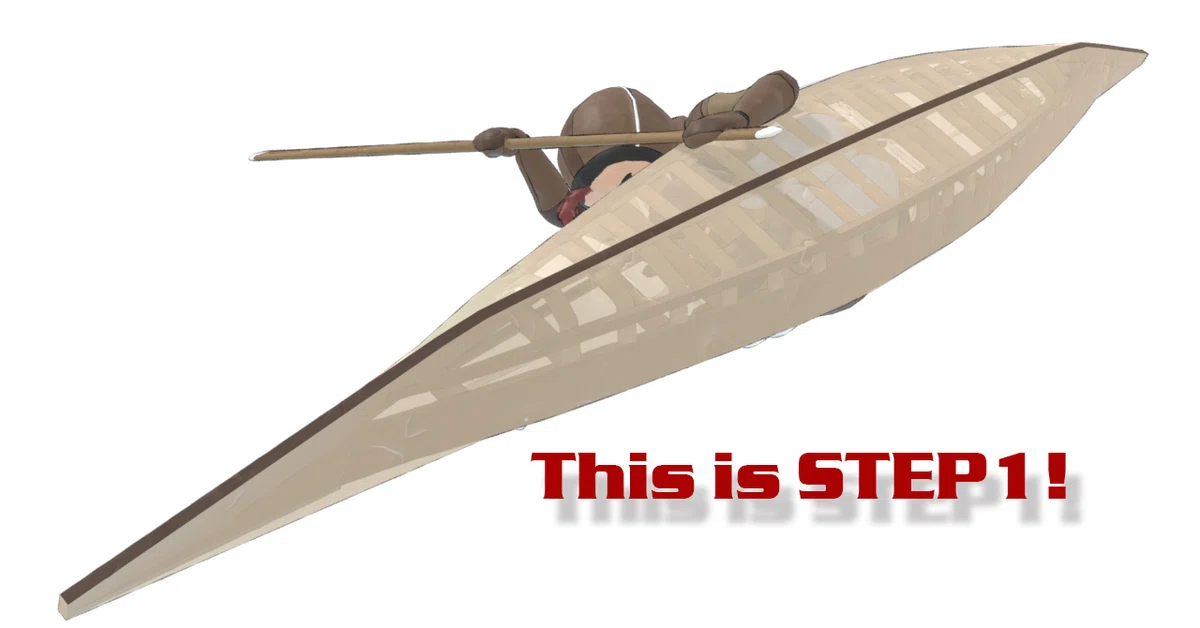
Once you’ve made it this far, you’re practically doing a full Storm Roll.
4. Common mistakes
Mistake 1: Paddle Angle
As mentioned earlier, the blade angle during the 90-degree movement is crucial.
If it’s off, the paddle tip will sink. Just before recovery, it’s best to keep the tip as close to the water’s surface as possible.
If the tip is submerged, you won’t be able to push down effectively.
Keeping the tip near the surface is a good habit for other types of rolls as well.
Mistake 2: Head Position
Like the paddle, your head should also stay close to the surface.
You've probably heard instructors say, “Head comes last!”—and I say it too.
But some people misunderstand and end up submerging their head too deeply.
In Step 1, I explained that the paddle push-down should be done with your entire upper body.
If your head is too deep underwater, you’ll lose that push.
Just before recovery, both your paddle and head (i.e., your upper body) should be positioned near the water’s surface.
5. About the outfitting for rolls
This is just a personal preference, so feel free to skip it if you’re not interested.
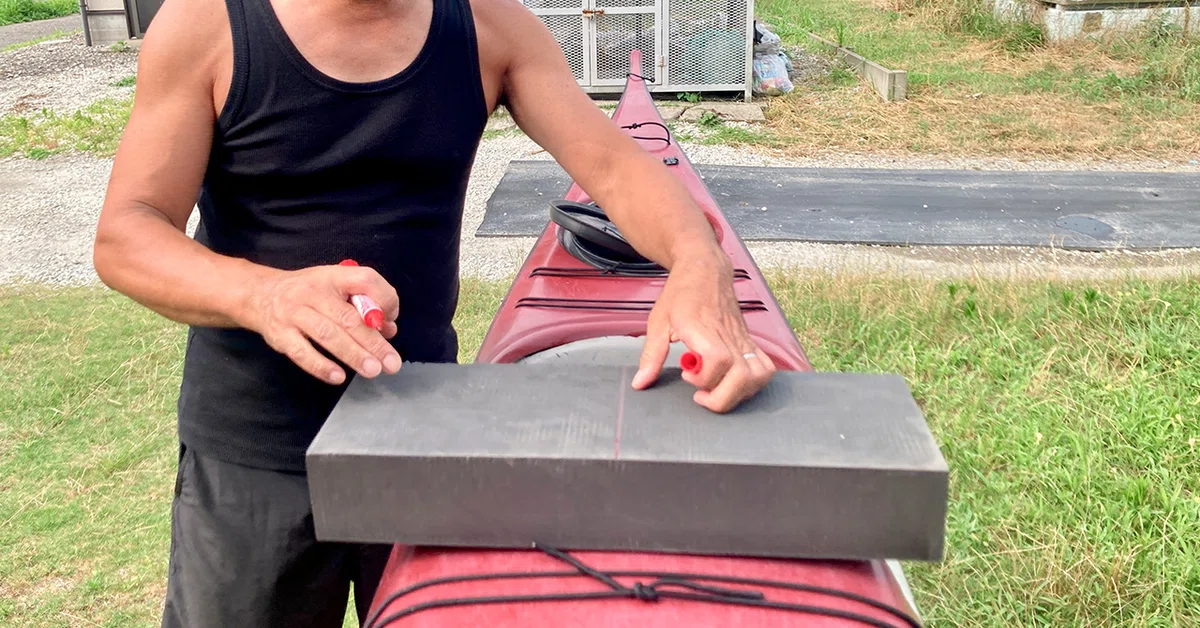
Proper outfitting is essential for rolling.
Even in the fairly snug Qaanaaq series (by WATER FIELD), I make adjustments.
When demonstrating rolls overseas using kayaks that are oversized for smaller paddlers like myself, outfitting becomes even more important.
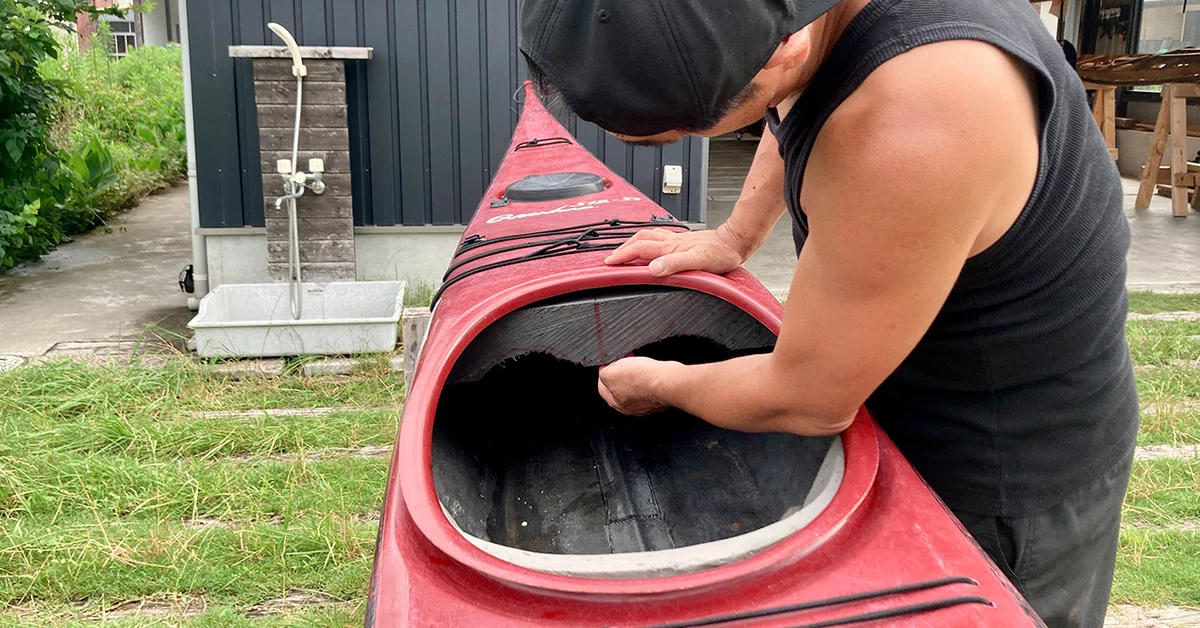
I usually carve fitting pads from high-density foam blocks.
Somehow, these came to be called “Masik,” though that’s not their original purpose in Greenland kayaks.
Maybe the name stuck because of the shape.
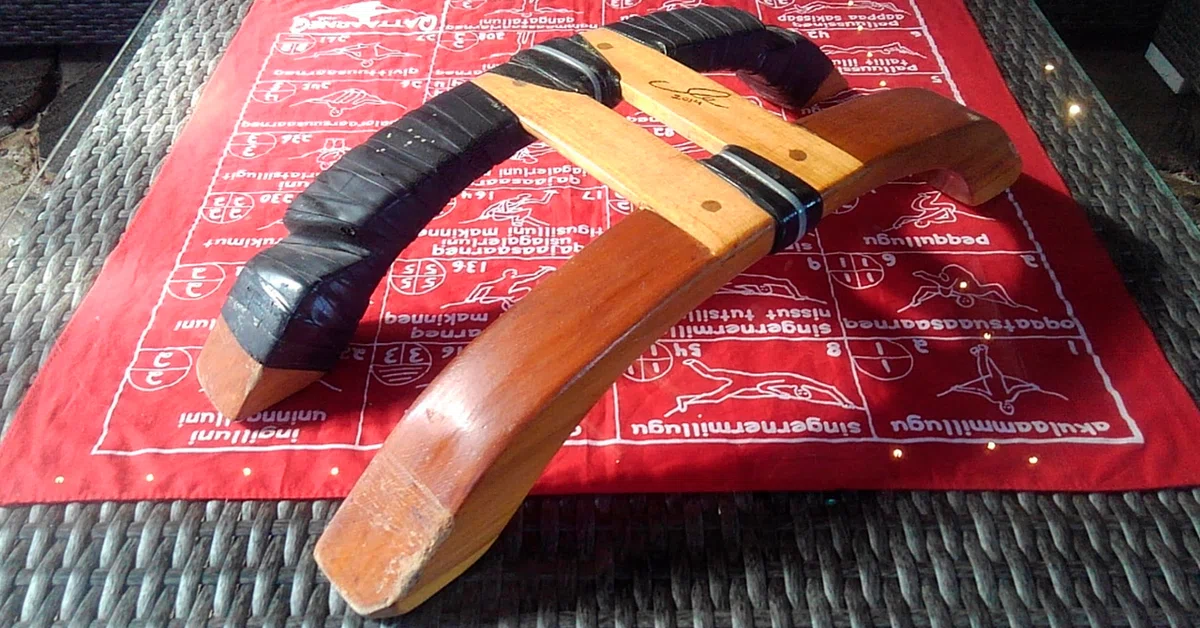
As shown in the photo, I place it just above my knees, and I keep the fit quite tight.
If there’s a gap here, it affects the responsiveness of leg drive.
And in rolling, timing is everything. So I take this part seriously.
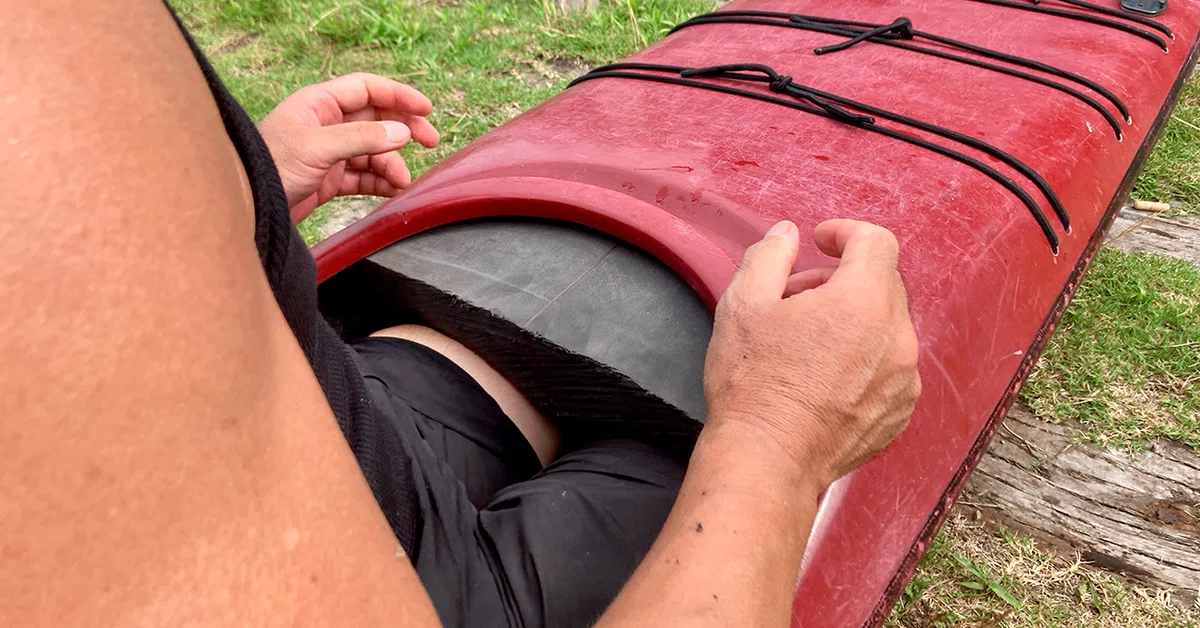
People often ask, “Can you still wet exit?” (^O^)
Yes, you can. Just push the Masik forward with your hands — since your legs taper, it loosens the fit and you can slide out.Actually, since I started using a Masik, I haven’t needed foot braces.
In fact, I find them bothersome now — I keep my feet completely free.
As long as the masik is doing its job, paddling isn’t a problem.
Give it a try — even if you think it sounds odd.
If you need help making one, feel free to ask me anytime. I’m happy to help.
The next article will be the final one.
I’ll explain the completed form of the Storm Roll. Stay tuned!


いいなと思ったら応援しよう!
 よろしければ応援お願いします。いただいたチップはロールアニメーションの製作費などに充てさせていただきます。