Introduction
Creating an Elementor hosted website is your first step on the road to success. Now it’s time to attach a great name to your beautiful site.
When you purchase an Elementor hosted website, your site is assigned a name (e.g. mycoolsite.elementor.cloud). However, you’ll probably want to give it a more memorable name like mycoolsite.com
If you don’t currently own a name, check out our guide to buying a domain name.
Once you’ve purchased a name, or if you already have a custom name, you’re ready to add it to your Elementor website. This means that when visitors type mycoolsite.com in the address bar of their browser, they’ll go to your site.
In order to do this, you will first need to make some changes to the DNS records of your domain name. This document will walk you through the steps.
How does it work
There are three parts to connecting a custom domain.
- Getting your website details from Elementor
- Configuring your DNS records at your domain registrar’s website.
- Entering the domain name and choosing if you want to set it as primary. You will be given an option to create a www variant as well. Then, you will finish the process on and verify that your domain is fully operational.
Connect a custom domain to your Elementor Host website
- Go to your My Elementor dashboard.
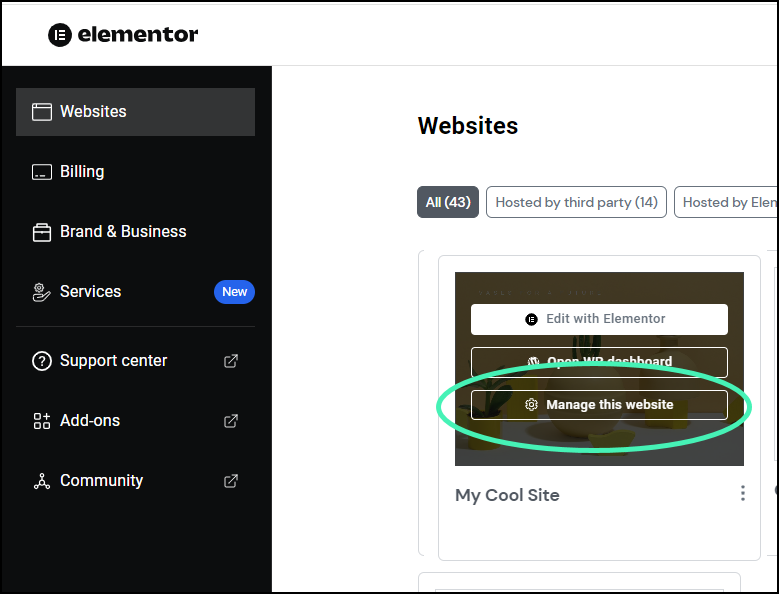
- Hover over the website card of the site you want to connect and click Manage This Website.
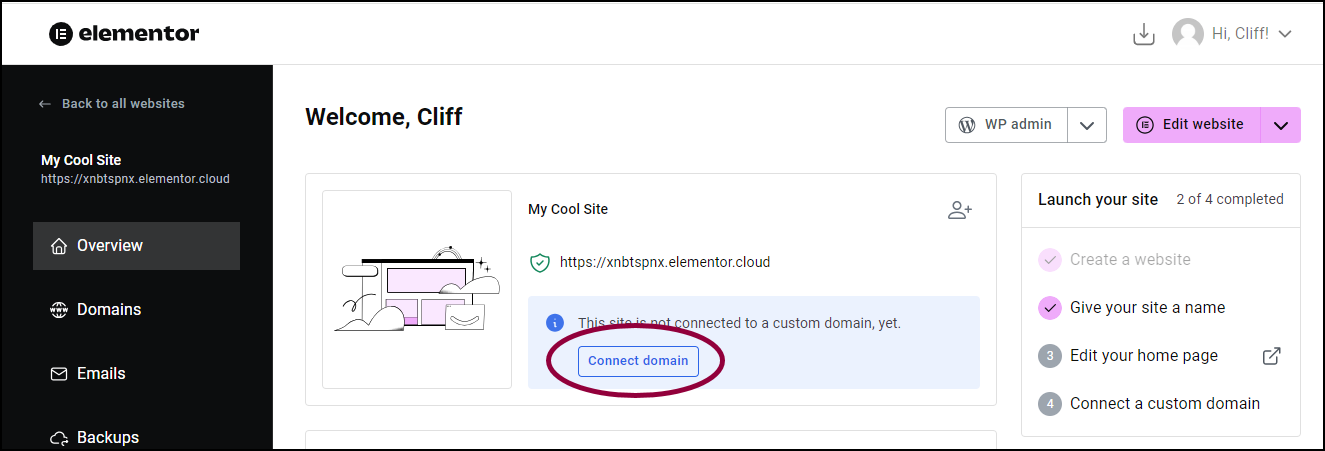
- Click Connect domain.
- In the popup window, enter the custom domain name you purchased.
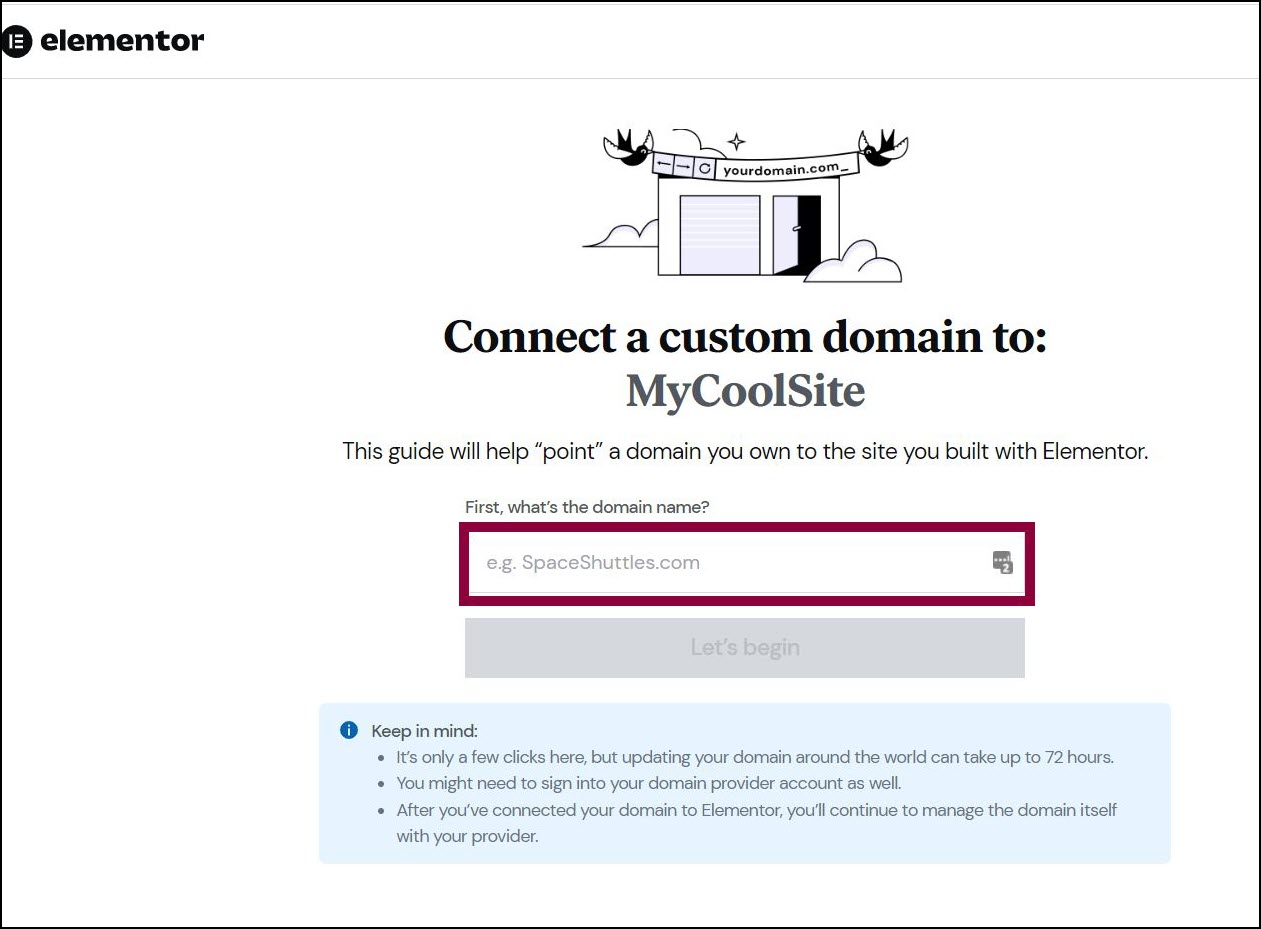
Generally, you will use the domain name without www in front of it.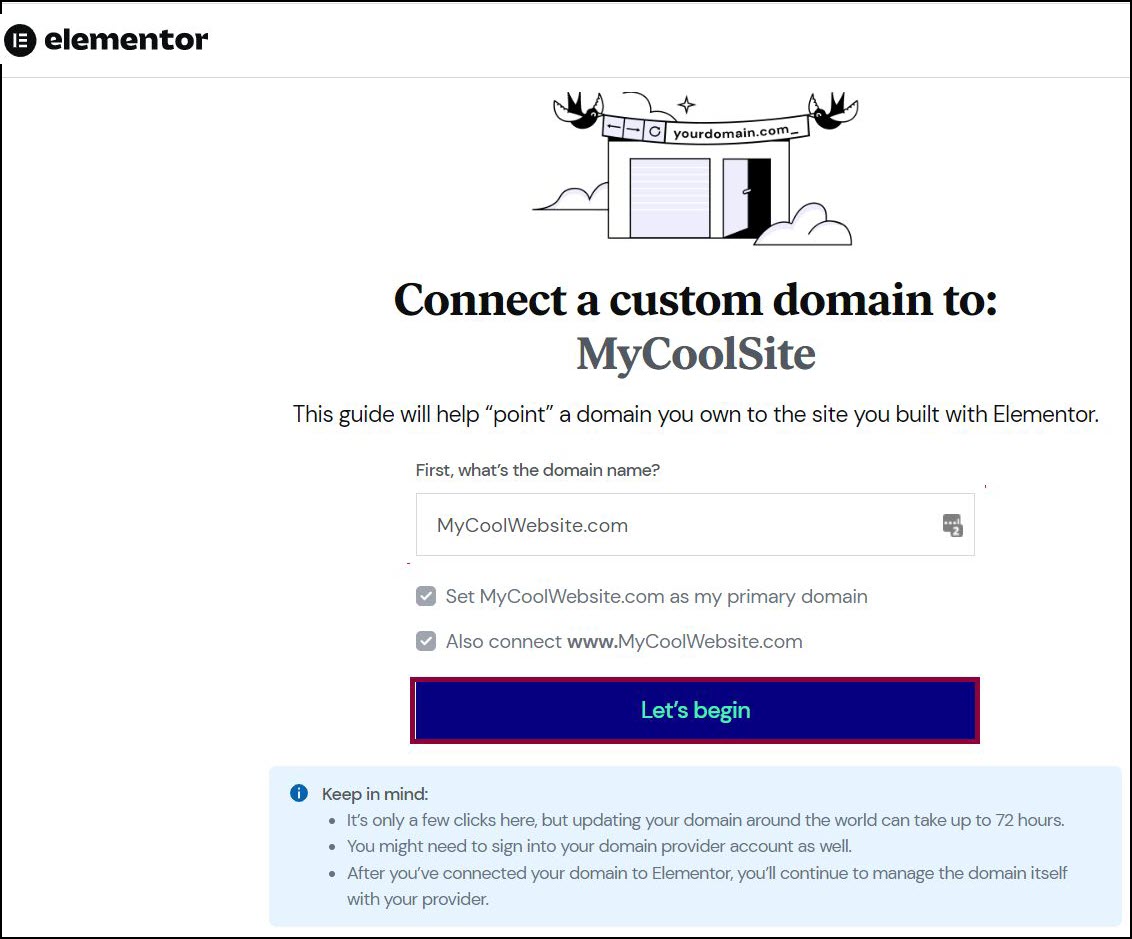
- Click Let’s begin.
By default, the system will use the name you entered as the primary domain and will also connect the name with www in front of it. (e.g. mysite.com will be the primary domain and www.mysite.com will also be connected.)If these defaults are okay, proceed.
For this next step you’ll need to open a new tab in your browser and sign into your domain name provider account if you haven’t already. You’re now starting the process of pointing your domain to your Elementor site.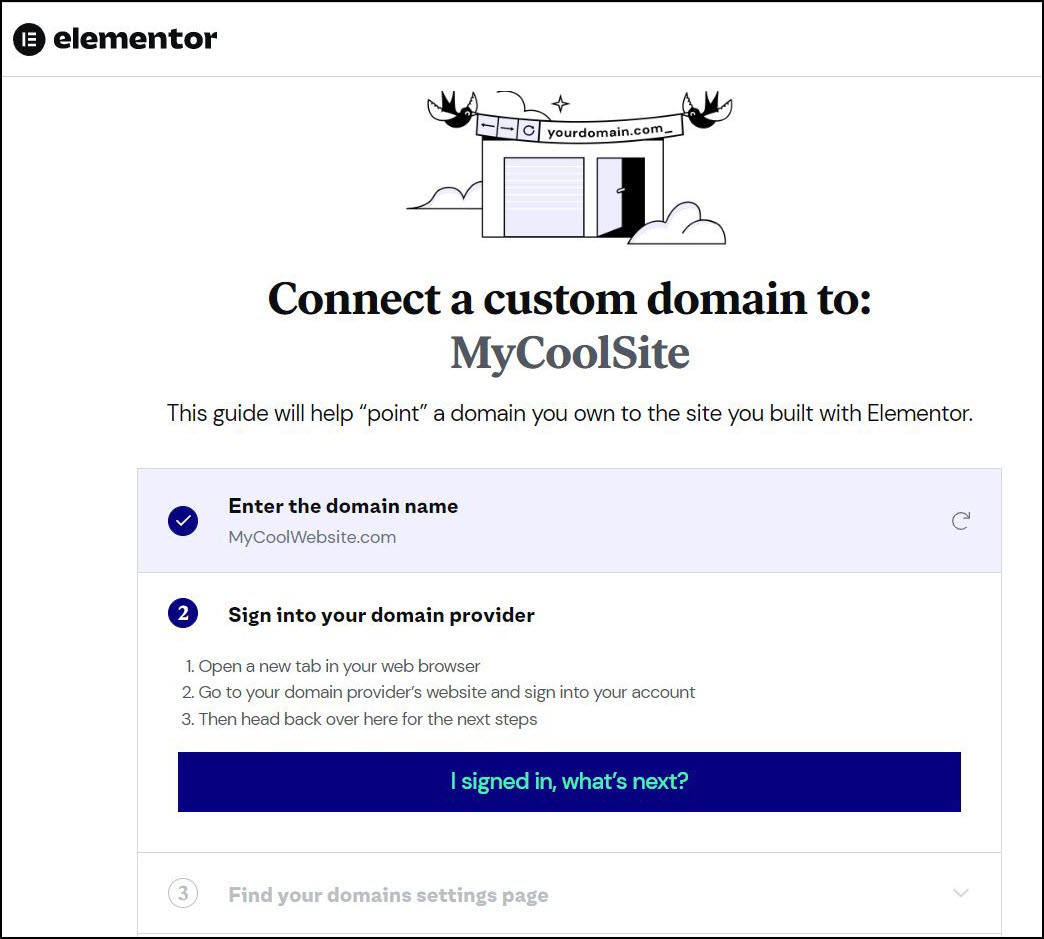
- Once signed in, click I signed in, what’s next?
Once you’ve logged in to your registrar’s website in a new browser tab, you’ll need to access the settings for your domain. This will vary according to your domain name provider.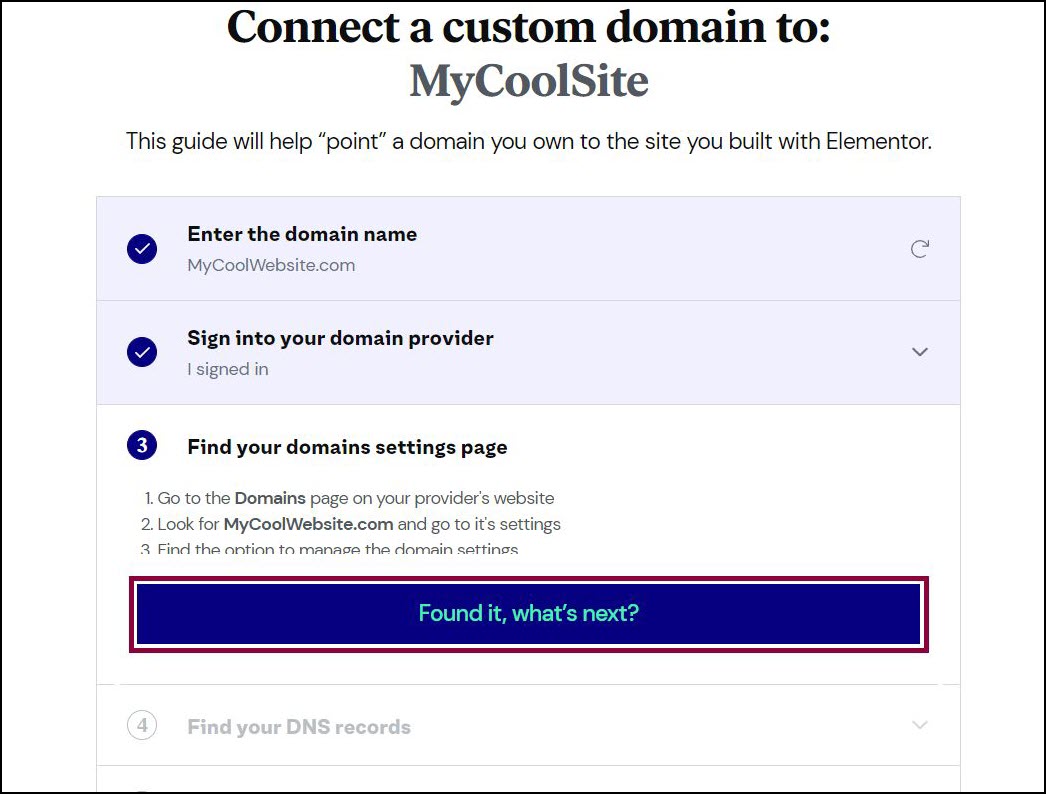
- Once you’ve found your domain settings, go back to the Elementor tab and click Found it, what’s next?
- Return to the tab with your domain settings and locate the A and CNAME records.
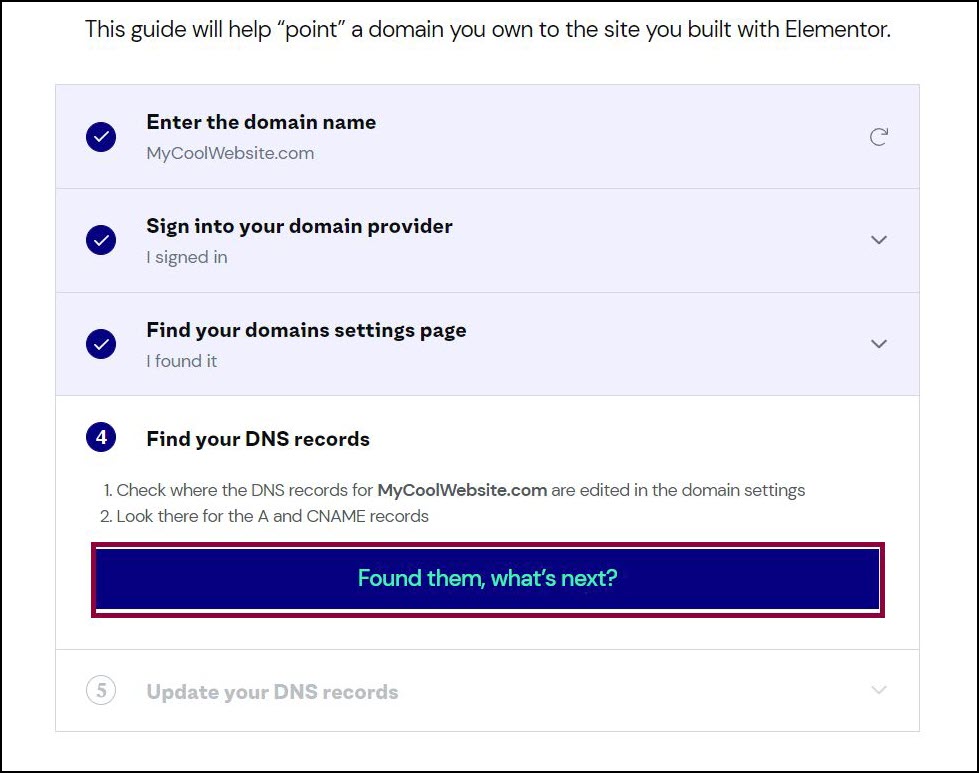
- Go back to the Elementor tab and click Found them, what’s next?
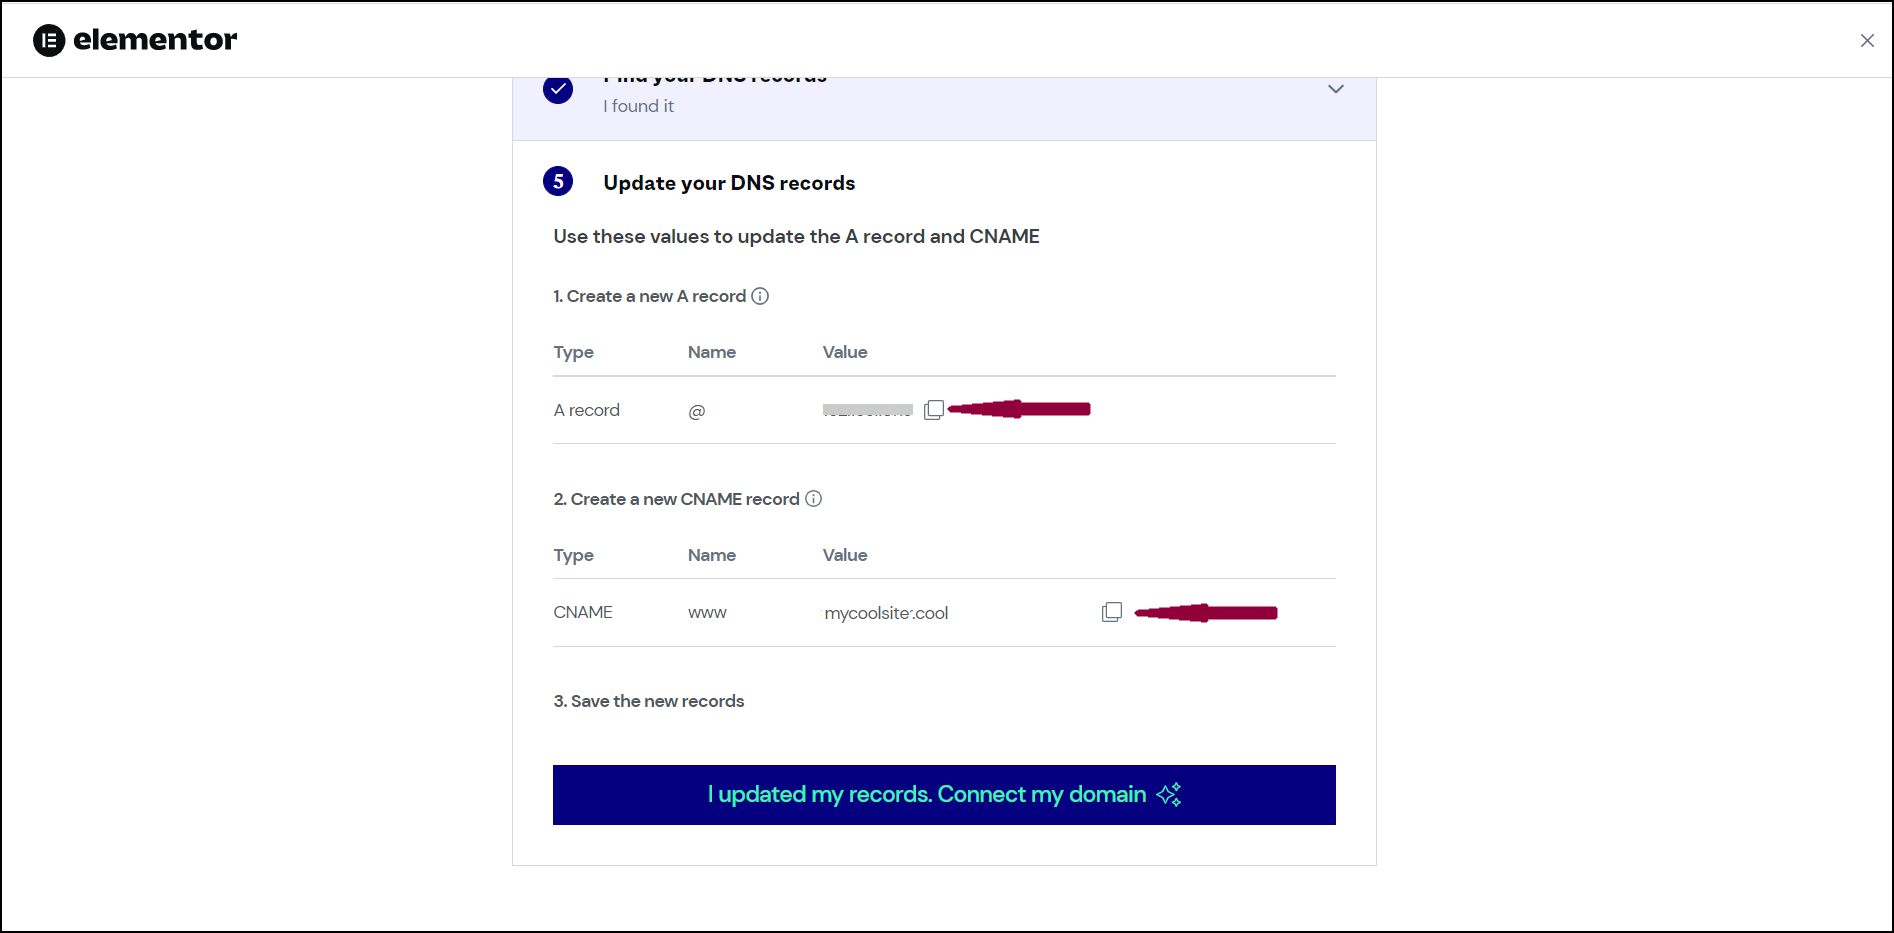
You can now access the A record and CNAME of your Elementor hosted website. - Use the icon to copy the A record and CNAME.
- Go to your domain registrar, paste in these values, and update the A record and CNAME found in your domain settings.
Example of adding an A Record: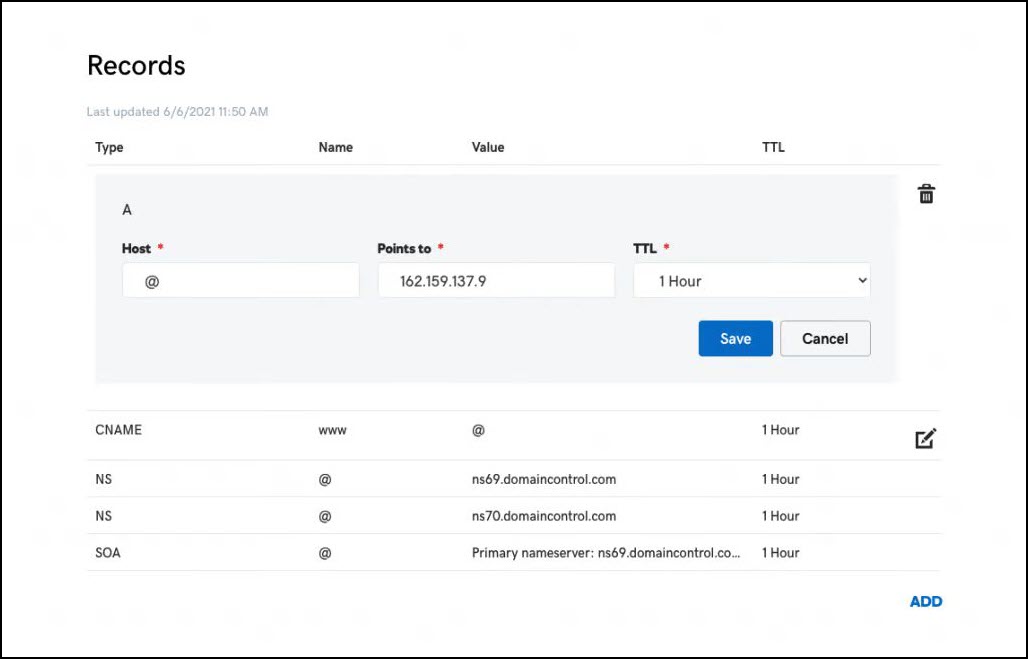
Example of adding a CNAME Record: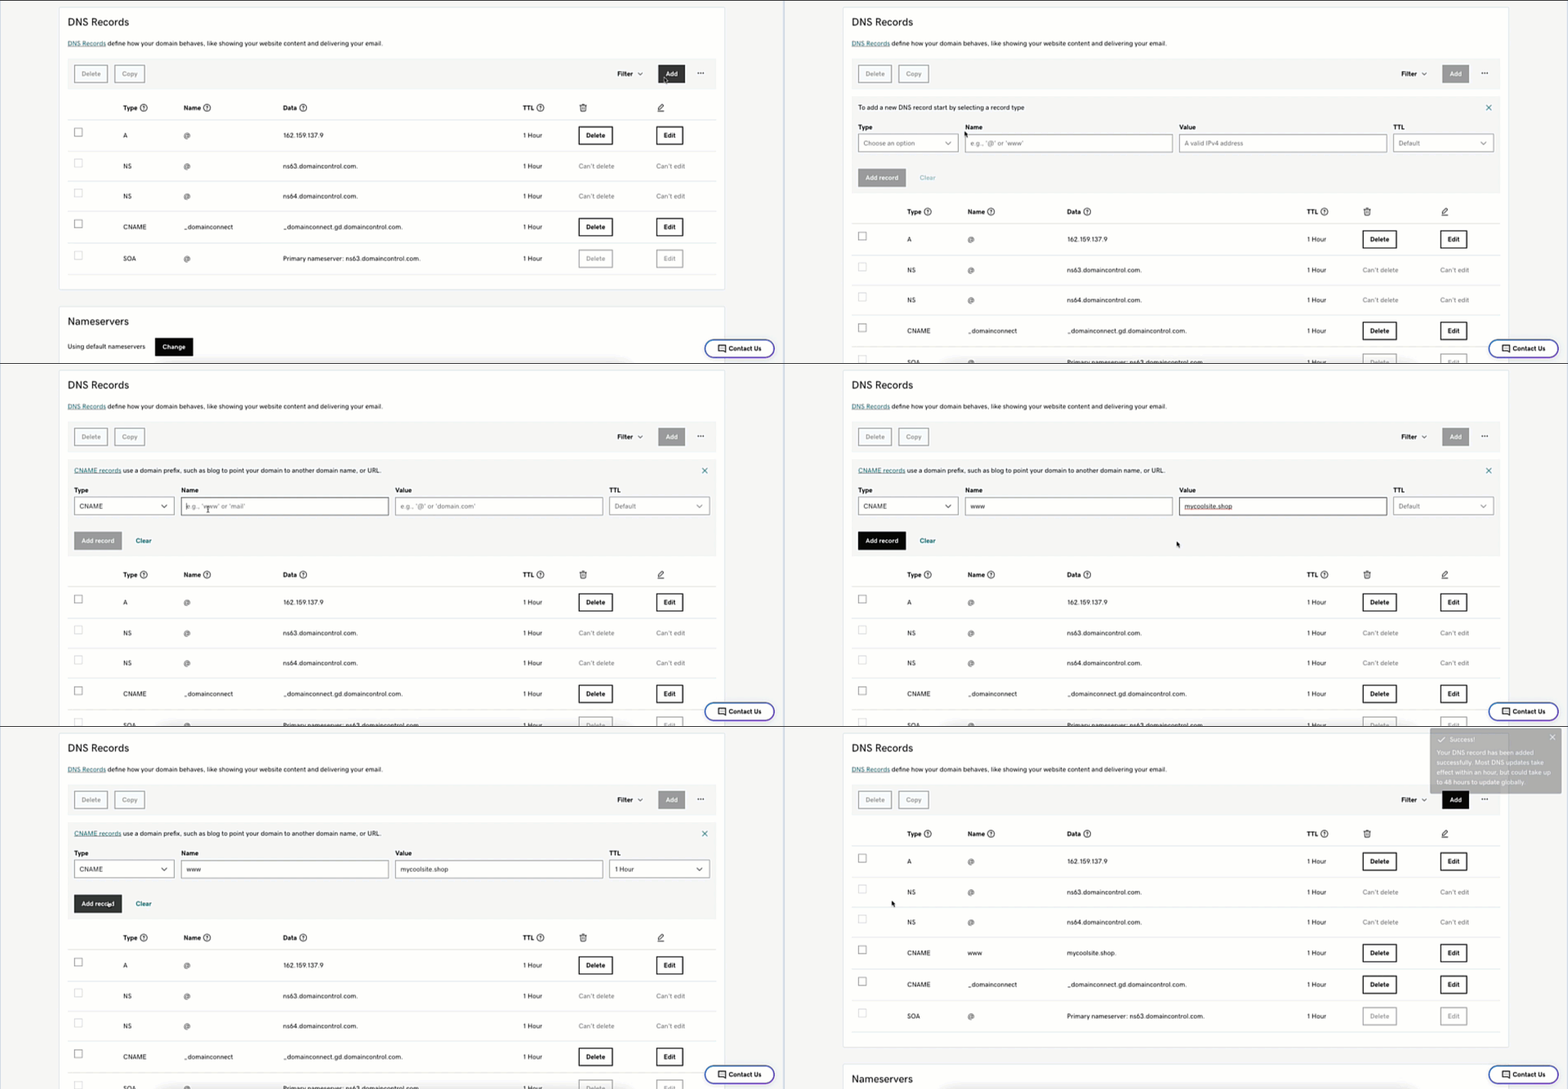 WarningIf your domain is marked as Parked or is a AAAA domain, you may have to remove the existing record.WarningIf your domain is hosted at Cloudflare, you cannot turn on Proxy as this will not allow the domain to be properly connected. It has to be set to ‘DNS Only’ Domains.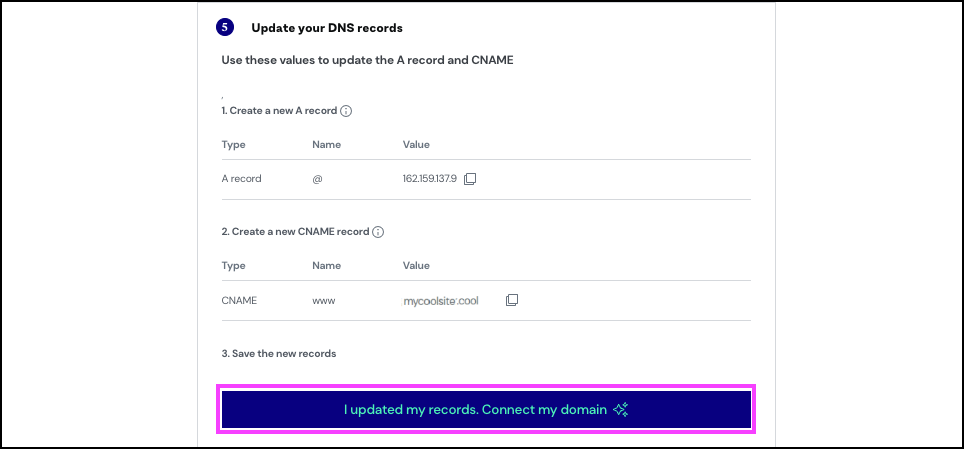
- Go back to the Elementor tab and click I updated my records. Connect my domain.
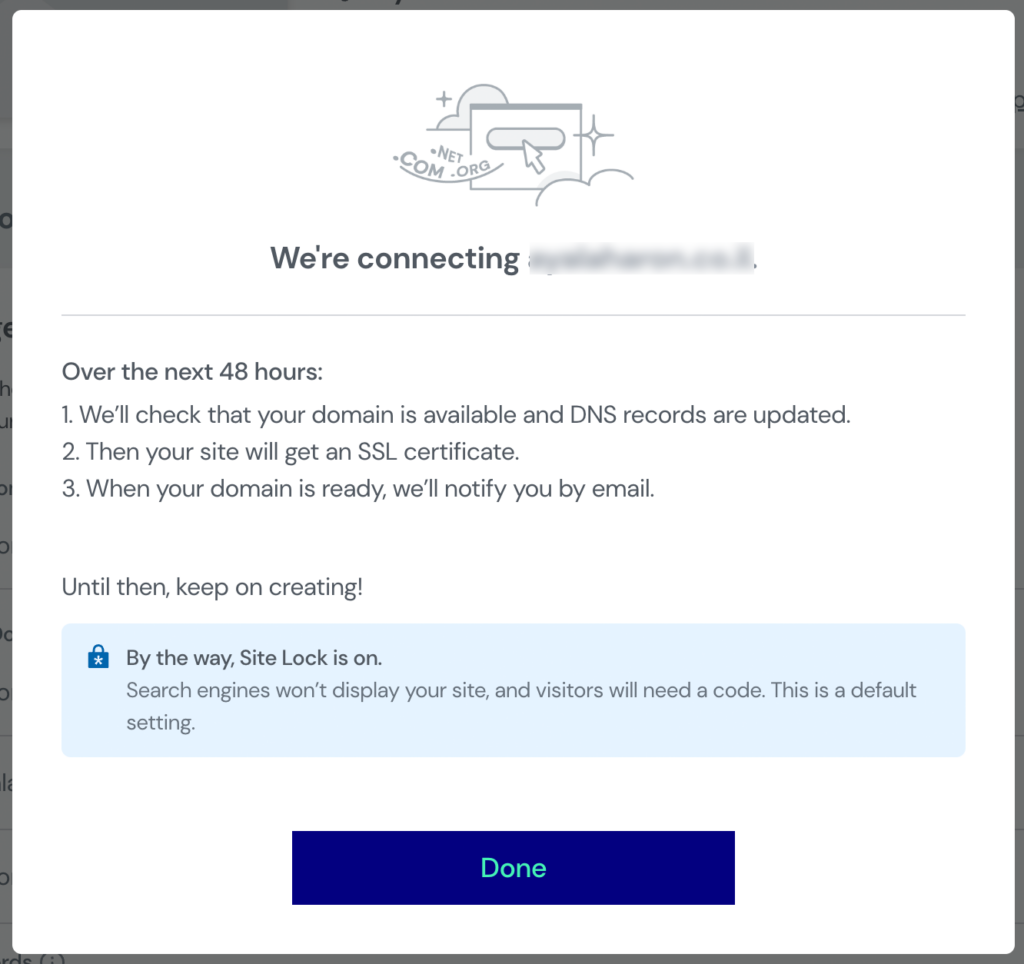
Wait for the process to complete. During this process, Elementor will:
Add the domain to your site
Issue an SSL certificate for the domainVerify your DNS records
For more information on DNS propagation, why it takes time, and how to check its status
