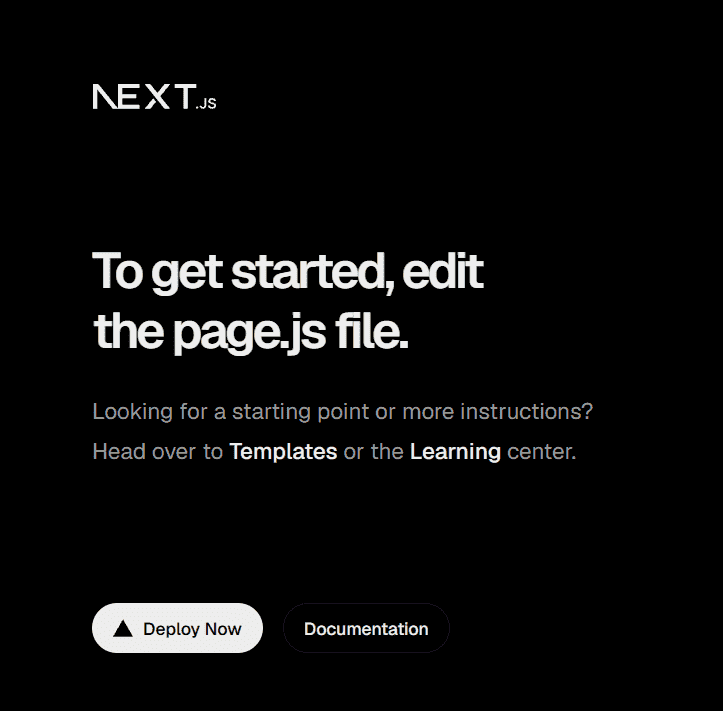
Create Next App is the official CLI tool provided by Vercel to quickly set up a new Next.js project with zero configuration.
- Instantly scaffolds a fully functional Next.js app with best practices built-in.
- Supports TypeScript, ESLint, Tailwind CSS, and App Router setup out of the box.
- Saves development time by handling configuration, routing, and project structure automatically.
System Requirements:
Getting started with Create Next App
Let's see the installation process:
Step 1: Installation and Setup
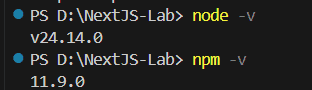
Installation of next.js require npm and node.js. You can install node.js from here. Confirm the installation by running these commands on the terminal.
node -v
npm -v
Step 2: create-next-app
Run the following command to create a new Next.js project.
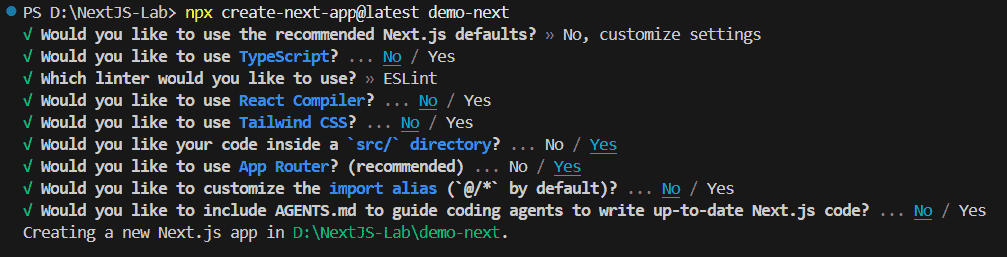
npx create-next-app@latest demo-next
After running the command, Create Next App displays the project configuration options. Select No, customize settings to manually choose options such as TypeScript, ESLint, Tailwind CSS, the src/ directory, and the App Router in the following steps.
Step 3: Project Configuration
After selecting No, customize settings, Create Next App displays a series of configuration options. choose options based on your requirement
Step 4: Project Created Successfully
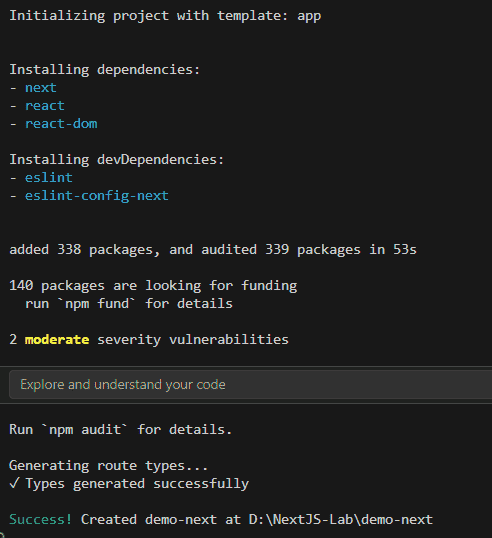
After selecting the required configuration options, Create Next App installs the required dependencies and creates the project automatically and a success message is displayed in the terminal.
Step 5: Open the Project in Visual Studio Code
Open the project in Visual Studio Code using the following command:
cd demo-next
code .
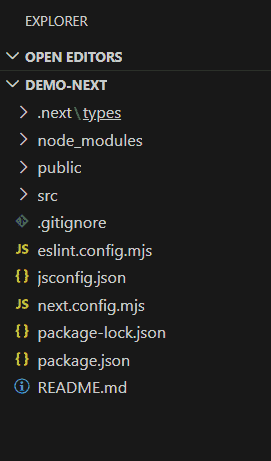
Step 6: Default Project Structure
After opening the project in Visual Studio Code, you will see the default folder structure generated by Create Next App.
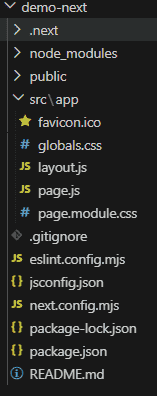
Step 7: Run the Development Server
Run the following command to start the development server.
npm run dev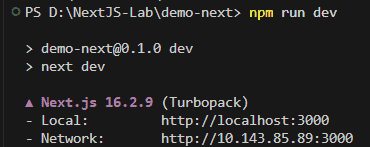
Step 8: Open the Application
Open the following URL in your browser.
Click on http://localhost:3000